Repair information 4-41
7510
2nd transfer roll retract cam assembly removal
1. Remove the 2nd transfer roll assembly. See “2nd transfer roll assembly removal” on page 4-45.
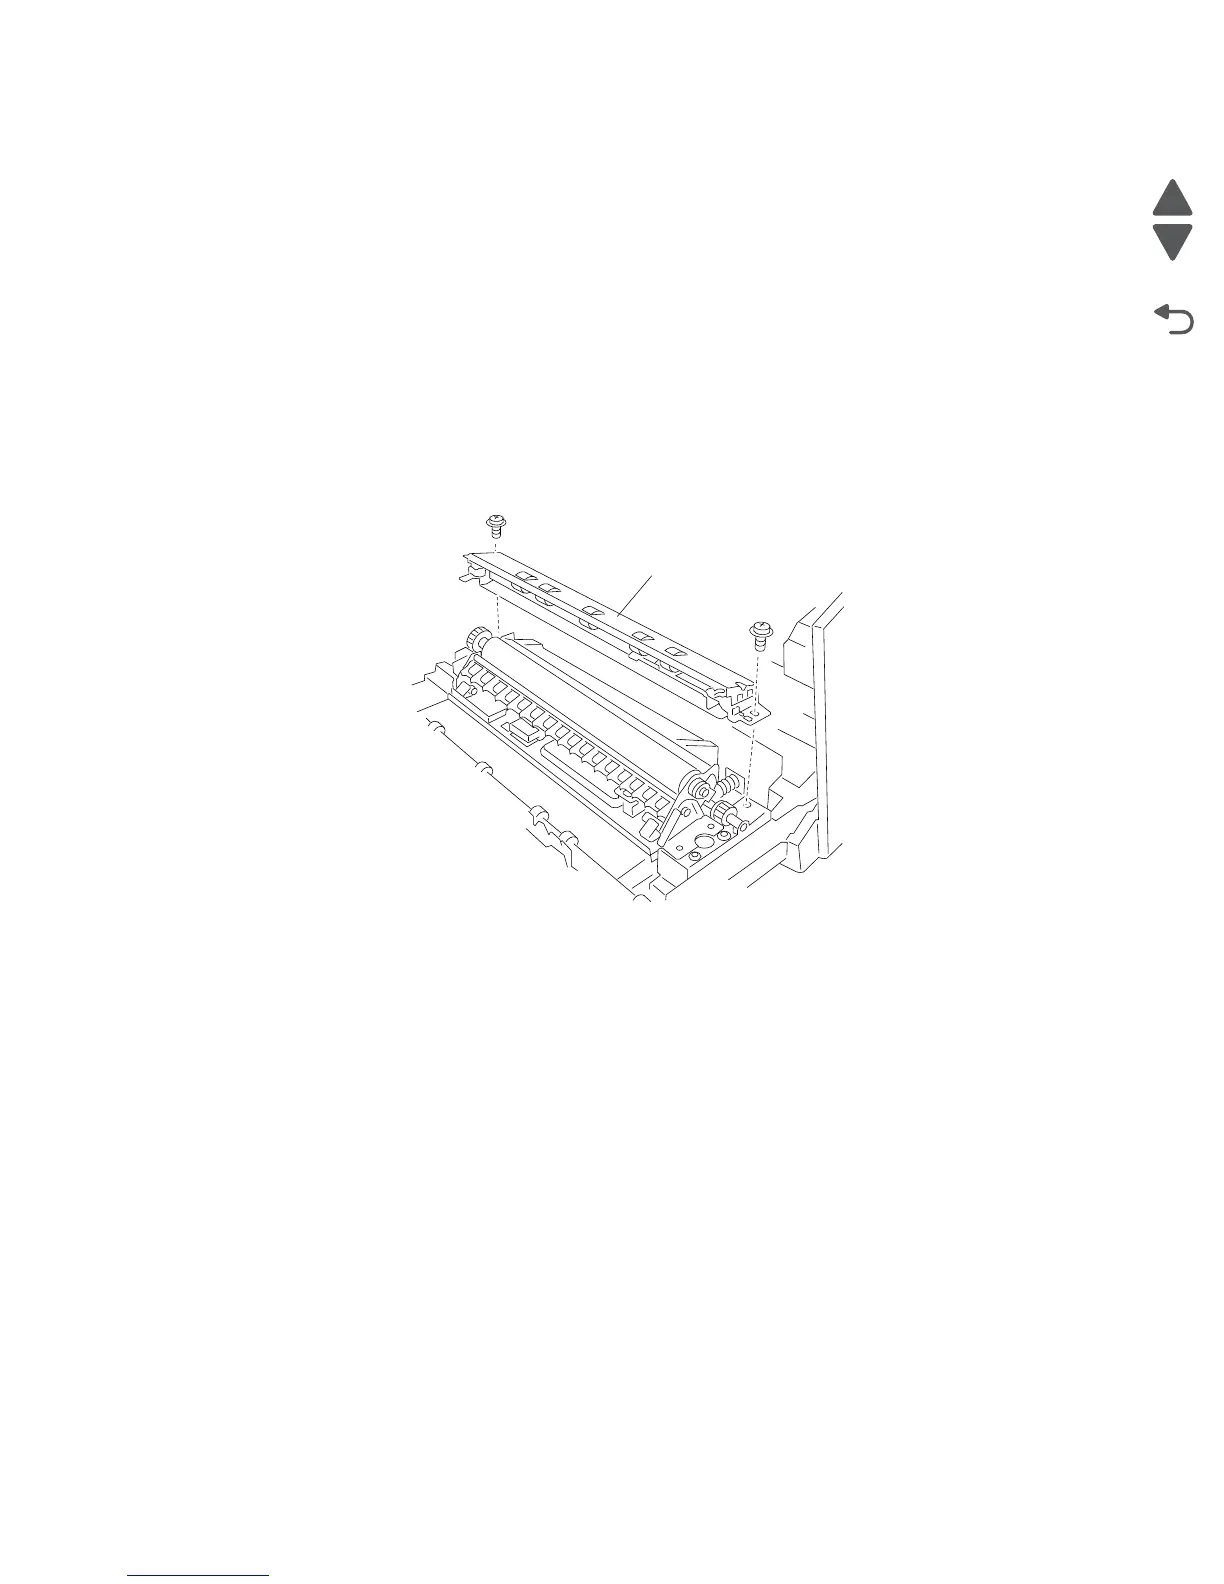
2. Remove the two screws securing the registration pinch guide assembly (A) to the machine.
3. Remove the registration pinch guide assembly (A).
4. Remove the screw securing the bracket (B) to the machine.
5. Slide the bracket (B) to remove it from the machine.
6. Move the bracket (B) toward the front of the machine.
7. Detach the bracket (B).
8. Disconnect the connector from the transfer roll retract motor assembly (C).
9. Remove the three screws securing the transfer roll retract cam assembly (D) to the machine.
10. Lift the transfer roll retract cam assembly (D) up.
Note: When removing the transfer roll retract cam assembly (D), the bushing (E), pin (F), and washer may
become detached.
11. Remove the transfer roll retract cam assembly (D).

 Loading...


