Repair information 4-45
7510
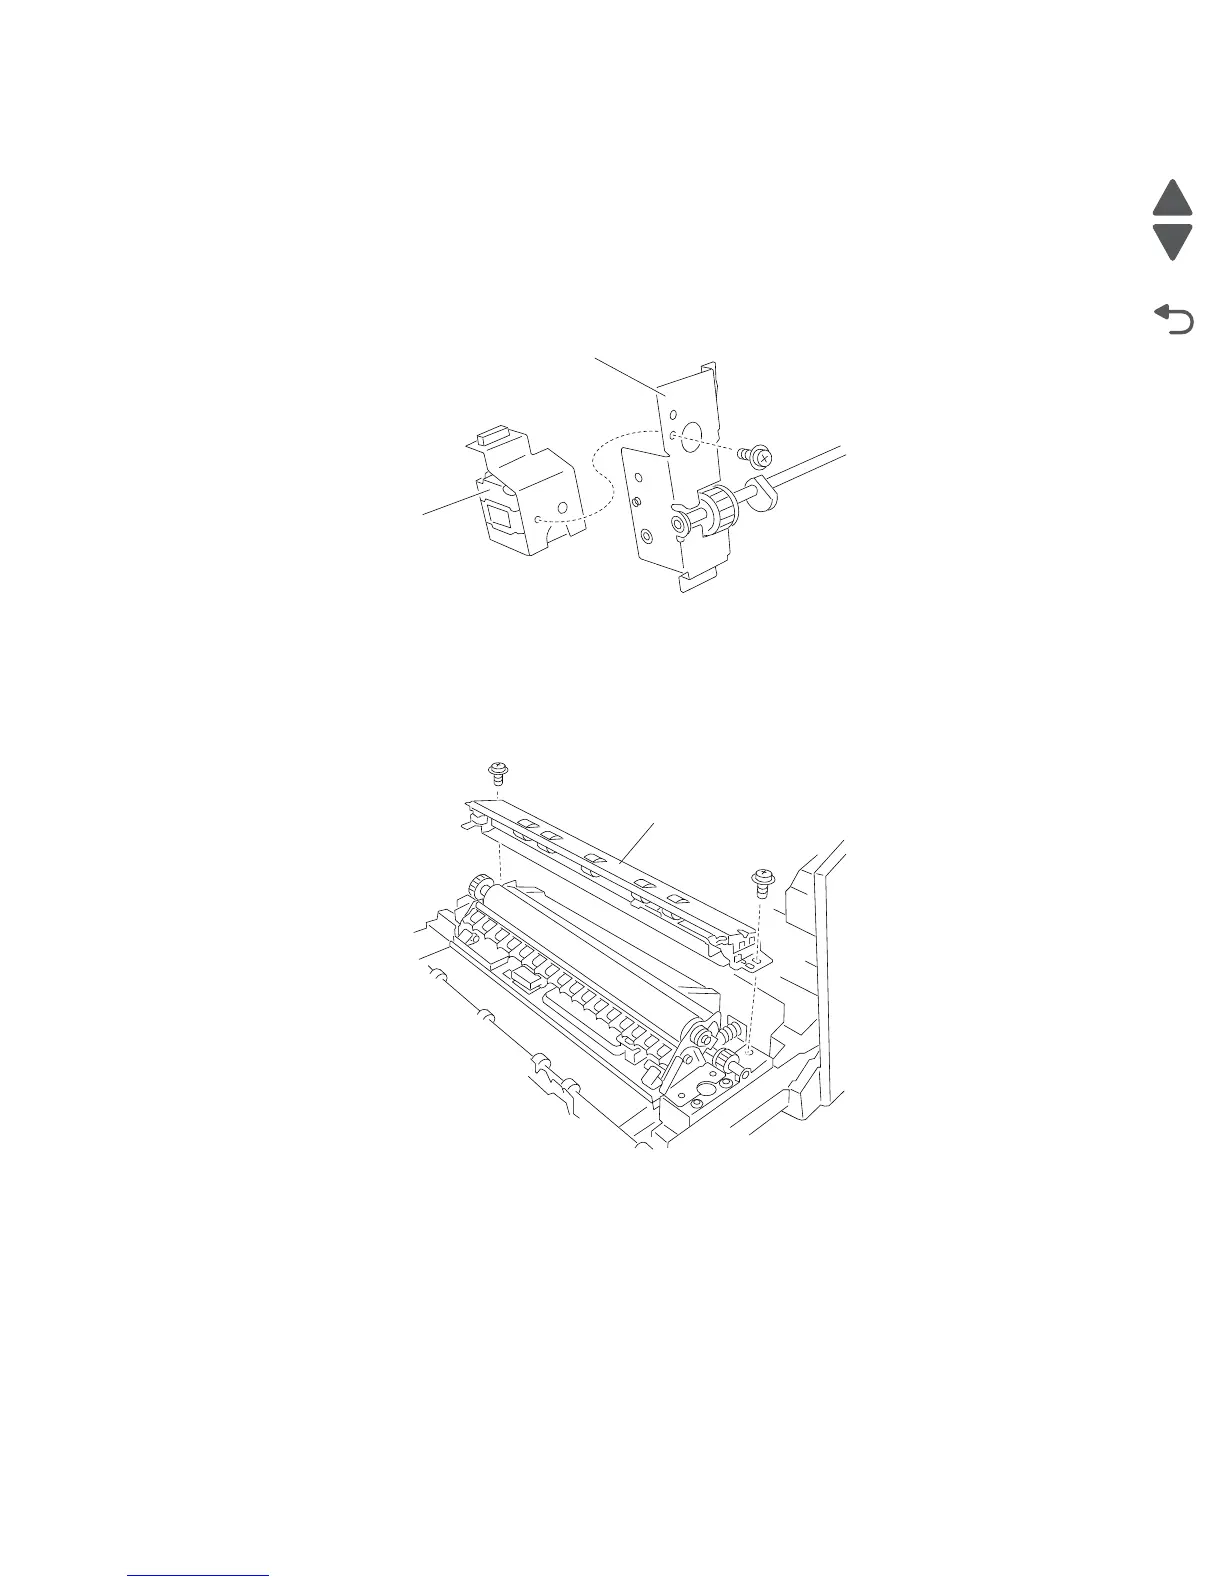
2nd transfer roll retract motor assembly removal
1. Remove the 2nd transfer roll assembly. See “2nd transfer roll assembly removal” on page 4-45.
2. Remove the 2nd transfer roll retract cam assembly. See “2nd transfer roll retract cam assembly
removal” on page 4-41.
3. Remove the screw securing the transfer roll retract motor assembly (A) to the 2nd transfer roll retract cam
assembly (B).
4. Remove the transfer roll retract motor assembly (A).
2nd transfer roll assembly removal
1. Open the printer left door assembly.
2. Remove the two screws securing the registration pinch guide assembly (A) to the machine.
3. Remove the registration pinch guide assembly (A).
4. Remove the four screws securing the transfer roll assembly (B) to the machine.
5. Gently remove the transfer roll assembly (B).

 Loading...


