3.2
SEL-751 Relay Instruction Manual Date Code 20170927
PC Software
Setup
Setup
Follow the steps outlined in Section 2: Installation to prepare the SEL-751 for
use. Perform the following steps to initiate communications:
Step 1. Connect the appropriate communications cable between the
SEL-751 and the PC.
Step 2. Apply power to the SEL-751.
Step 3. Start
ACSELERATOR QuickSet.
Communications
QuickSet uses relay communications Port 1 through Port 4, or Port F (front
panel) to communicate with the SEL-751. Perform the following steps to
configure QuickSet to communicate effectively with the relay.
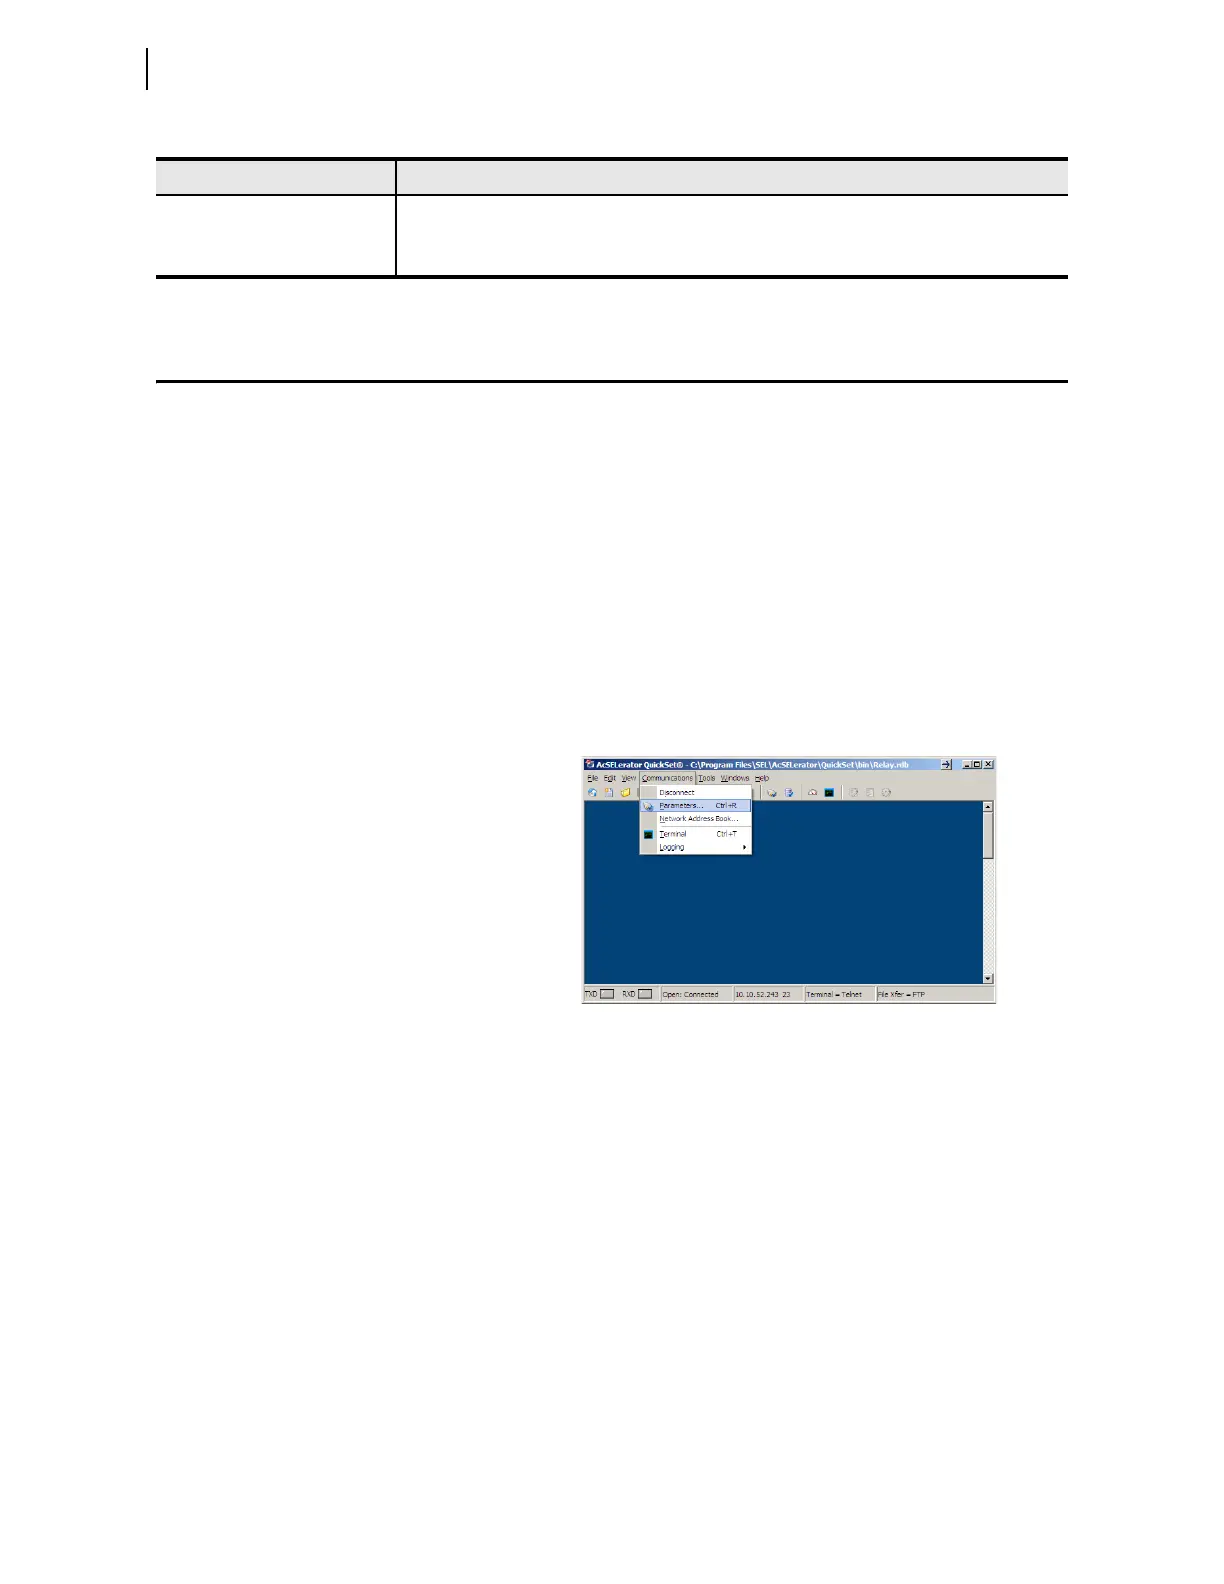
Step 1. Select Communications from the QuickSet main menu bar, as
shown in Figure 1.
Step 2. Select the Parameters submenu to display the screen shown in
Figure 3.2.
Step 3. Configure the PC port to match the relay communications
settings.
Step 4. Configure QuickSet to match the SEL-751 default settings by
entering Access Level 1 and Access Level 2 passwords in the
respective text boxes.
Step 5. For network communications, select Network from the Active
Connection Type drop-down menu and enter the network
parameters as shown in Figure 3.3.
For the SEL-751, always select FTP as the File Transfer
Option.
Step 6. Exit the menus by clicking OK when finished.
Terminal Provides a direct connection to the SEL device. Use this feature to ensure proper communication
and directly interface with the device.
Help Provides general QuickSet and device-specific QuickSet context help.
a
Available only in licensed versions of QuickSet.
Ta b le 3 . 2 ACSELERATOR QuickSet SEL-5030 Software (Sheet 2 of 2)
Application Description
Figure 3.1 Serial Port Communications Dialog Box