EDIUS — User Reference Guide 227
Capturing Directly to the Timeline
Capturing Directly to the Timeline
Normally, captured clips are placed only in the Asset bin at the conclusion
of the capture process; however, you can capture clips directly to the Time
-
line for immediate editing. To capture directly to the Timeline, do the fol-
lowing:
1. Select the VA track on which you wish to place the captured clip.
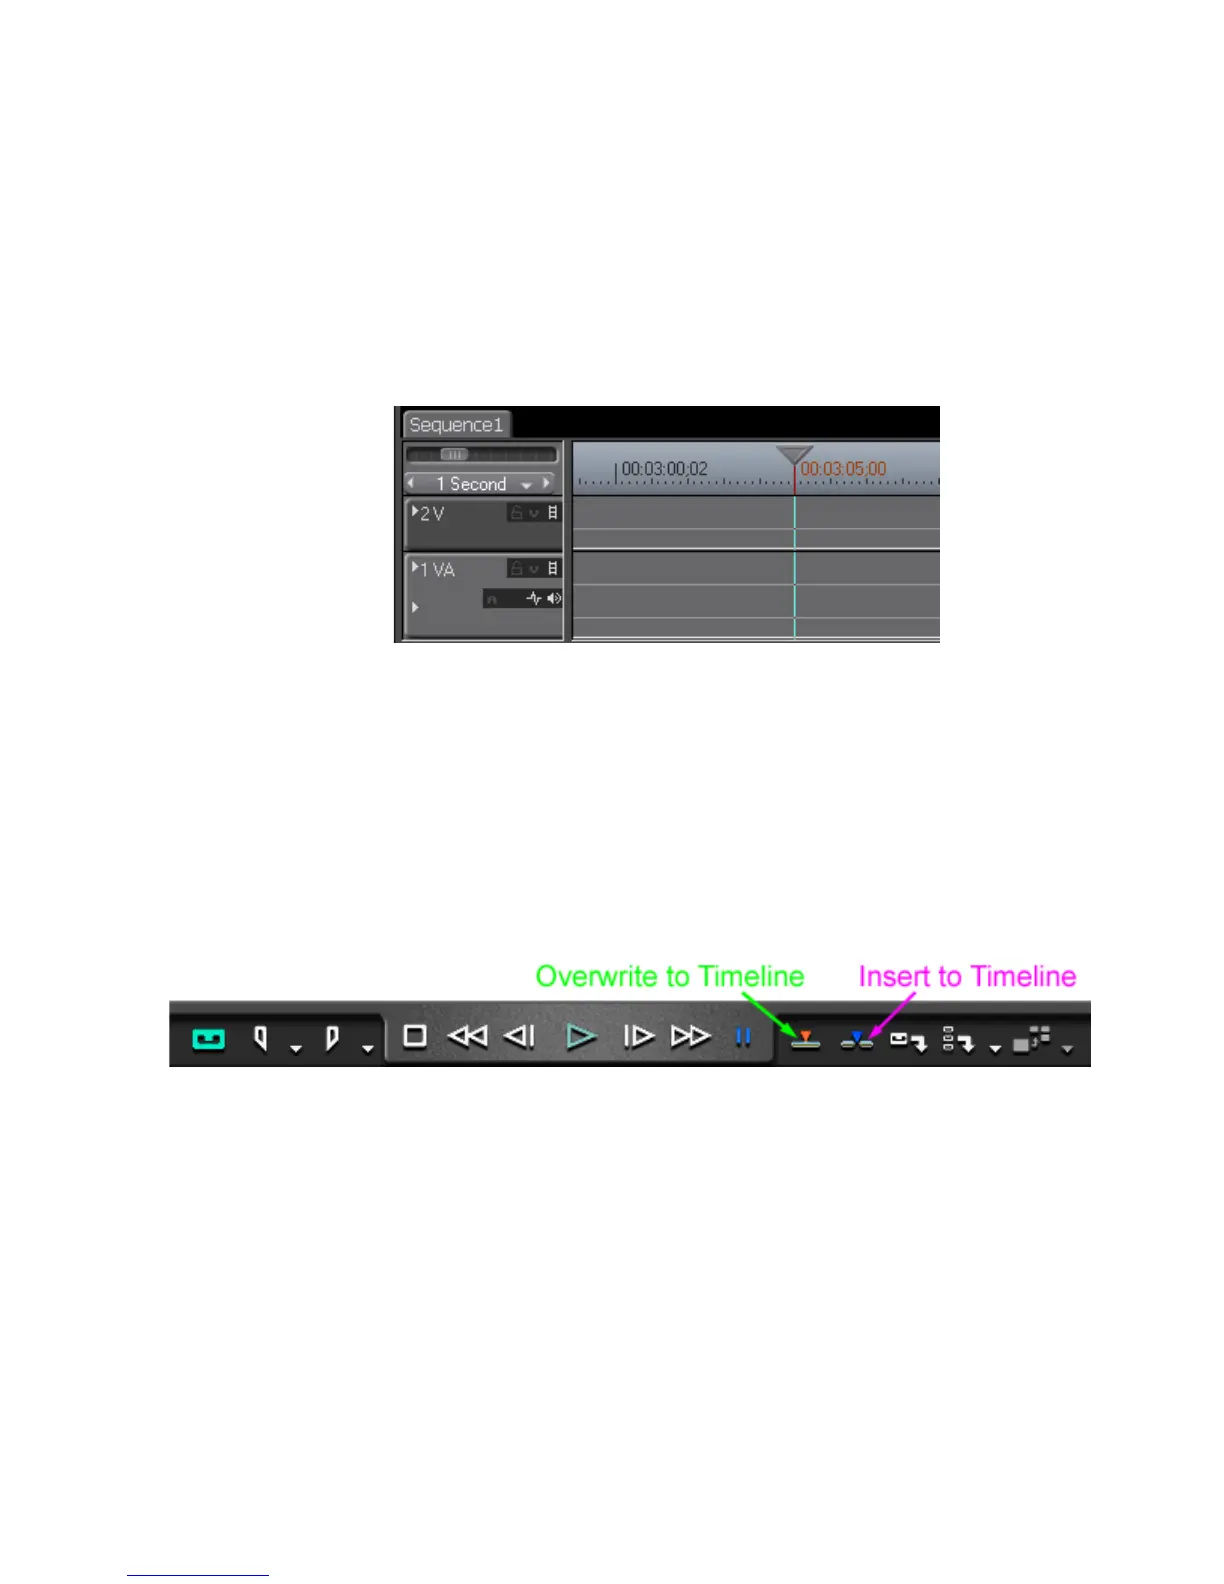
Figure 208. Capture to Timeline
2. Move the Timeline cursor to the point at which you wish to insert the
captured clip. In Figure 208, the cursor is at the 00:03:05;00 mark.
3. Playback the source and set the desired In and Out points.
Note Setting no In and Out points causes the entire source to be captured.
4. Click the Insert to Timeline or Overwrite to Timeline button. See Figure 209.
Figure 209. Capture to Timeline Buttons
After capturing, the clip is placed on the track with the clip beginning at the
cursor position. It is also saved to the Asset Bin.
See also Three-Point Editing on page 338 (placing a clip between In and Out
points on the Timeline) and Four-Point Editing on page 339 (Placing In and
Out points of a clip between the In and Out points on the Timeline).