8-56 Phaser 7500 Printer Service Manual
Service Parts Disassembly
REP 5.8 Developer Beads
When removing the Developer Housing Assembly, be careful not to
contaminate the Developer Housing Assembly.
1. Remove the Developer Housing Assembly (REP 5.5, page 8-50).
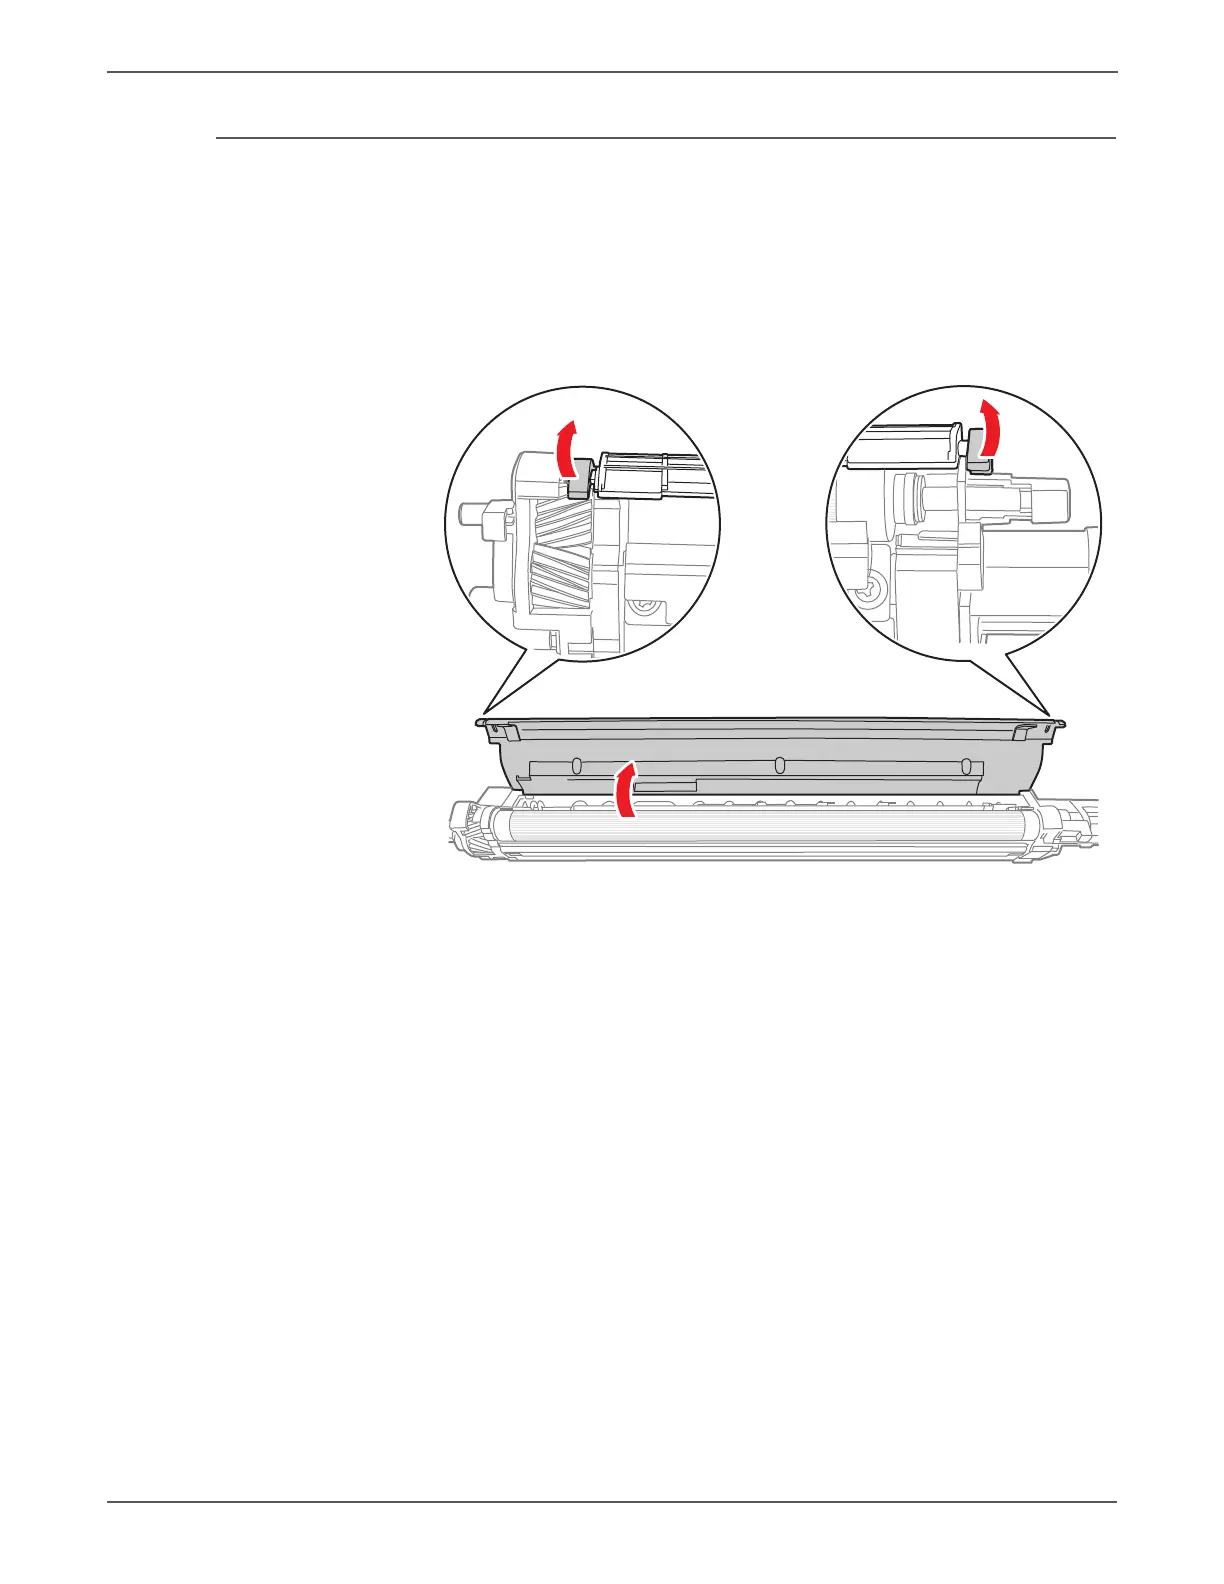
2. Release the Front and Rear Latches of the Developer Cover.
3. Remove the Upper Cover.
4. Installing the Developer Beads into the Developer.
a. Place the Developer Assembly on a drop cloth or a few sheets of paper to
catch any spills.
b. Agitate the package of the developer mix and then cut it open.
c. While keeping the Developer Housing Assembly level, carefully pour the
entire contents of the developer mix package as evenly as possible over
the two augers. Do Not let the developer mix accumulate heavily on the
magnetic roller.
d. Re-install the Upper Cover by inserting the four tabs on the Cover into the
corresponding slots of the Developer Housing and then press directly on
the latches until each latches in place. Press firmly until you hear a
positive ‘snap’ sound for each tab indicating the tab is latched.
5. Tear off the loose half of the ATC Sensor perforated tag. Leave the other half
of the ATC Sensor Label on the Developer Housing. Peel off the protective
backing and adhere the label to the Plate (PL8.1.7), above the corresponding
Developer.
6. Install the Developer and perform the ATC Sensor Setup in Diagnostics. Enter
the value from the tag removed from the replacement Developer. Follow the
procedure “ATC Sensor Setup” on page 6-5 (Calibrations in Chapter 6).
 Loading...


