396 EDIUS — User Reference Guide
Section 5 — Timeline Operations
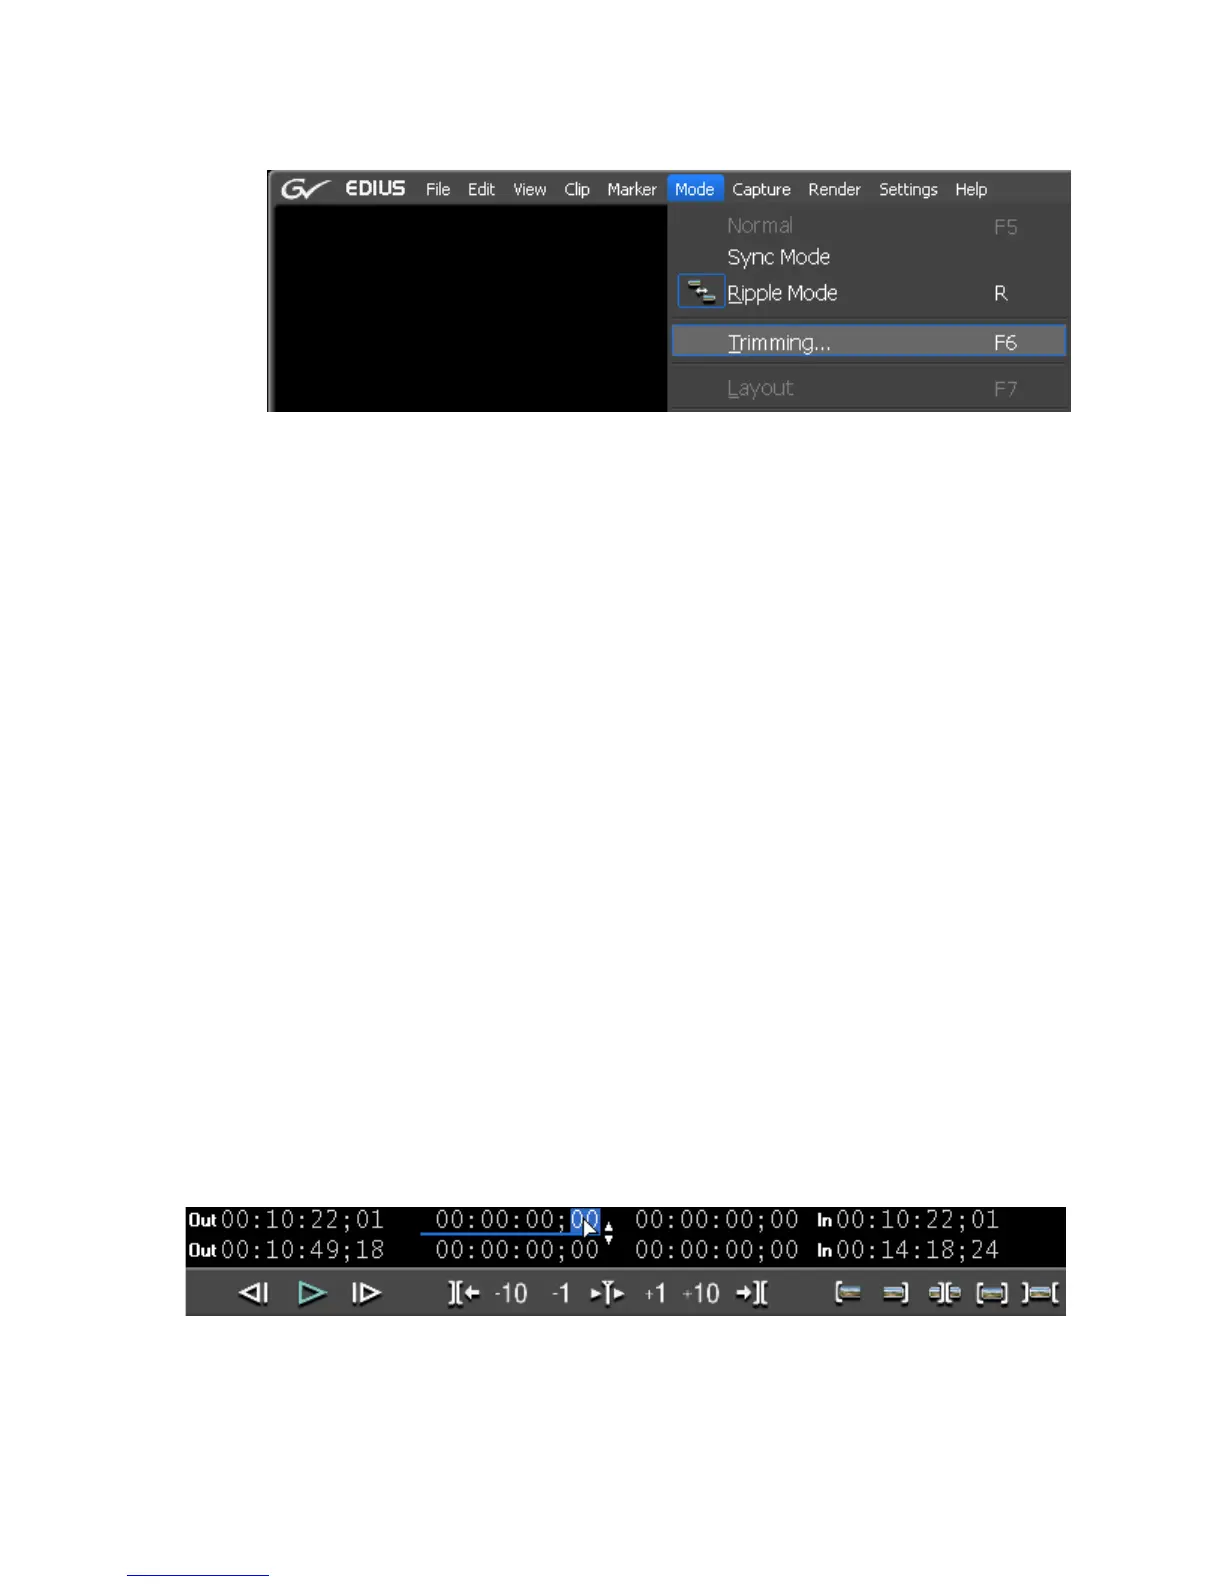
Figure 433. Trimming Mode Selection
The Preview window switches from normal mode to trim mode.
2. Click in the In (beginning) or Out (end) point of a clip to trim.
The color of the cut point changes to green or yellow and trimming is
enabled. The yellow cut point is the active cut point.
Select the appropriate trim mode button in the Trim window according to
the desired trimming type. See Table 5 on page 388 for more information on
Trim mode buttons.
The trimming mode changes according to the selected In and Out points.
For more information on trimming modes, see the following references:
• Ripple Trim on page 399
• Split Trim on page 401
• Slide Trim on page 403
• Slip Trim on page 405
• Rolling Trim on page 406
3. Enter the desired timecode to trim and press the [ENTER] key.
Move the mouse cursor to the timecodes at the bottom of the Preview
window. The mouse cursor shape changes. Click on the timecode to change
and a blue line appears under the timecode allowing entry of values. See
Figure 434 or an example.
Figure 434. Timecode Trim Entry
The Trim window may contain any of the timecodes shown in Figure 435.