PowerVault ML6000 Maintenance Guide 87
6 Open the module’s access door and raise the guide pin by pulling it up and turning it slightly, as if it were
a screw. Otherwise, the guide pin may scratch the front doors of the module beneath it.
7 Slide the entire module toward you and lift it off of the module below it.
Replacing the 5U Library Control Module
1 If they are not already removed, remove the tape drives and power supplies from the 5U Library Control
Module you are replacing.
2 If your library consists of more than just the 5U Library Control Module, using the Phillips #2 screwdriver
(for the top cover plate) and the T10 TORX screwdriver (for the bottom cover plate), remove the new
5U Library Control Module plates from the top and bottom of the module, as necessary.
• If your library consists of only the 5U Library Control Module, do not remove the plates.
• If you plan to stack the 5U Library Control Module at the top of the library, and if a 9U Library
Expansion Module is located below it, remove the 5U Library Control Module’s bottom cover plate.
• If you plan to stack the 5U Library Control Module in the middle of the library, remove both the top
and bottom cover plates.
• If you plan to stack the 5U Library Control Module at the bottom of the library, and if a 9U Library
Expansion Module is located above it, remove the 5U Library Control Module’s top cover plate.
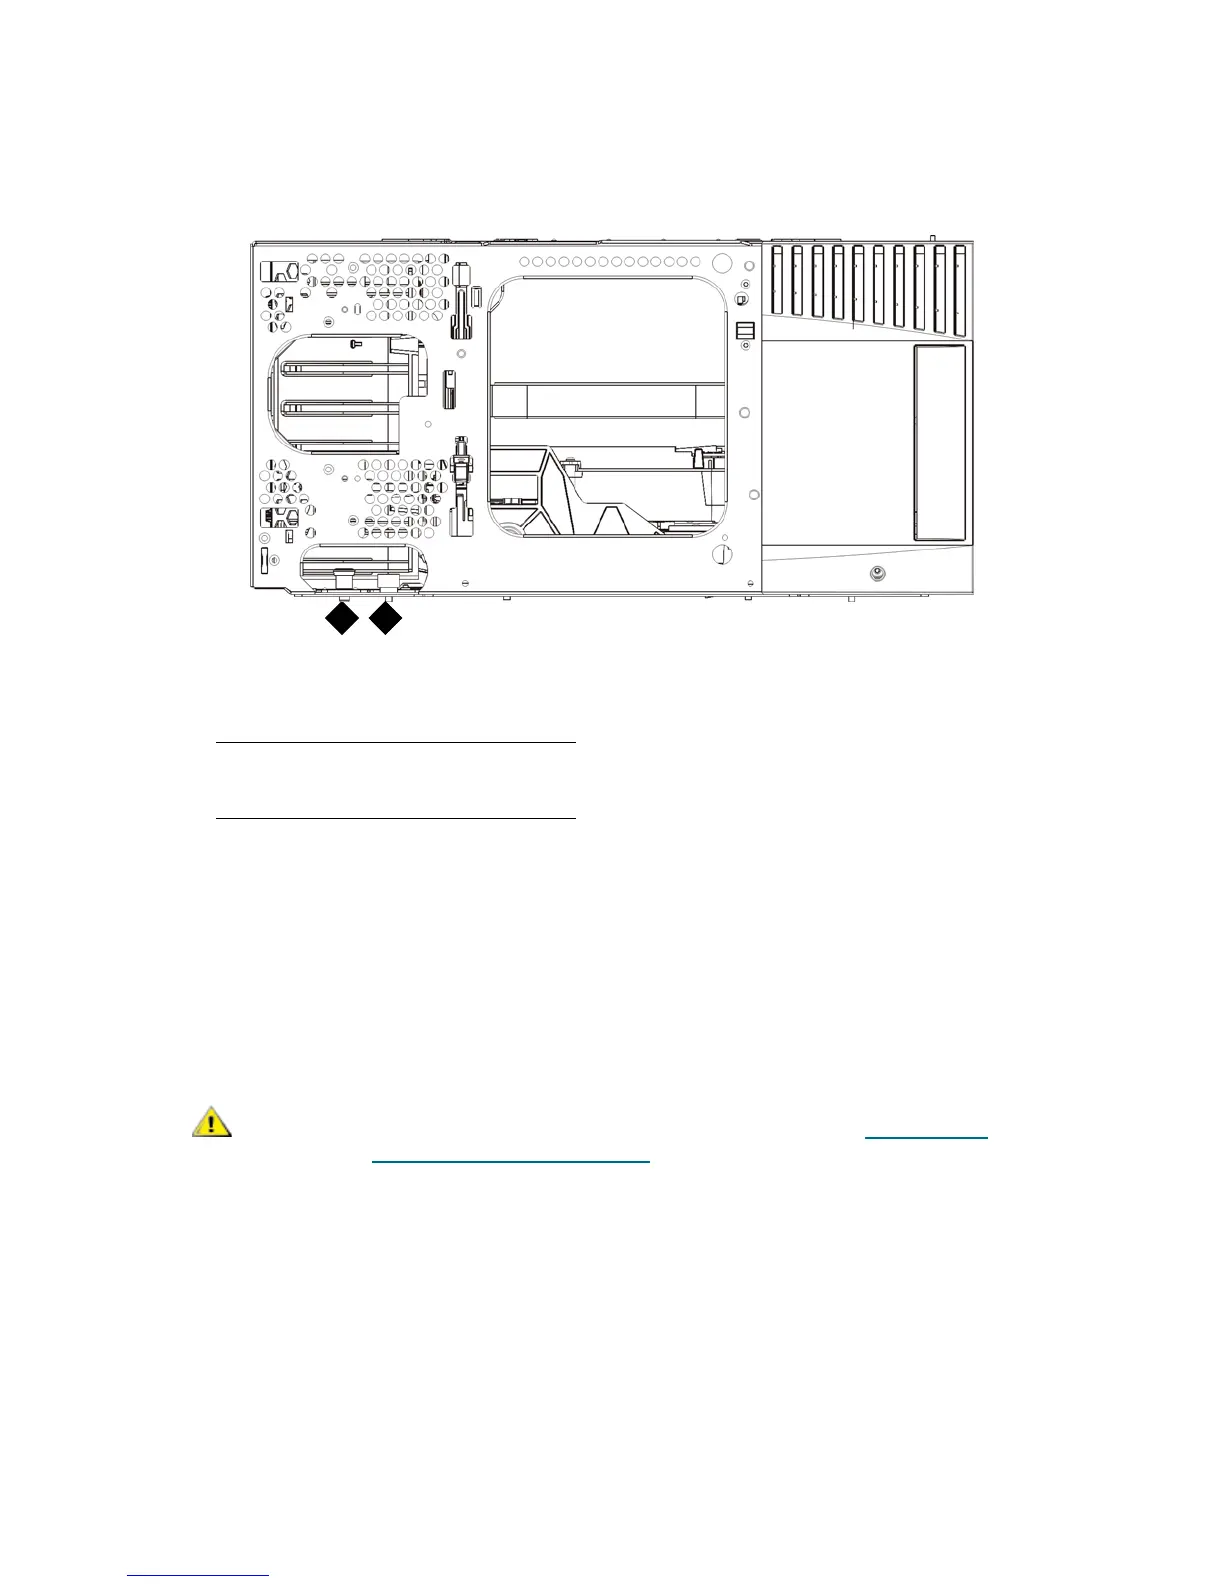
1 Guide pin
2 Thumbscrew
Before removing the 5U Library Control Module’s bottom cover plate,
the robot assembly must be parked as described in P
reparing to
Remove or Replace a Module on page 70.

 Loading...


