116 Library Installation and CRU Replacement
Installing the Bottom Module in the Rack
Required parts: Rack ears, M5 thumbscrews
Explanation of parts: Each rack ear contains two elongated holes, enabling you to fasten it to the rack
(using the M5 thumbscrews) in the most accessible mounting holes.
1 Place the desired module (whichever module you want to be the bottom module of the library) onto the
rack-mount shelves. From the front of the rack, lift the module onto the shelf and gently slide it into the
rack. Slide the module to the back of the rack, so that the front of the module is flush with the mounting
holes.
2 From the back of the rack, secure the module to the rack-mount shelves by tightening the two silver
thumbscrews that are attached to the rear of the rack-mount shelves.
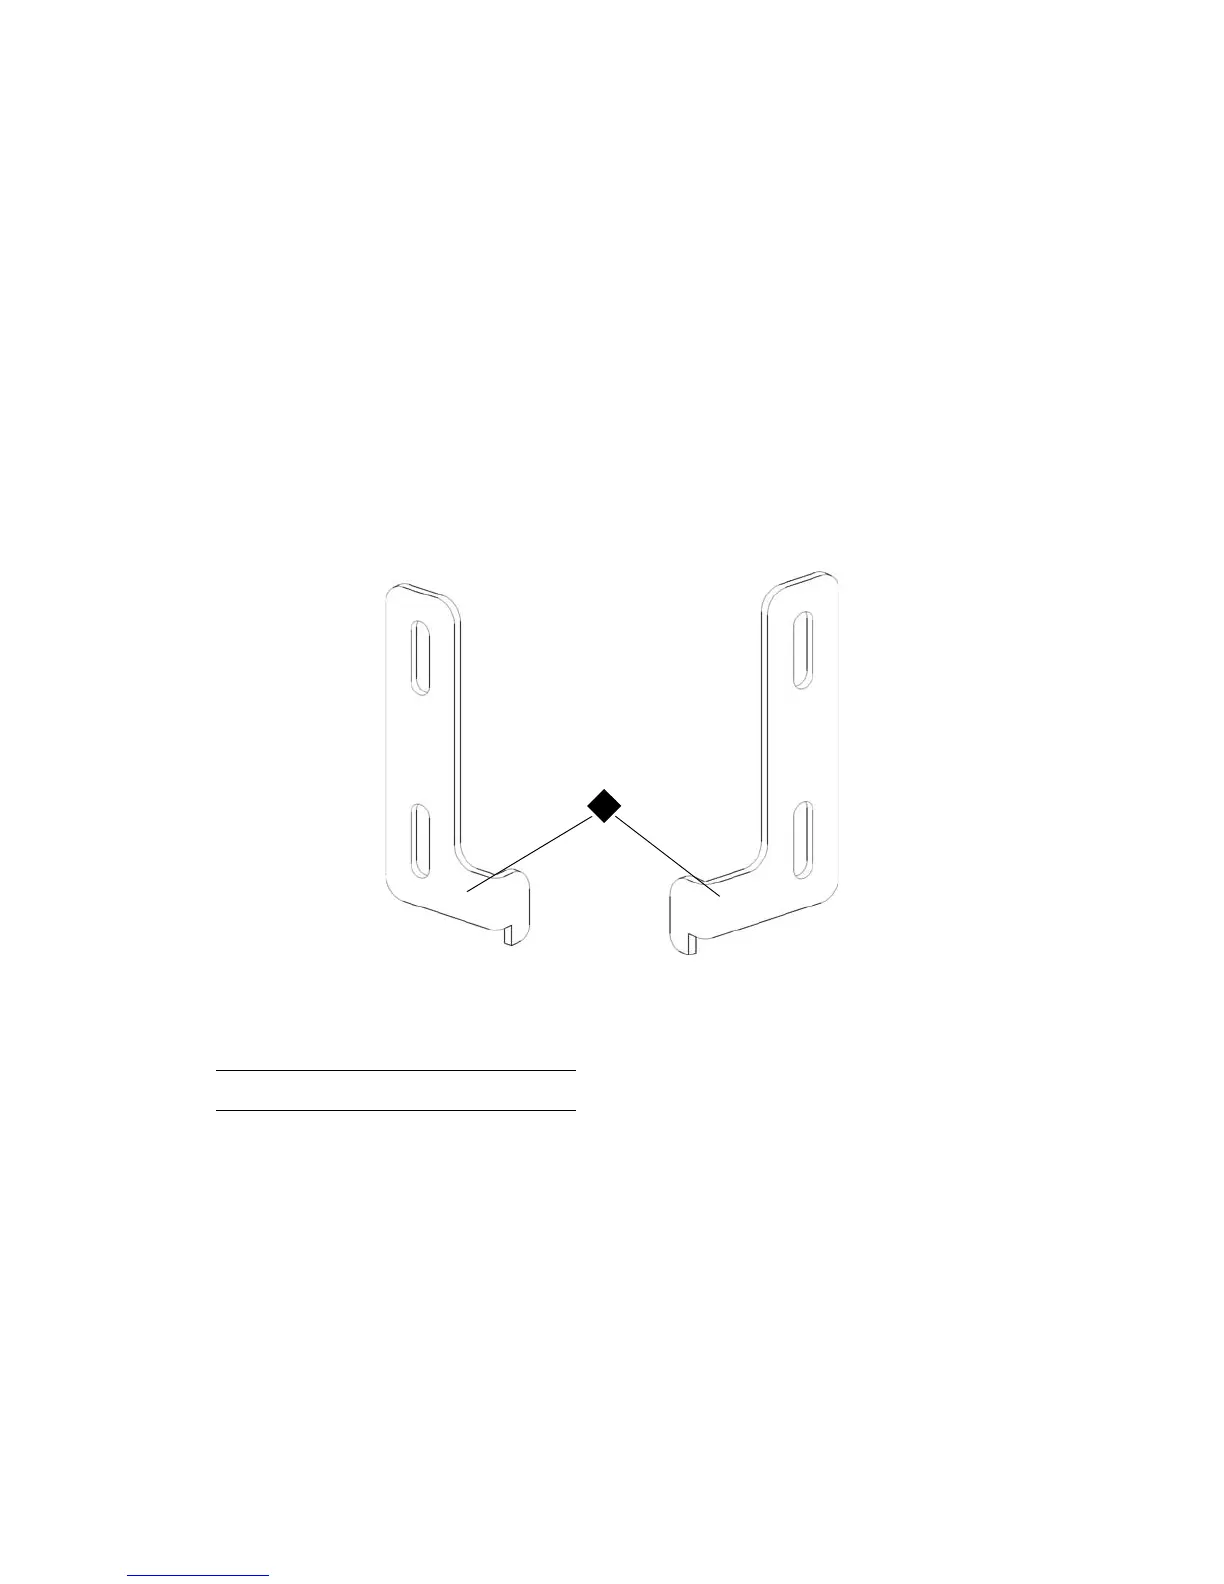
3 Install the right rack ear. At the front of the library:
a. Open the I/E station door. At the lower right corner of the module is a vertical slot. Insert the
hinge of the right rack ear into the slot, and then position the holes of the rack ear flush with the
rack rail.
1 Hinge of rack ears

 Loading...


