PowerVault ML6000 Maintenance Guide 171
Installing the Model 1 and Model 2 Robot Assemblies in the Library
This instruction covers both the Model 1 and the Model 2 robots. Differences are noted where they exist. If
a process step is the same for both robots, a figure may contain only the Model 1 robot or component, but
the action it illustrates is still correct.
Required tools:
• Phillips #2 screwdriver, for removing and replacing the top cover plate
• T10 TORX screwdriver, for loosening and tightening the thumbscrew that attaches the cable spool
clip to the robot assembly
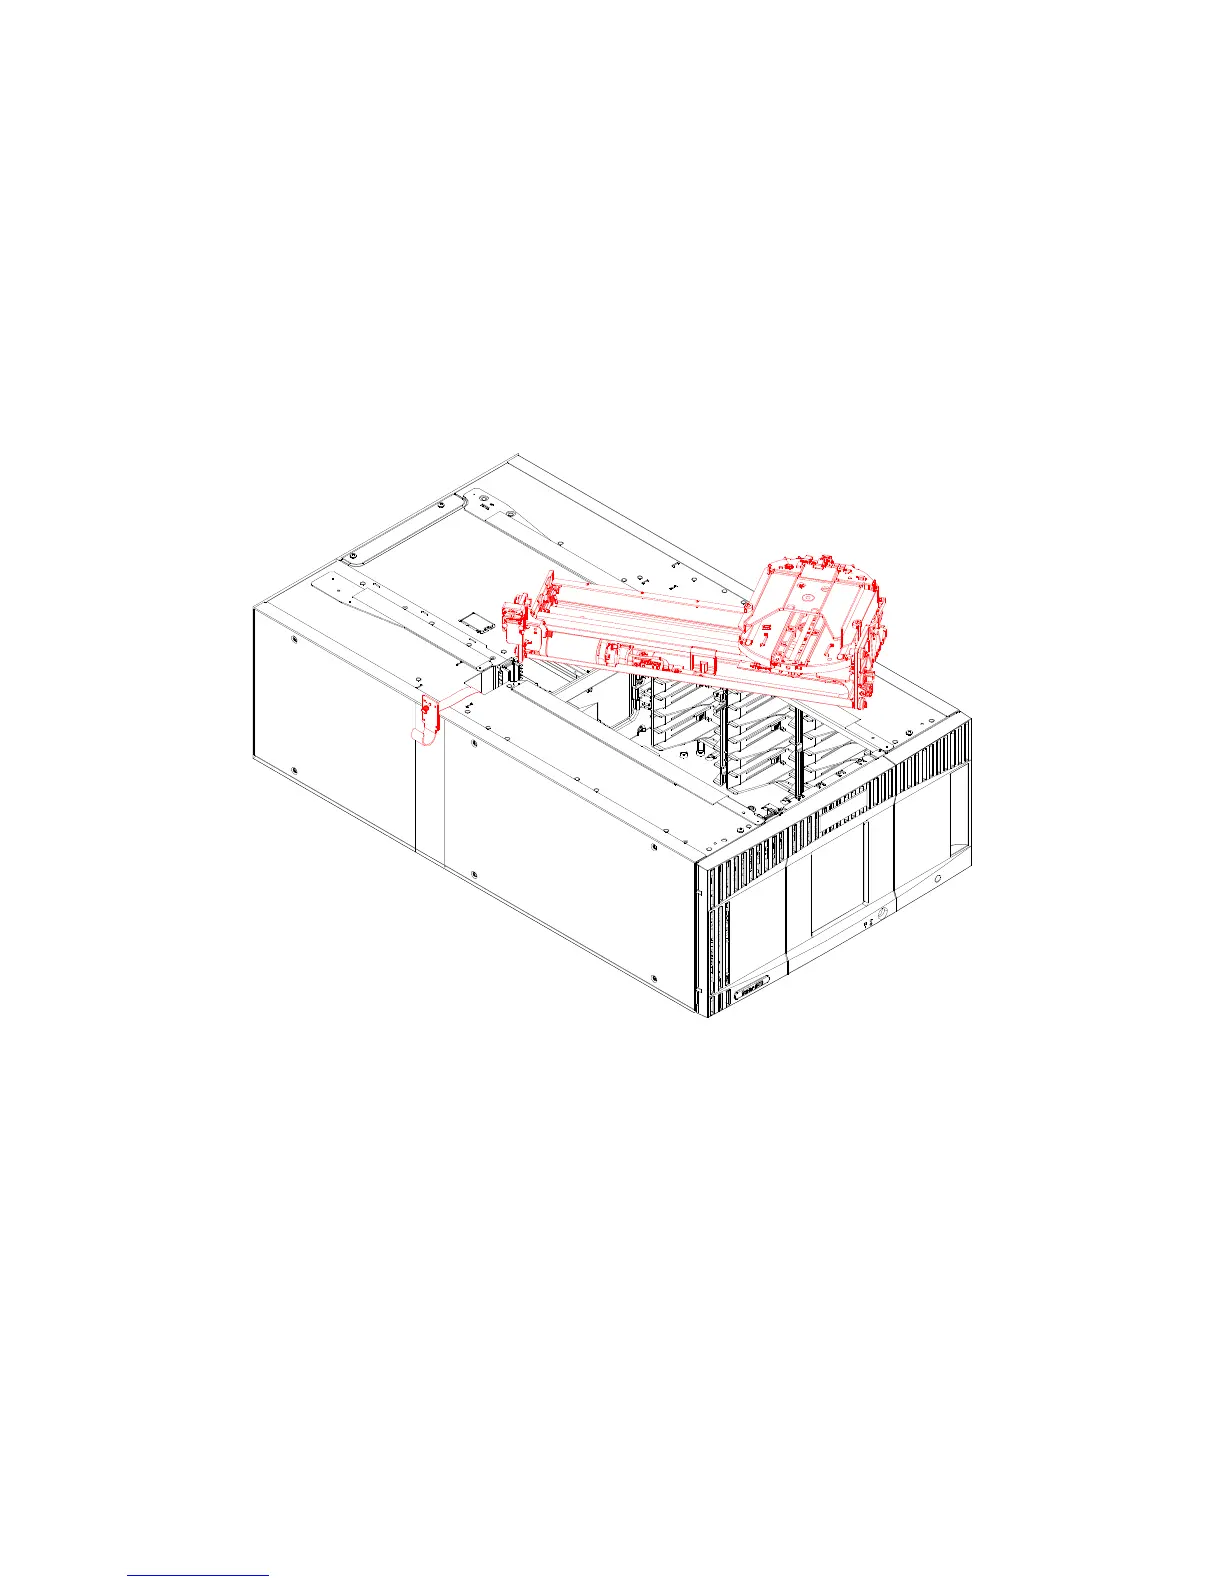
1 Place the robot assembly on top of the 5U Library Control Module at an angle, as shown below. This
position keeps the cable from kinking when you attach the cable spool in the next step.
2 Reattach the cable spool to the robot assembly, using the thumbscrew on the cable spool clip. Use the
T10 TORX screwdriver to tighten the thumbscrew until the attached lock washers compress. Do not
over-tighten, as this could break the thumbscrew.
3 Model 1 Robot Only - Placing in Library — Follow this step for the Model 1 robot only:

 Loading...


