164 General Service and Replacing FRUs
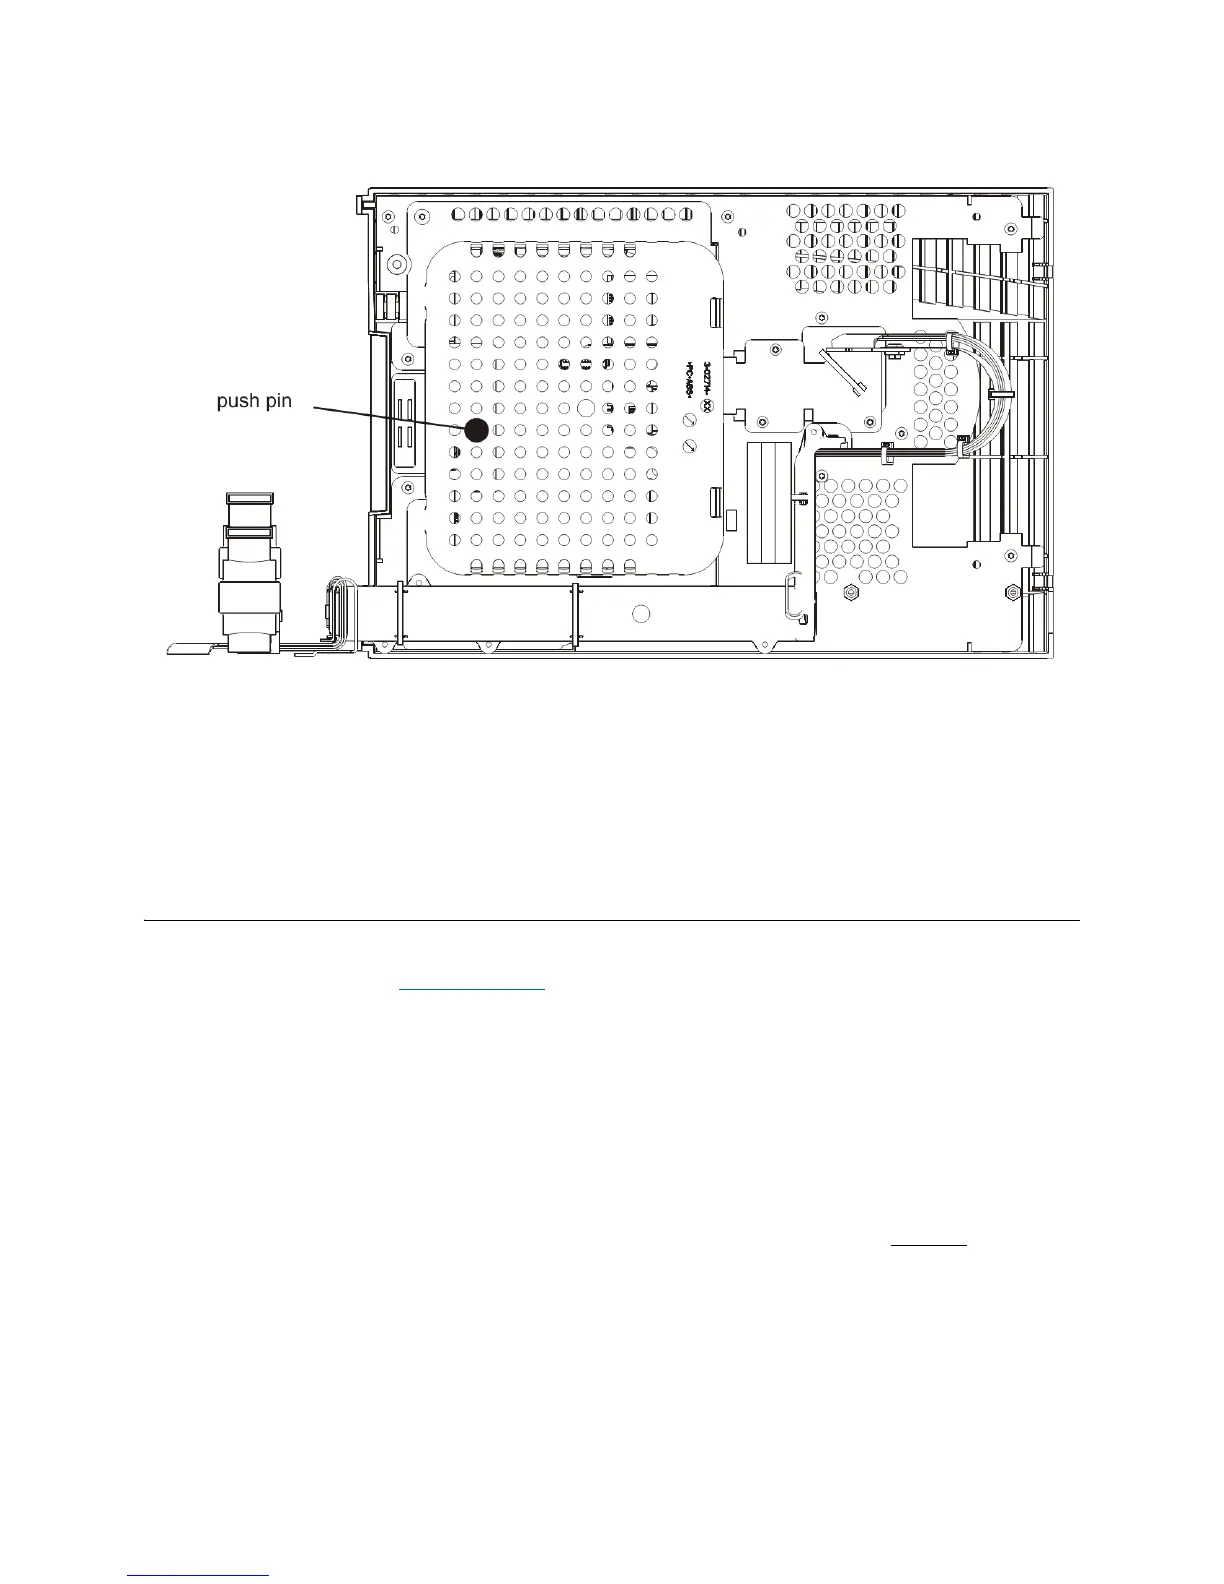
10 Replace the black cover that you removed earlier, and using your thumb, push the black push-pin to
secure the cover to the access door.
11 Close the access and I/E station doors.
12 Power on the library.
13 If the library does not power on using the front power button, verify that the cables on the LCD are
properly seated.
Removing and Replacing the Robot Assembly
As of November 2008, the robot assembly was changed. For pictures illustrating the differences, see the
procedures in this section or Robot Assembly
on page 442. The two robots are identified as follows:
• Pre-November, 2008 - The robot will be referred to as the "Model 1 robot" and the components as
the "Model 1 picker" and the "Model 1 Y-carriage assembly."
• November, 2008 and forward - The robot will be referred to as the "Model 2 robot" and the
components as the "Model 2 picker," the "Model 2 Y-carriage assembly," and the "Model 2 robot
controller board."
520G is the minimum version of library firmware that supports the Model 2 robot. The Model 2 robot allows
access to five additional slots in the library (the second-from-bottom row of slots is now available; the Model
1 robot could not reach them).However, although Model 2 robot assemblies will "fit" onto libraries that were
built with the Model 1 robot, Dell does not support switching them out. Robot versions must not
be changed
in the field. If a customer has a Model 1 robot, you must replace it with a Model 1 robot or components.
Similarly, if a customer has a Model 2 robot, you must replace it with a Model 2 robot or components.
The instructions for the Model 2 assemblies differ from those for the Model 1 assemblies. Both sets of
instructions are included below.

 Loading...


