46 Library Installation and CRU Replacement
Installing a Stand-Alone 5U Library Control Module
Required tools: None
Use this procedure to install a 5U library configuration:
1 Prepare the rack to hold modules, if you plan to install your library in a rack. See Using
the Rack-mount
Kit to Install a Library in a Rack on page 108 for instructions on installing a rack-mount kit.
2 Make sure all tape drives have been removed from the 5U Library Control Module. See Adding,
Removing, and Replacing Tape Drives on page 127 for instructions on removing tape drives.
3 Make sure all power supplies have been removed from the 5U Library Control Module. See Adding,
Removing, and Replacing Power Supplies on page 106 for instructions on removing power supplies.
4 Open the library’s I/E station door and access door and lift the 5U Library Control Module and place it
in the desired location.
5 If you are placing the control module in a rack, use the rack ears to fasten the 5U Library Control Module
to the rack.
6 If not already installed, install the library control blade (LCB) in the 5U Library Control Module. See
Removing and Replacing the Library Control Blade and LCB Compact Flash Card
on page 102 for
instructions on installing the LCB.
7 Add the tape drives to the module.
8 Install the power supplies. See Adding, Removing, and Replacing Power Supplies
on page 106 for
instructions on installing power supplies.
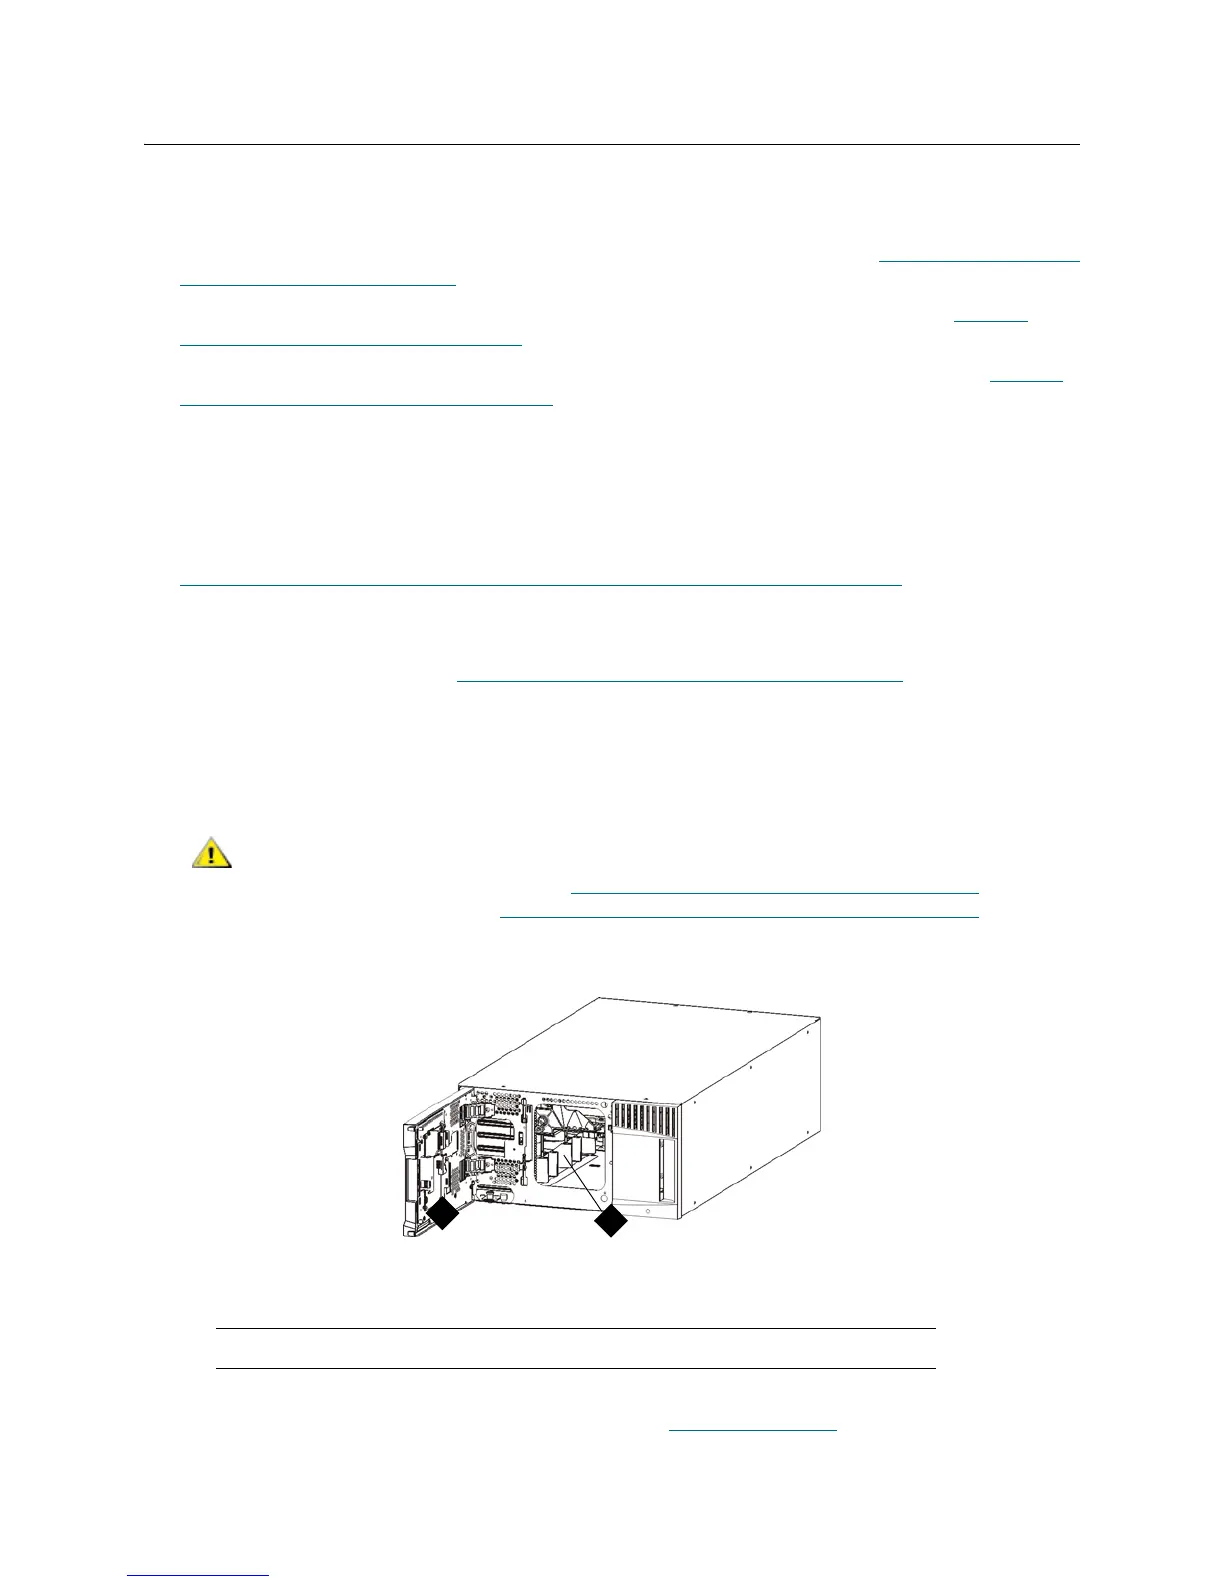
9 If tape blockers are required, make sure they are installed in the bottom two rows of the library. The tape
blockers block slots in the bottom two rows of the library. You can insert the tape blockers through the
open access door.
10 Close the library’s I/E station door and access door.
11 Connect all power cords and network data cables. See Cabling the Library
on page 22.
Libraries that have a Model 2 robot installed no longer use tape blockers. If
your library contains a Model 2 robot, do NOT install tape blockers. For
more information, see Removing and Replacing the Robot Assembly
on
page 164 and How to Determine Which Robot Your Library Contains
on
page 165.
1 access door 2 tape blockers (installed)

 Loading...


