EasyManuals Logo

Dell PowerVault ML6000 Maintenance Guide

Dell PowerVault ML6000
494 pages
To Next Page IconTo Next Page
To Previous Page IconTo Previous Page
Page #198 background imageLoading...
Page #198 background image
180 General Service and Replacing FRUs
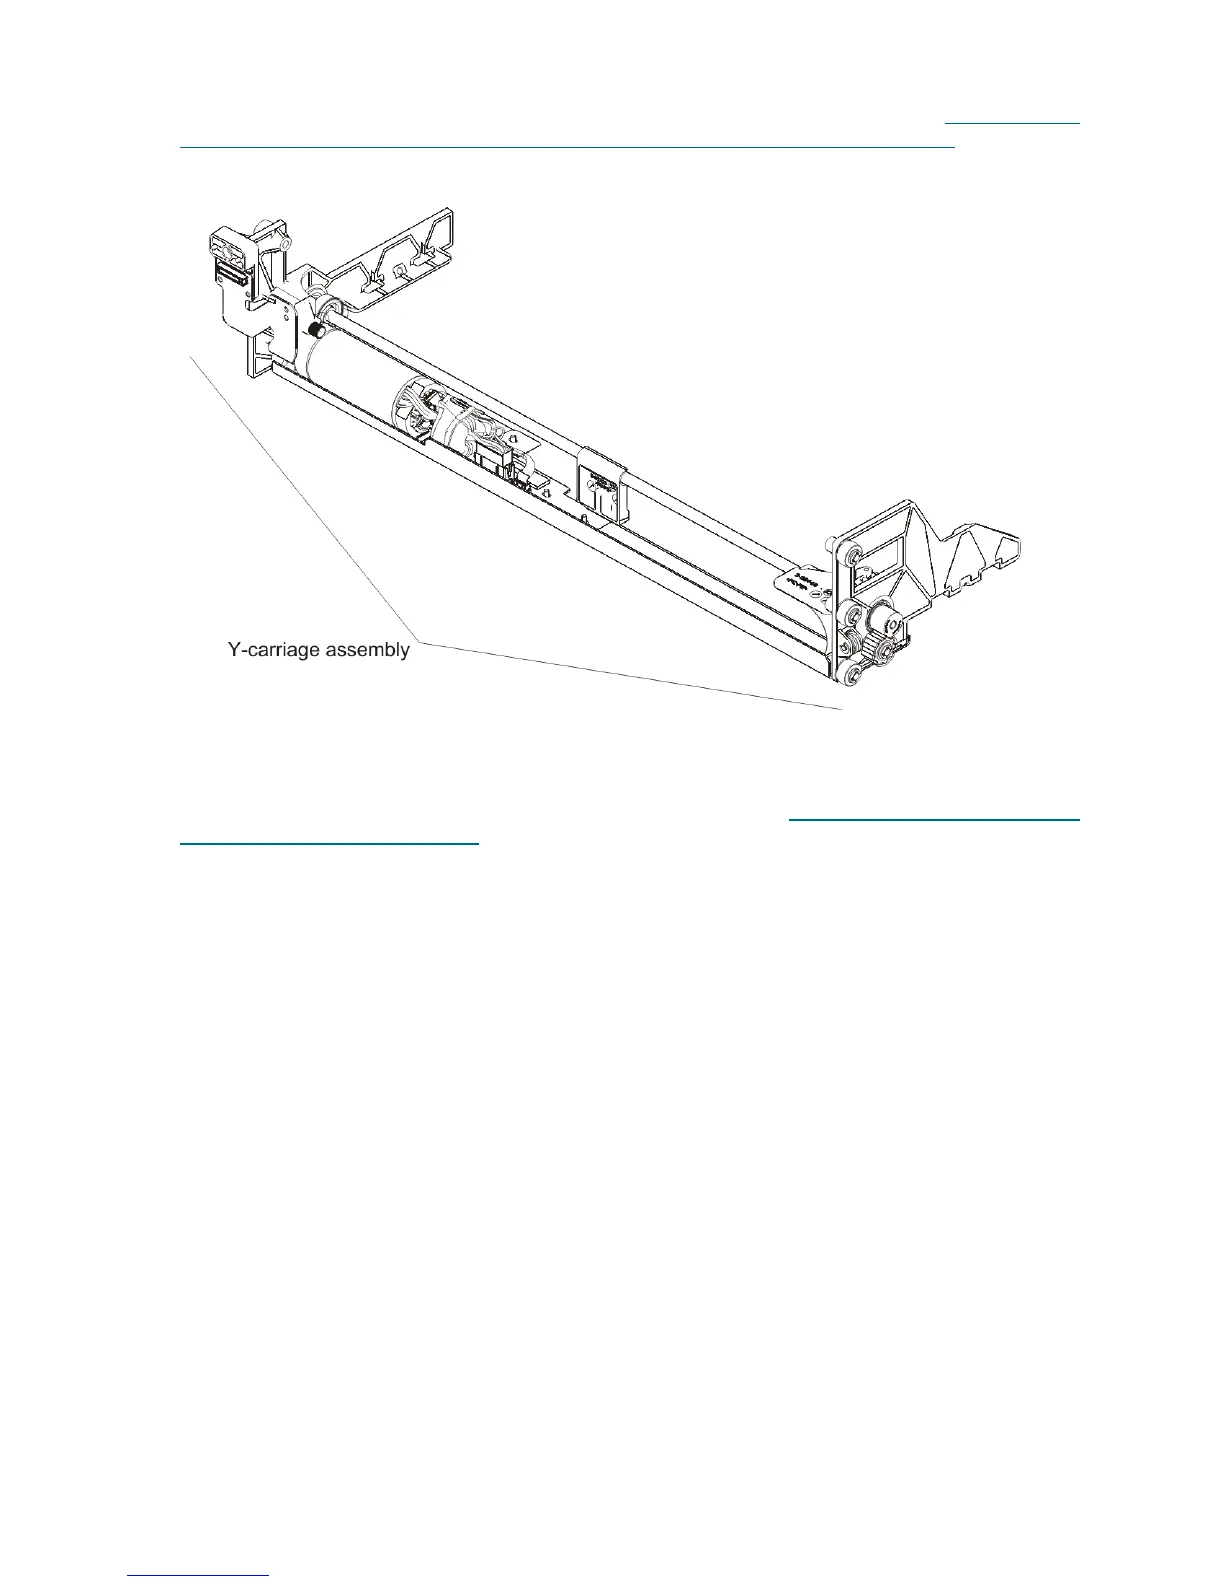
2 Separate the robot into the Y-carriage assembly and picker assembly. For details, see Removing and
Replacing the Model 1 Picker Assembly from the Y-Carriage Assembly Inside the Library on page 176.
(The instructions for removal are the same whether inside or outside of the library.)
3 Reassemble the new Y-carriage assembly and the picker assembly outside of the module.
4 Replace the robot in the library, following the complete instructions in Installing the Model 1 and Model
2 Robot Assemblies in the Library on page 171.
Model 1 robot

Table of Contents

Other manuals for Dell PowerVault ML6000

Questions and Answers:

Question and Answer IconNeed help?

Do you have a question about the Dell PowerVault ML6000 and is the answer not in the manual?

Dell PowerVault ML6000 Specifications

General IconGeneral
BrandDell
ModelPowerVault ML6000
CategoryStorage
LanguageEnglish

Related product manuals