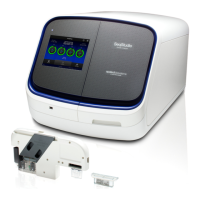
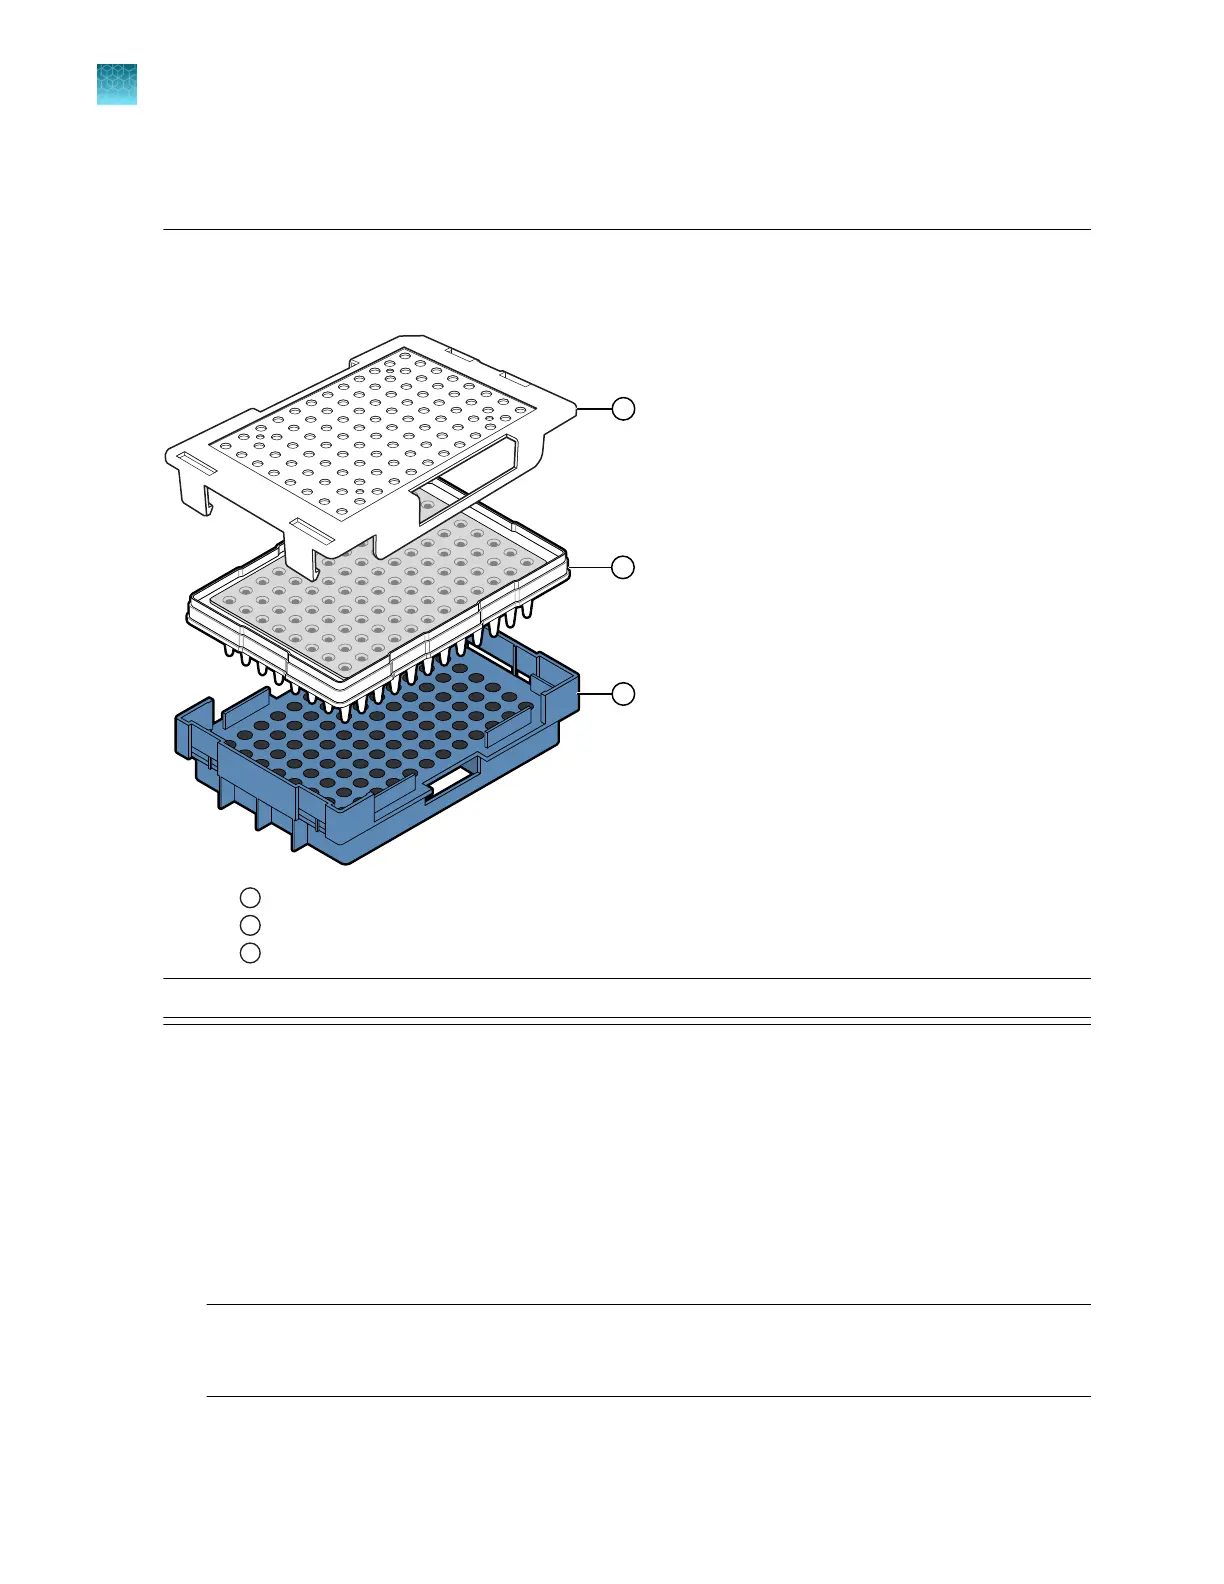
96-well plate assembly, standard or fast
IMPORTANT! Use the correct 96-well standard plate retainer and plate base with the same catalog
number. Using the wrong plate base may aect performance. See Appendix D, “Catalog numbers” for
plate assembly specifications and catalog numbers.
1
Plate retainer with one opening on side to allow barcode reading
2
Plate with septum
3
Plate base
Note: Reuse of the septum is not recommended.
1.
Align the holes in the septum with the wells of the plat
e, then press down firmly on the septa until
the septum lies flat on the plate.
2.
If the contents of any well contain bubbles or are not located at the bottom of the well, briefly
centrifuge the plate, remove the plate from the centrifuge, then verify that each sample is
positioned correctly in the bottom of its well.
3.
Place the plate into the plate base.
4.
Snap the plate retainer (cover) onto the plate base.
IMPORTANT! Ensur
e that the plate retainer is firmly snapped in place on top of the plate (see
“Prepare the plate assembly” on page 77). If the retainer is not snapped in place, the plate
assembly can become jammed in the drawer.
Chapter 3 Prepare the samples
Prepare and assemble sample plates
3
78
SeqStudio
™
Flex Series Genetic Analyzer with Instrument Software v1.0 User Guide