82 Library Installation and CRU Replacement
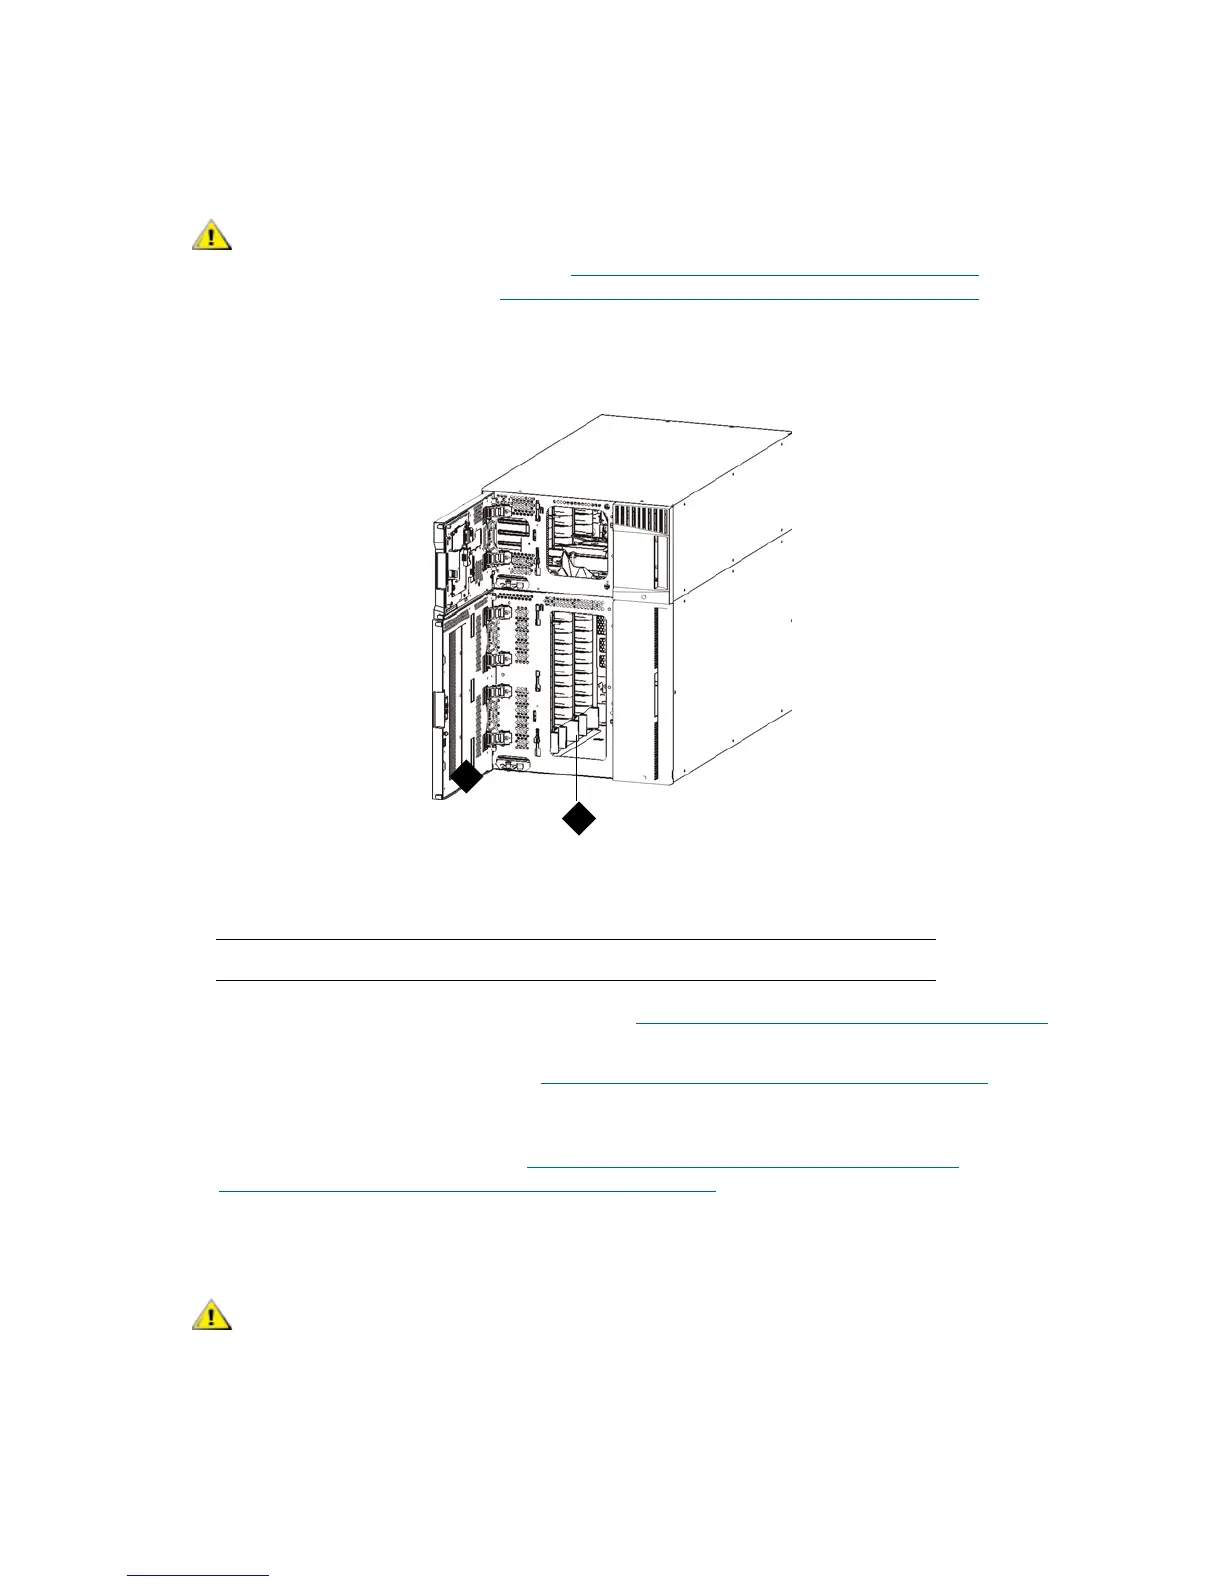
2 Install the tape blockers (if required) in the bottom row of the lowest module of the new configuration.
The tape blockers block slots in the bottom two rows of the library. You can insert the tape blockers
through the open access door.
3 Add the tape drives to the modules. For details, see Adding, Removing, and Replacing Tape Drives
on
page 127.
4 Add the power supplies. For details, see Adding, Removing, and Replacing Power Supplies
on page
106.
5 If your library contains FC I/O blades, install both the I/O blades and the accompanying fan blades in
the expansion module. For details, see Adding, Removing, and Replacing FC I/O Blades
on page 130
and Adding, Removing, and Replacing the FC I/O Fan Blade
on page 137.
6 Unpark the robot assembly.
a. Gently raise the robot assembly so that it no longer rests on the parking tab.
Libraries that have a Model 2 robot installed no longer use tape blockers. If
your library contains a Model 2 robot, do NOT install tape blockers. For
more information, see Removing and Replacing the Robot Assembly
on
page 164 and How to Determine Which Robot Your Library Contains
on
page 165.
1 access door 2 tape blockers (installed)
Support the robot assembly by holding onto the broad metal X-axis
base plate. Lifting the robot by the thin metal rod will bend the rod.
Lifting the robot by the black plastic picker body can damage the
robot.

 Loading...


