PowerVault ML6000 Maintenance Guide 83
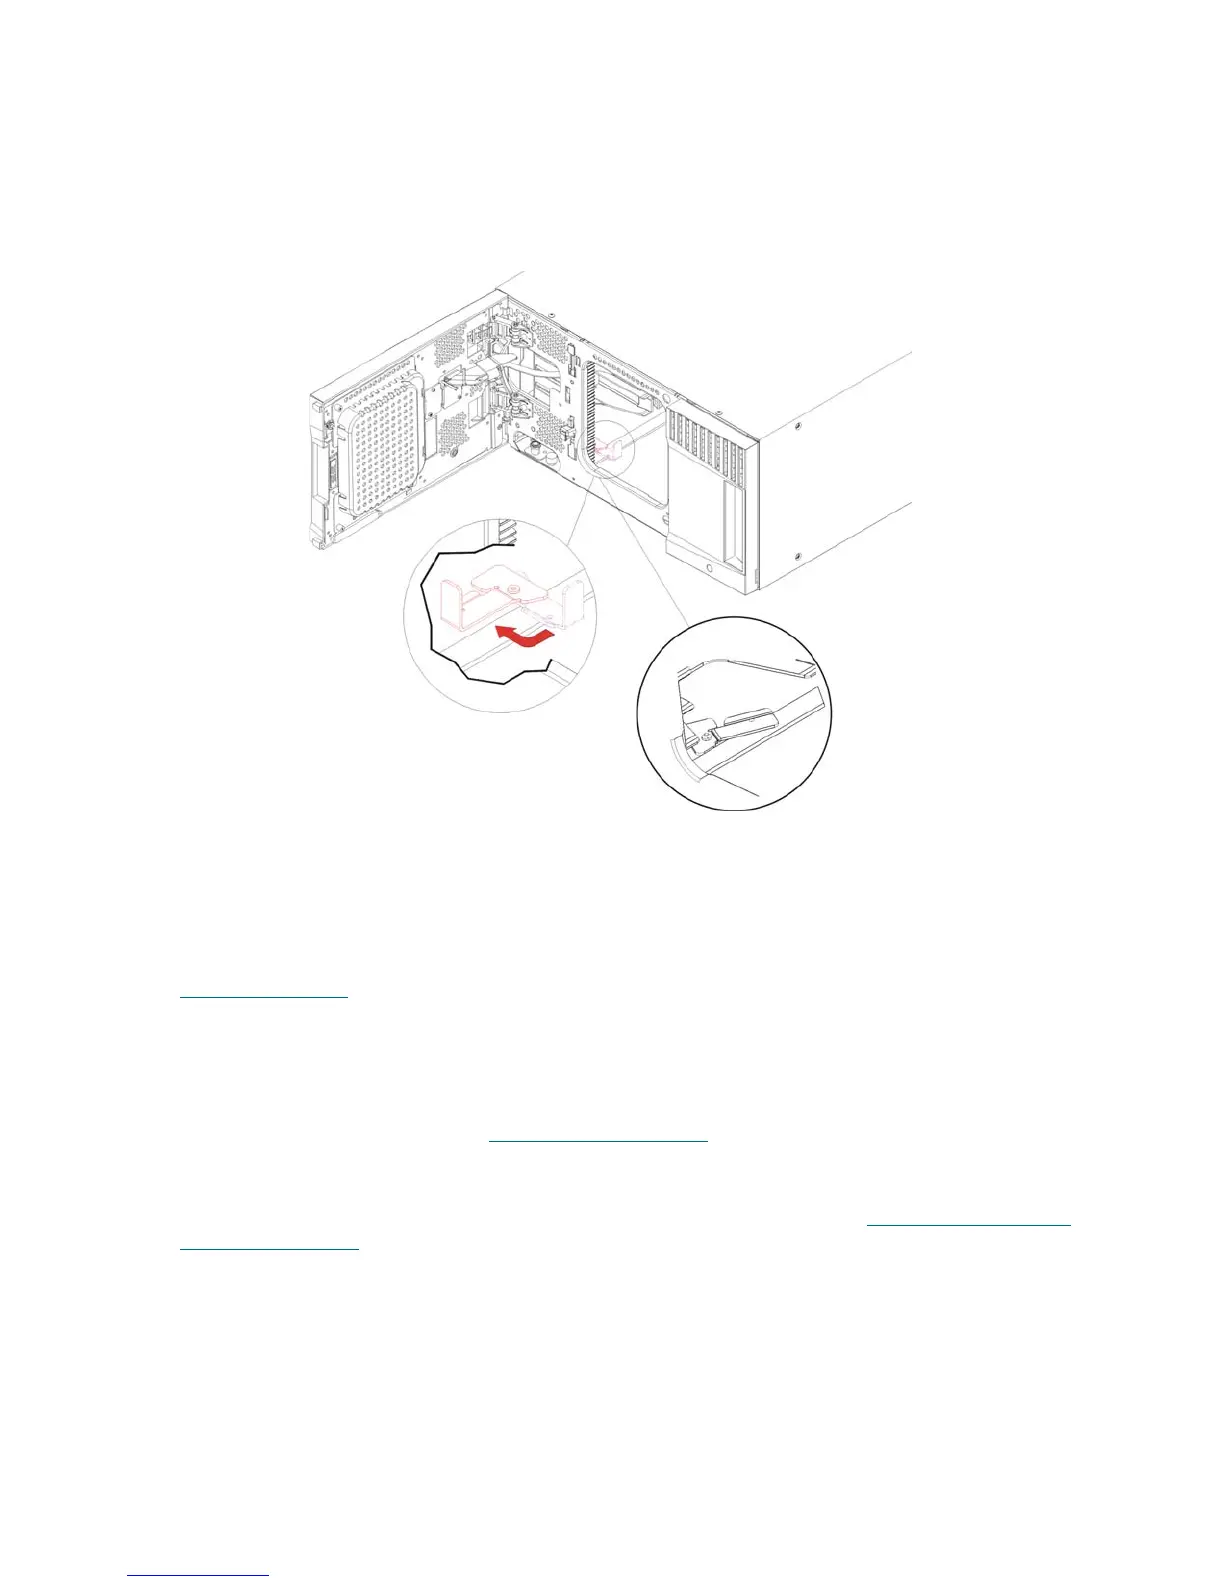
b. With your free hand, move the parking tab to the "unparked" position so that it is removed
completely from the interior of the module (Model 1 parking tab: swivel the parking tab away
from you; Model 2 parking tab: move in a clockwise direction). When replaced correctly, the
parking tab will not accidentally swivel into the path of the robot.
c. Gently release the robot assembly. It will lower to the bottom module of the library.
7 Close the library’s I/E station and access doors.
8 Connect all power cords, network data cables, and module-to-module cables. Make sure the module
terminators are installed at the top and bottom of the stack of modules. For cabling instructions, see
Cabling the Library
on page 22.
9 Power on the library.
10 Re-create and/or modify partitions, cleaning slots, and I/E station slots as desired.
11 Import tape cartridges to the correct library partitions as needed.
12 Save the library configuration (see Saving the Configuration
on page 13).
13 If the host application inventories the location of each tape cartridge in the library, open the host
application and reinventory to sync its logical inventory with the physical inventory of the library. Due to
the way the library logically addresses its tape drives and slots internally (see Understanding Logical
Element Addressing on page 543), permanently removing an expansion module from the library will
change the element addresses, and this can affect proper communication to a controlling host. Because
of this, you must refresh the configuration of any backup application that manages the library to reflect
the adjusted positions. In addition, you may need to reboot the host server(s) or rescan the bus to detect
the changes.

 Loading...


