PowerVault ML6000 Maintenance Guide 99
a. From the front of the library, open the I/E station and access doors of the 9U Expansion Module.
Squeeze the handle of the Y-rail release mechanism, lift it out of its locked position, and slide
it downward as far as it will go.
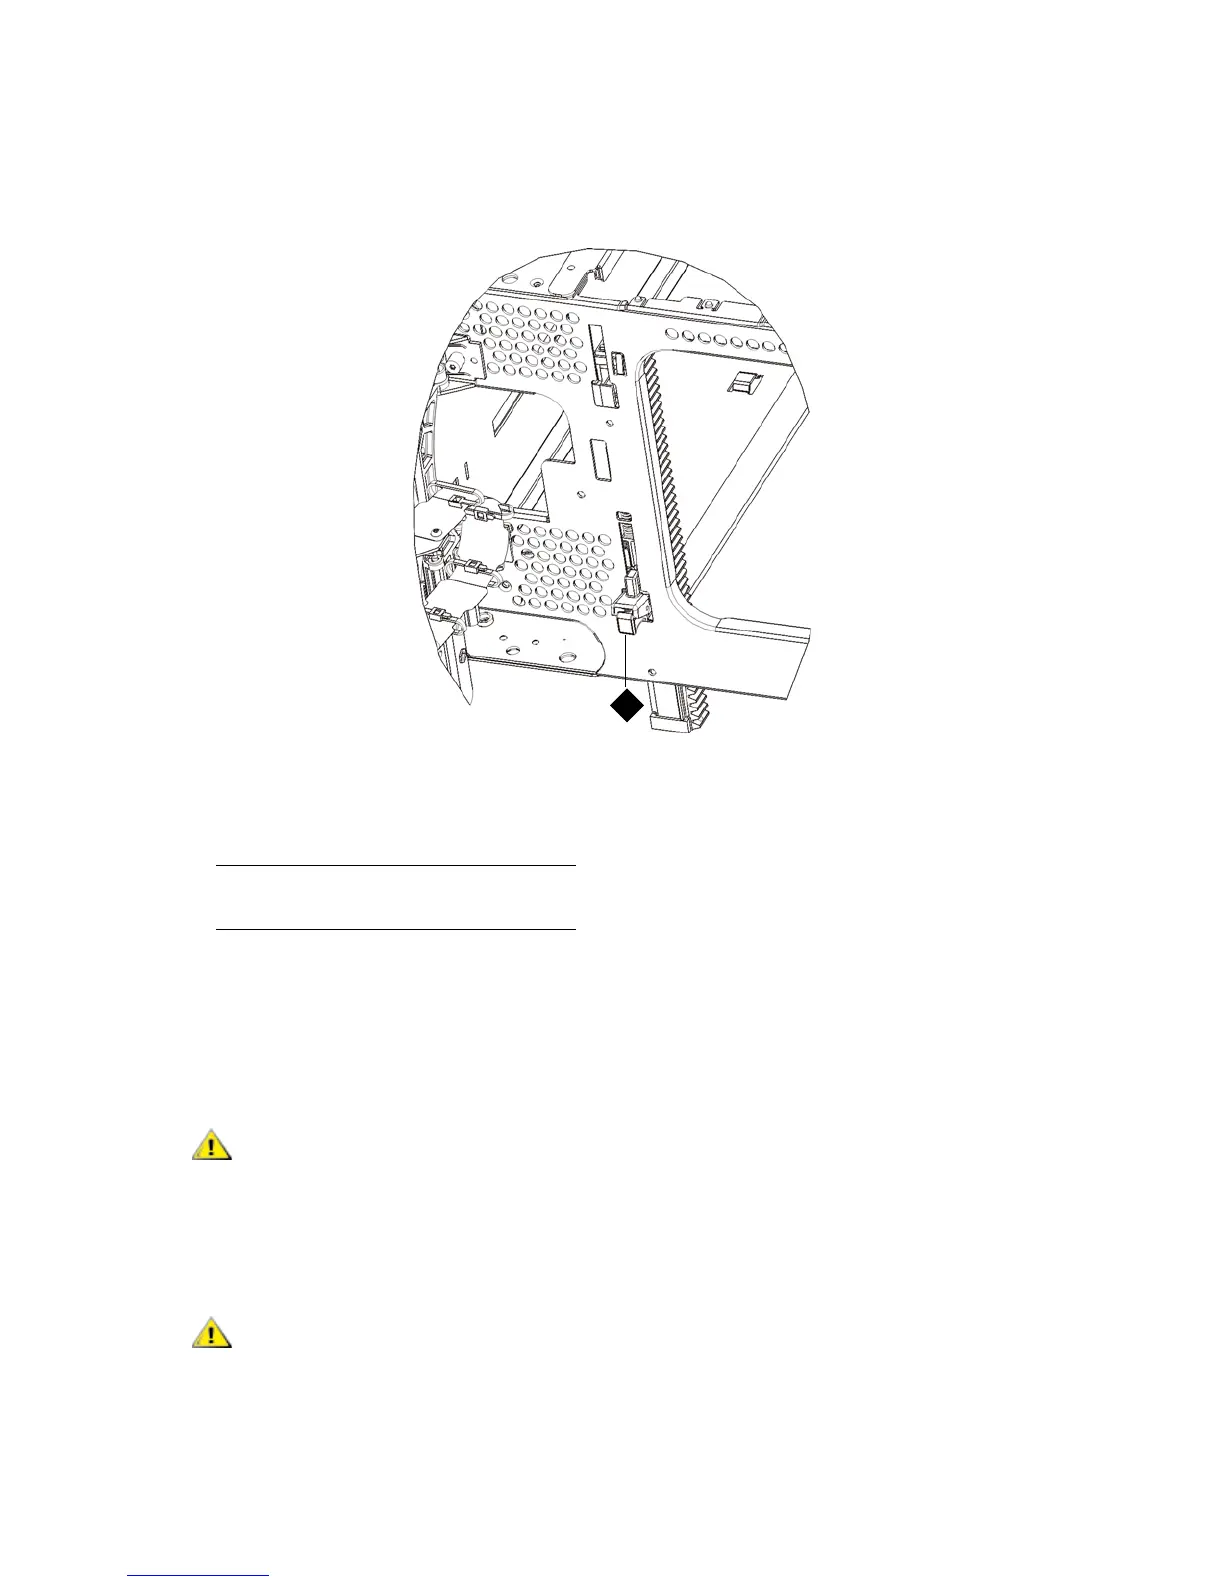
b. From the back of the library, find the rear Y-rail release mechanism, which is located in the
interior of the right side of the module. Squeeze the handle of the Y-rail release mechanism, lift
it out of its locked position, and slide it downward as far as it will go.
Doing this aligns the Y-rails with the Y-rails of the module beneath it.
9 Unpark the robot assembly.
a. Gently raise the robot assembly so that it no longer rests on the parking tab.
1 Y-rail in unlocked, functional
position
Check to make sure that there is no gap between the top and bottom
Y-rails on both the front and back of the library. If a gap exists, the
library cannot mechanically initialize.
Support the robot assembly by holding onto the broad metal X-axis
base plate. Lifting the robot by the thin metal rod will bend the rod.
Lifting the robot by the black plastic picker body can damage the
robot.

 Loading...


