PowerVault ML6000 Maintenance Guide 177
Required tools: T10 Torx screwdriver, to loosen the picker assembly thumbscrews
1 Power off the library.
When the library is powered off, the robot assembly slowly falls to rest in the bottom module of the
library. You can service the picker assembly from this bottom module.
2 Open the bottom module’s I/E station and access doors.
3 Reach inside the access door and rotate the picker so you can access the X-axis flex cable, which is
located to the left of the picker.
To obtain easy access to the X-axis flex cable, rotate the picker so its fingers point to the left rear corner
of the control module.
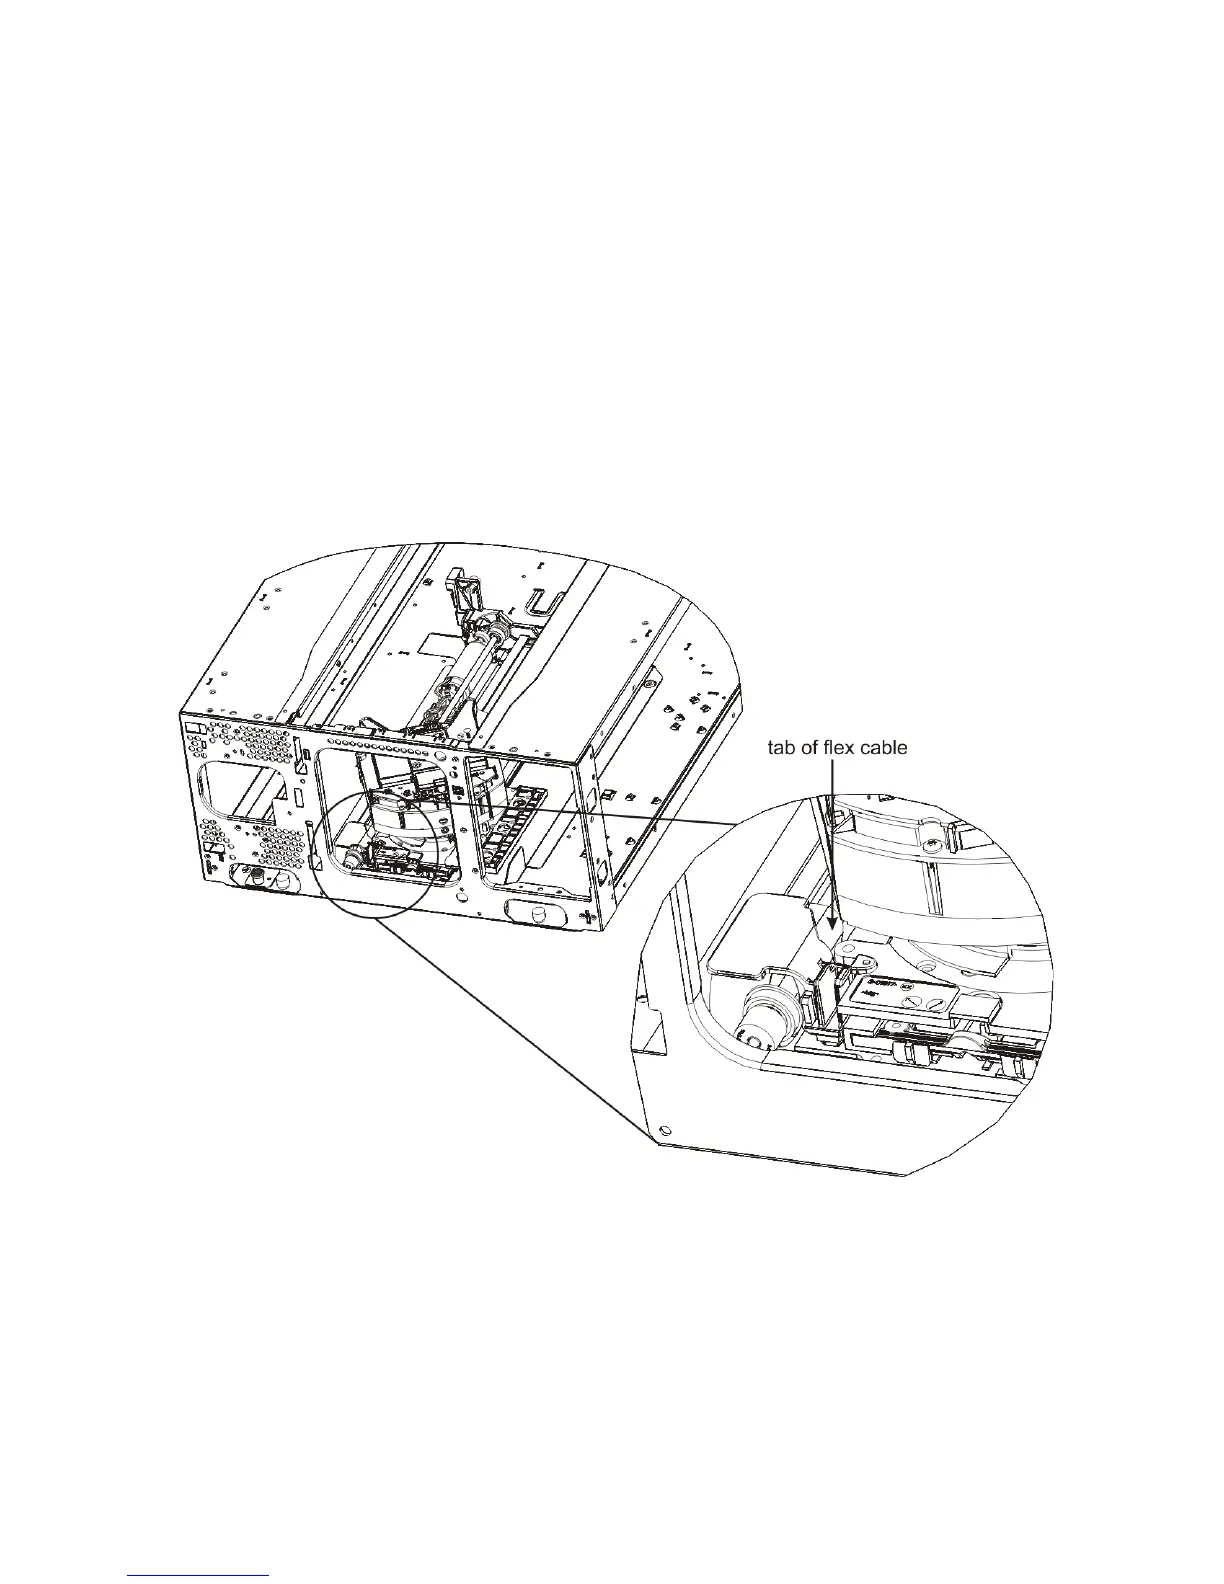
4 Disconnect the X-axis flex cable.
Using your hand, squeeze the tab of the flex cable, and then pull the cable out and up. The other end
of the flex cable remains attached.

 Loading...


