178 General Service and Replacing FRUs
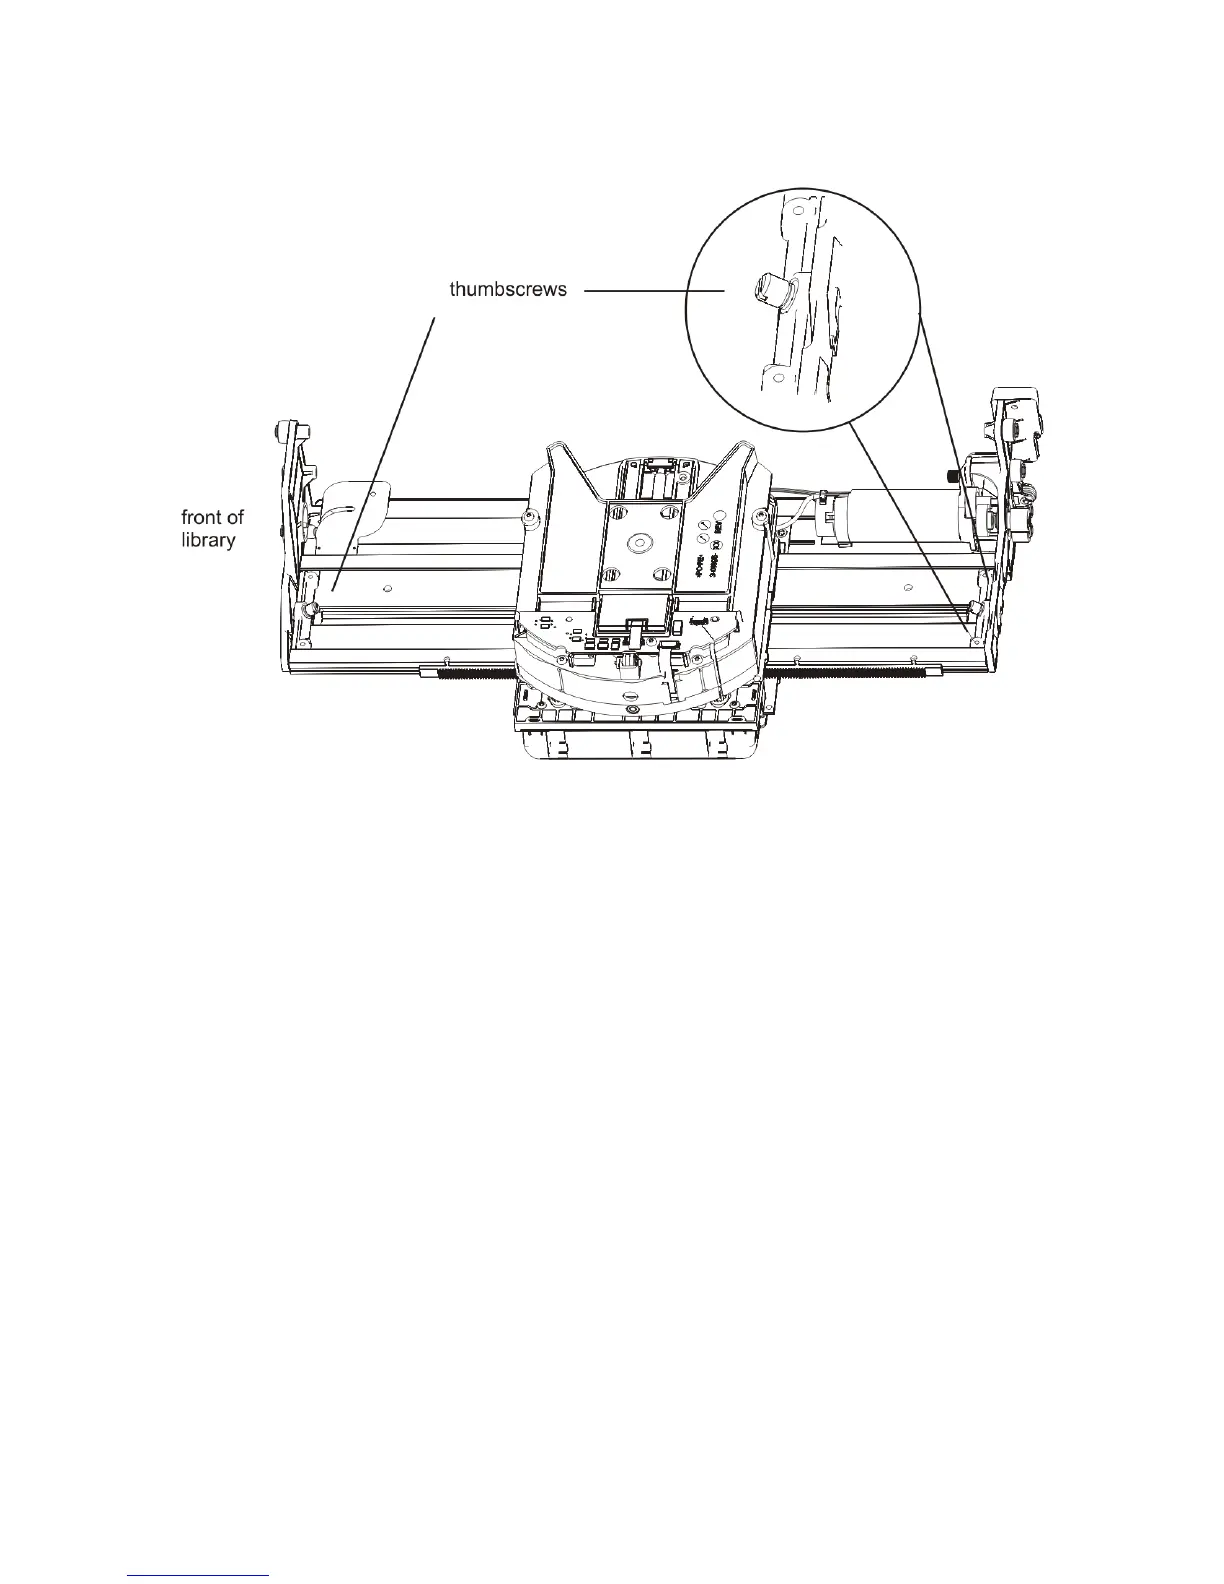
5 Using the T10 Torx screwdriver, loosen the thumbscrews located at the front and back of the picker
assembly. You may need to slide the picker to access the thumbscrews.
6 Lift the picker assembly up and out of the 5U Library Control Module, through the access door. You will
need to turn it on its side to remove it from the access door.
7 Replace the picker assembly with the new one. When inserting the new picker assembly, first align the
rear indexing features, and then align the front indexing features and set the assembly into place. The
picker assembly must be level.
8 Tighten the thumbscrews located at the front and back of the picker assembly.
9 Reconnect the X-axis flex cable. Remember that the black tab of the X-axis flex cable should be
positioned above the bar of the picker assembly.
Align the semi-circular part of the flex cable’s tab with the post on the translator base of the picker
assembly. Squeeze the tab, and push the cable connector down into its socket. Then push the tab
toward the picker until it snaps into place.

 Loading...


