BPswitch Operators Manual
224 / 413
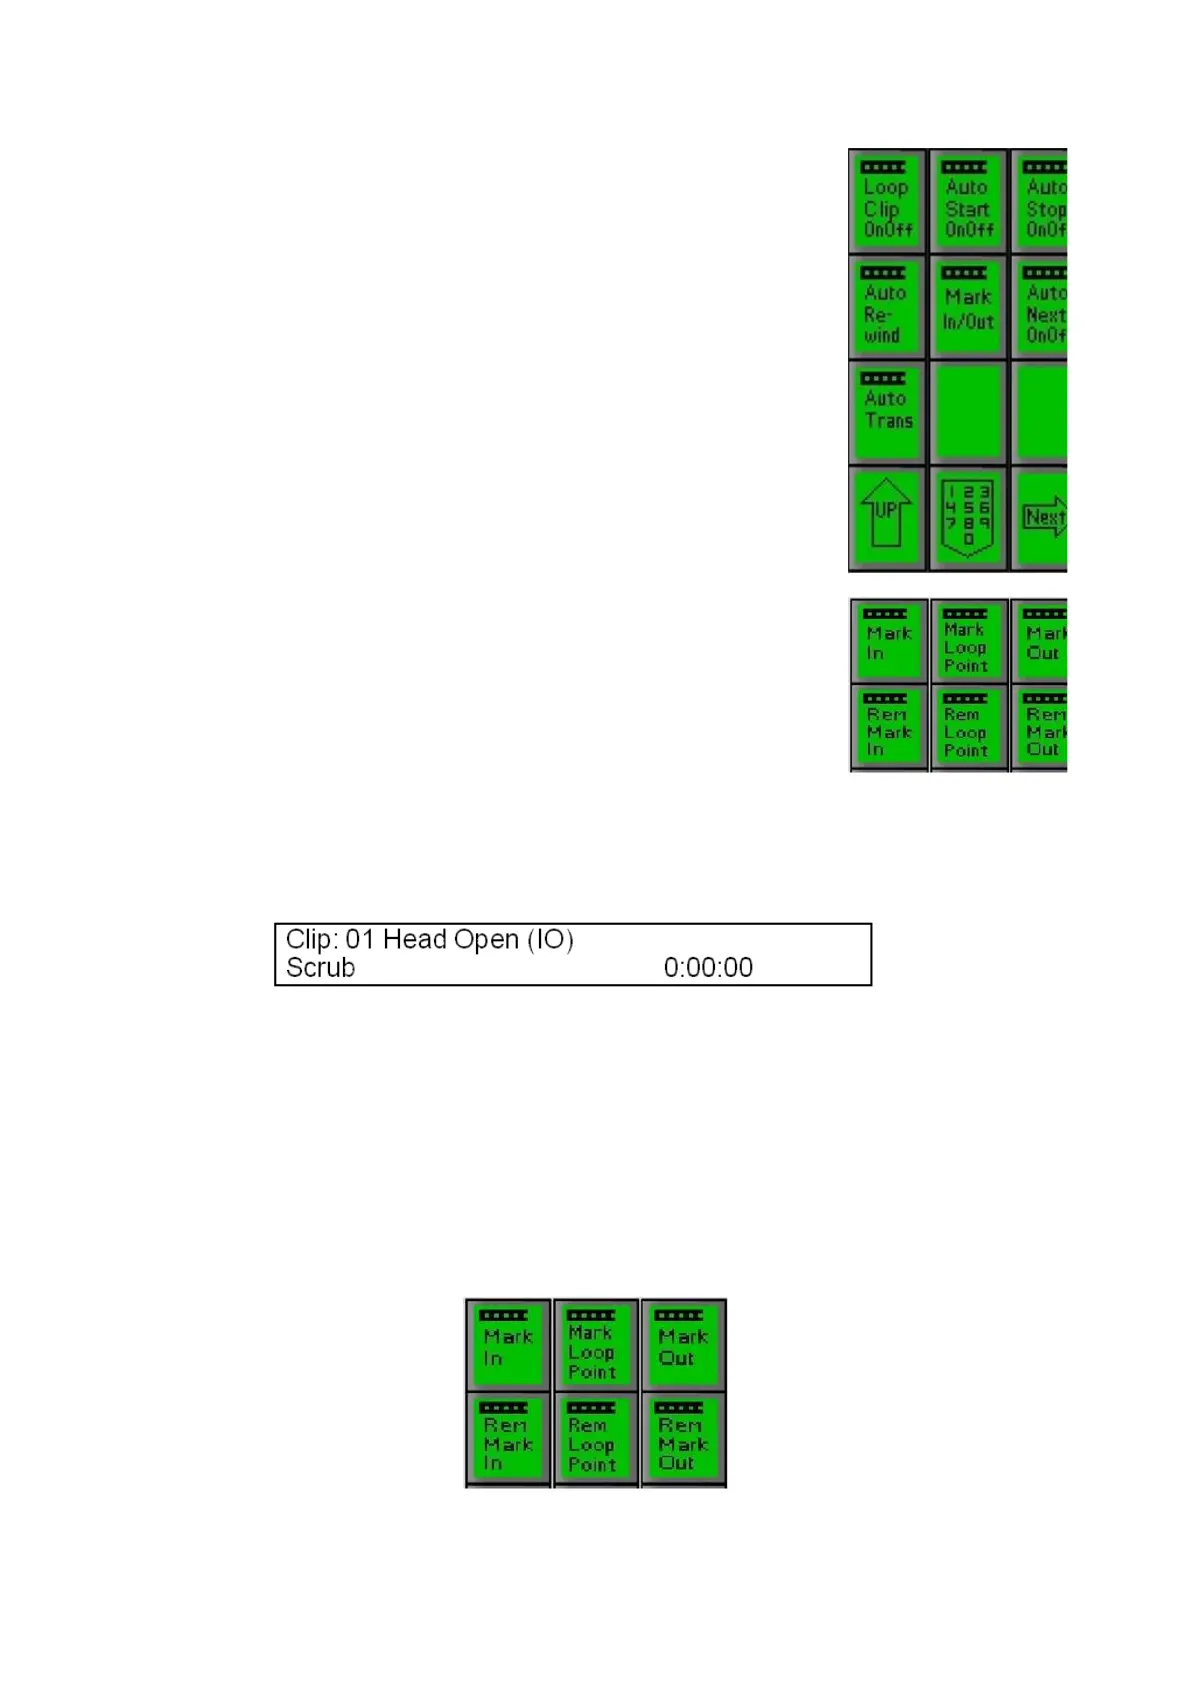
On any clip PixPad, press the [Controls] PixButton, which
will bring up the clip controls PixPad, as shown on the
right.
If the Clip Store is not on preview, then put it there by
pressing the Clip Store button on the preview row. Or you
may use the source monitors in the Multi-View.
Press the [>] motion button to start the clip playing.
Press the [Mark In/Out] PixButton, and a new PixPad will
appear.
When the clip reaches the point you wish for a mark-in
point, press the [Mark In] PixButton.
When the clip reaches the point you wish for a mark-out
point, press the [Mark Out] PixButton.
To let you know that Mark-In and Mark-Out points have be set for a clip, the letters
“I” and/or “O” respectively are appended to the clip name in the display as
illustrated below:
To Remove Mark Points:
When setting new in and out points, you first need to remove each point before
selecting a new ones. This not only ensures the new points are added, but it also
allows you to view/scrub footage beyond the previous in and out points.
Press the [Rem Mark In] and/or [Rem Mark Out] PixButtons. When pressed, the
respective letters “I” and/or “O” that had been appended to the clip name in the
display will disappear to let you know that the mark points are gone.