BPswitch Operators Manual
228 / 413
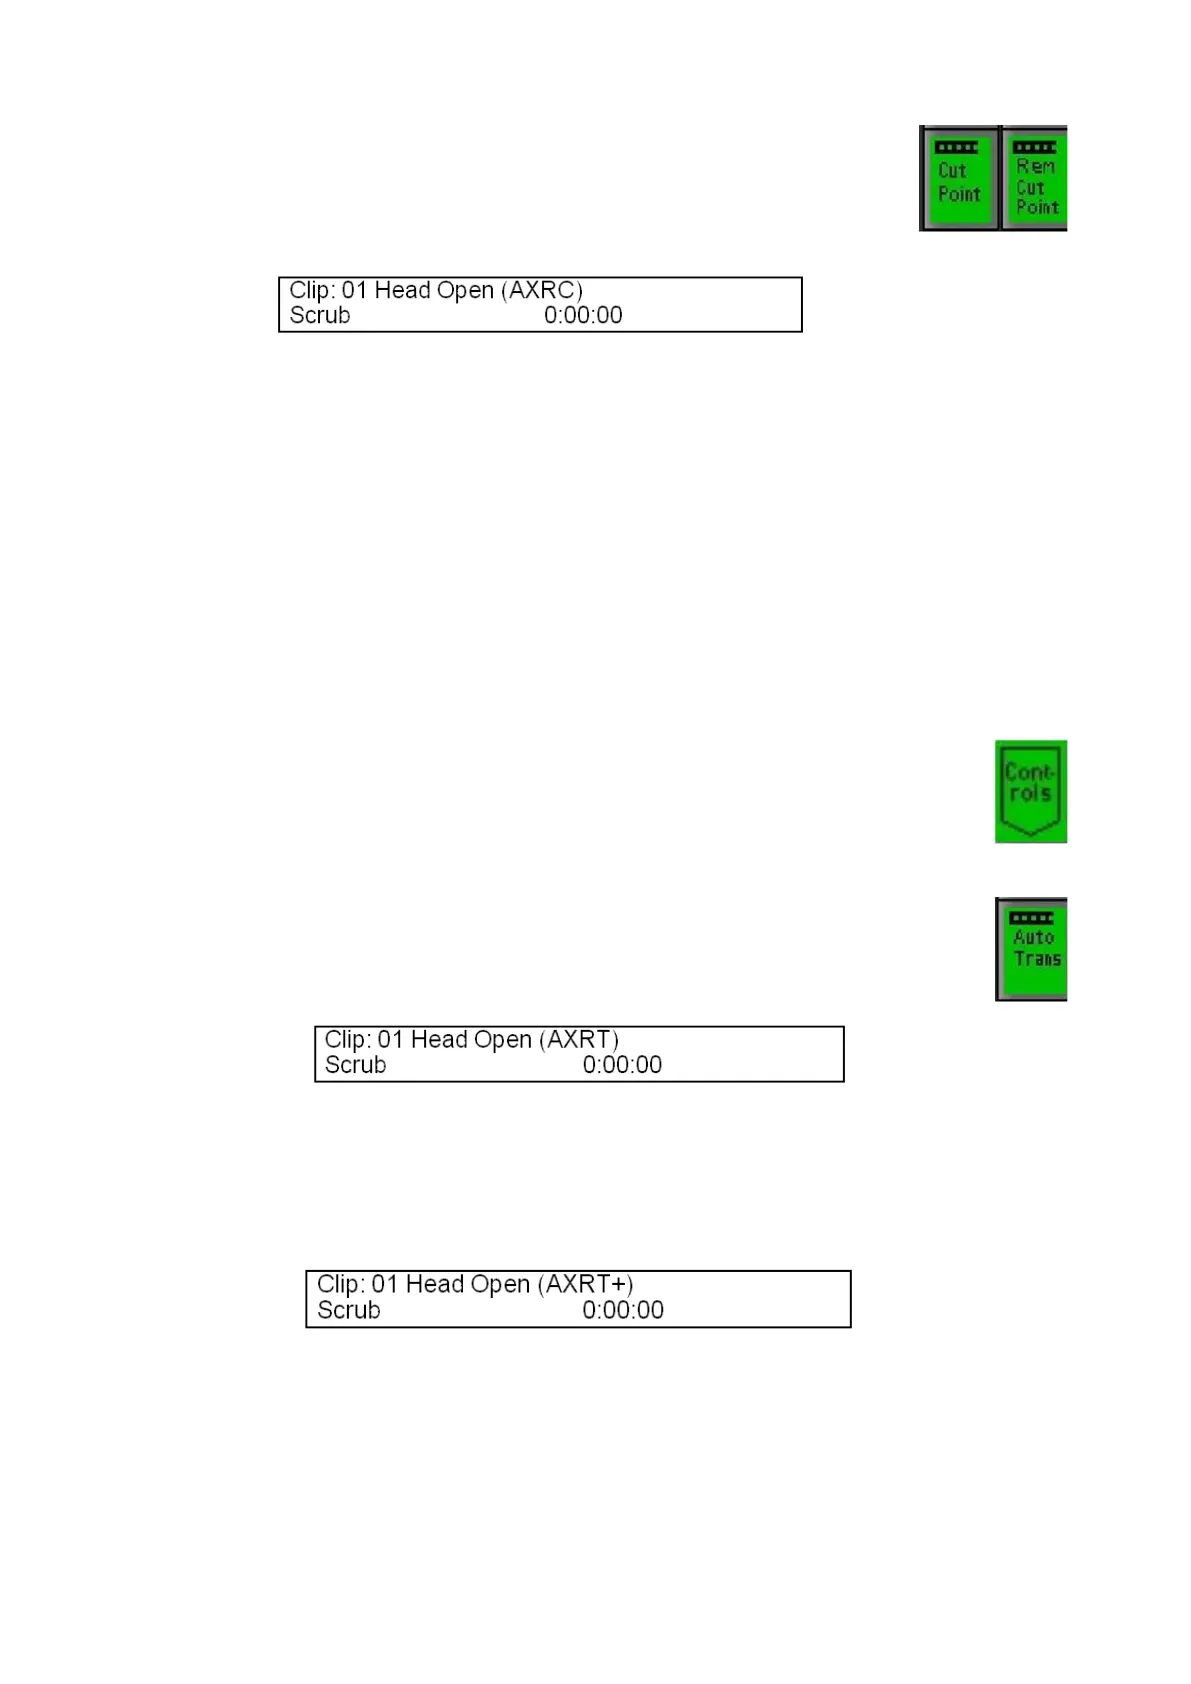
To remove the Cut point and to enter a new one, select the
[Rem Cut Point]. Only one cut point may be marked at a time
per clip.
Auto Transition
When a clip reaches the end of the file or out point it stops or can be set to loop,
instead if you wish to have the system automatically trigger a background
transition it can be a assigned to Auto Transition. There are two auto transition
modes, either using a cut or an effect. When set to an effect the selected effect
and transition rate in the transition section will be used. Auto Transition is useful in
fast-paced productions, like in news where you constantly go between a clip and a
live source not having to keep track of clip timing.
To set a clip to Auto Transition:
Select the desired clip, and press the [Controls] button on any Clip
PixPad.
Press the [Auto Trans] PixButton, and the letter “T” will be appended
to the clip name in the large display to let you know that an Auto
Transition using a cut has been turned on for that clip, as illustrated
below.
To use the selected transition, press the [Auto Trans] PixButton again,
and now a “+” will be appended to the T letting you know that an Auto
Transition using an effect has been turned on for that clip, as illustrated
below.
Now when a clip reaches the end, whatever is in preview (including
keyers) will flip-flop to program and place the clipstore in preview.
To turn off the Auto Trans, select the [Auto Trans] PixButton until the
display clears the T and T+.