BPswitch Operators Manual
259 / 413
would be 192.168.53.1. If you are
using the Panel port, all cameras
will use this IP Gateway
Click on the Save button to apply
the new network settings.
Repeat these steps for each
connected camera, ensuring to use
unique IP addresses.
Once all the cameras have been
configured, close all the open web
browsers and navigate back to the
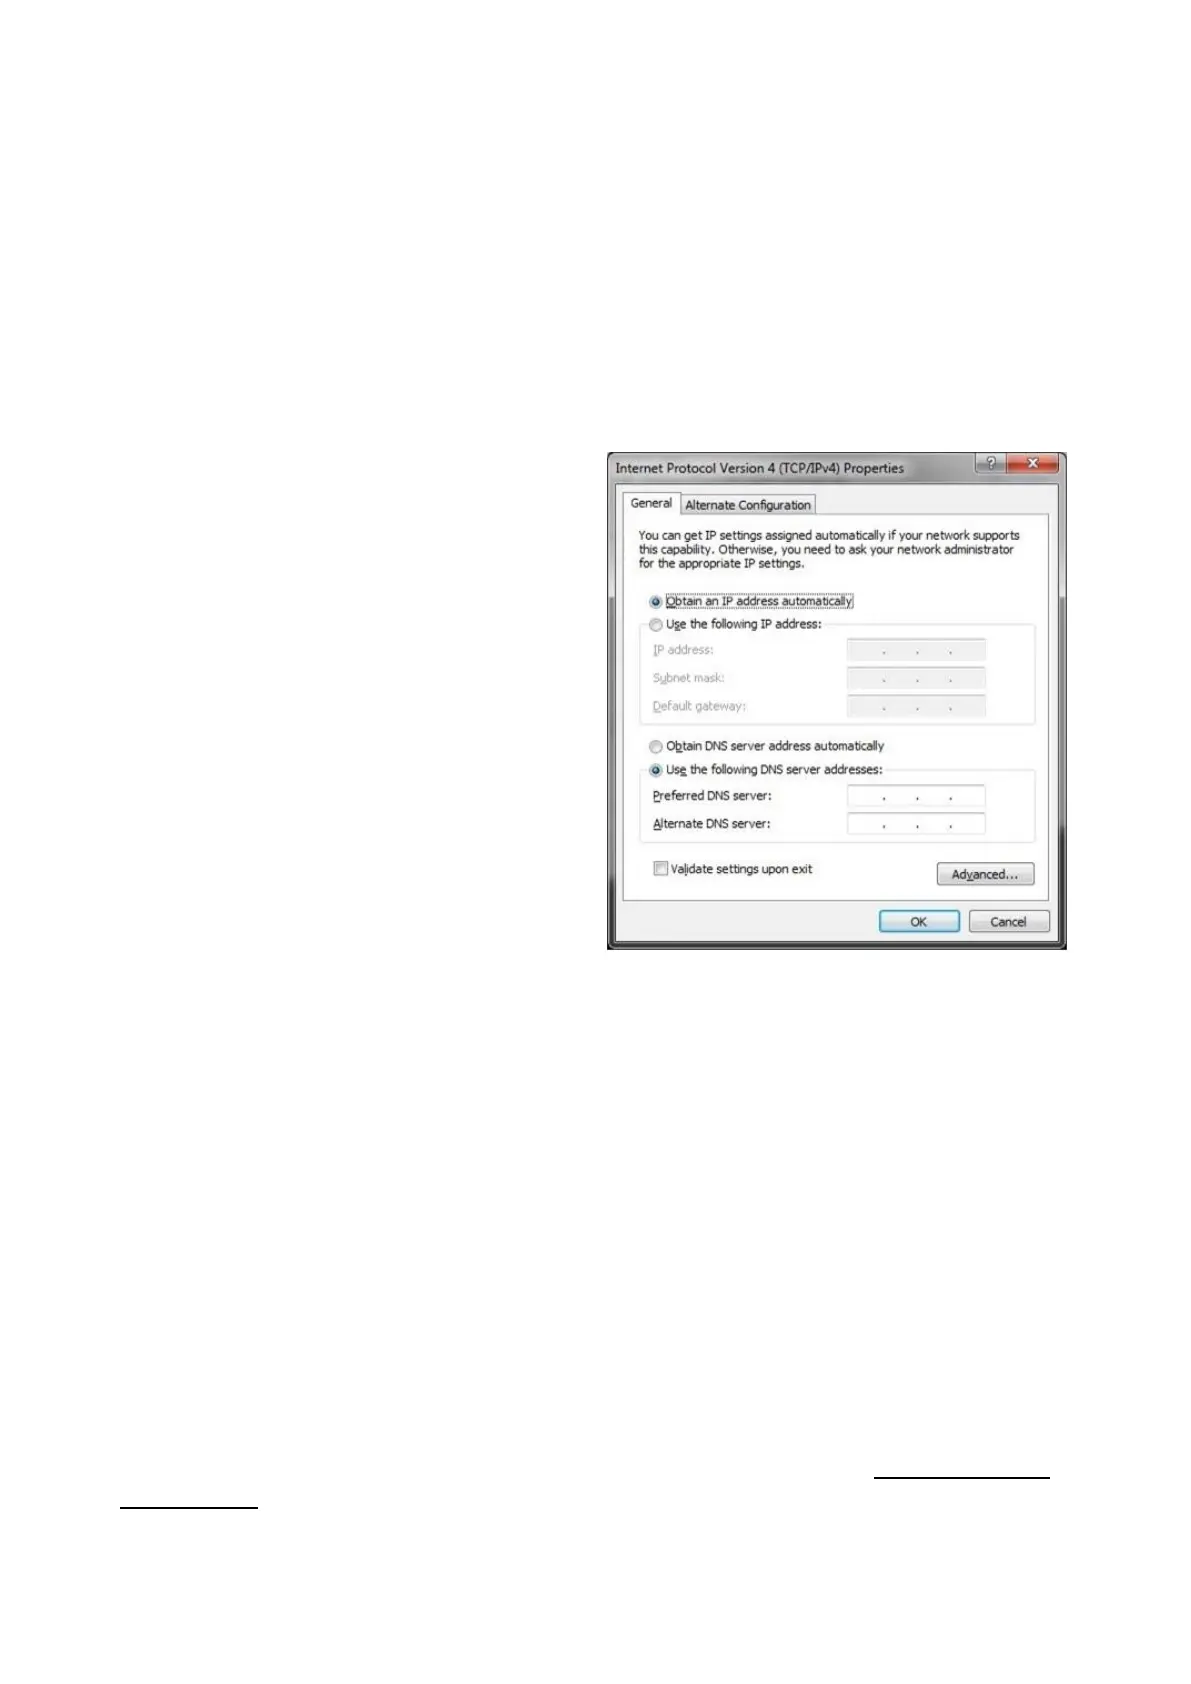
TCP/IPv4 Properties window
following steps 1 – 5 above
In the Properties window, click on
the Obtain an IP address
automatically radio button, as
shown on the right.
If the Broadcast Pix Control Panel
port was used, enter the static IP
Address of 192.268.53.250.
Click on the OK button and close all
open Network windows.
If the IP addresses need to change
in the future, repeat these steps
using the newly assigned IP
address instead of the default
Vaddio IP address.
Installation of Hitachi Cameras
Most of the instructions for how to install this camera control system come from
Display Devices, the makers of the pan/tilt head that is being used by Broadcast
Pix. Please refer to the Display Devices/Eagle manual for more information, there
are various dip switches that must be placed in the correct position depending on
the camera model, both in the pan/tilt head and camera. Ensure that the camera is
set to communicate through a PC remote control at 9600 baud rate and that
internal dip switches are set to RS-232C (not RC-Z3). In addition, each camera
must be saved with Travel Limits to ensure proper operation, see Travel Limits of
Tilt and Pan.
Contents of the Broadcast Pix Hitachi Camera Control Option: