BPswitch Operators Manual
178 / 413
Optional Remote Panels
As an option you may remotely control the Program output, as well as act as a
Macro Player to trigger premade switcher effects with Remote Panels. The
Remote Panels are 1RU frames that connect directly to the FX/RX System.
Up to 40 Remote panels may be connected to the system through a 100BASE-T
TCP/IP connection. Each panel can be configured with different user modes,
which can restrict or allow access of any input or output.
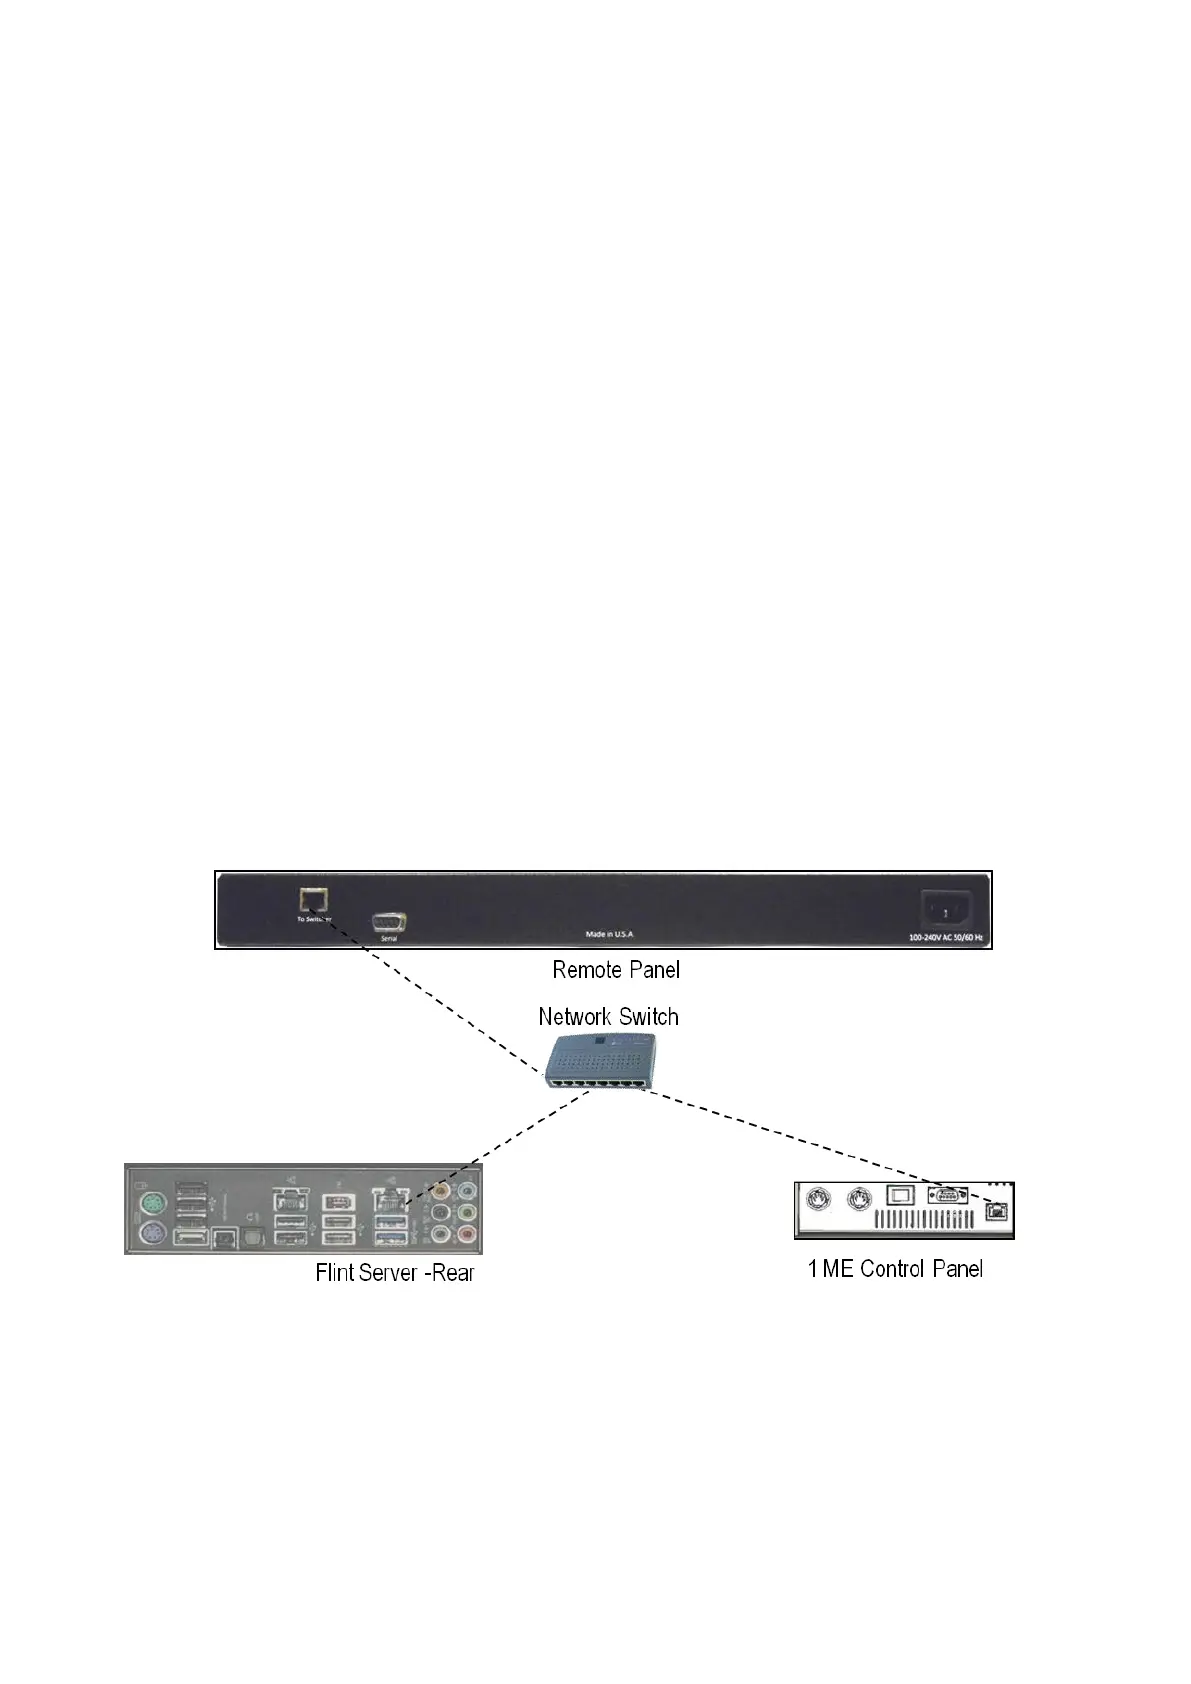
Remote Panel Wiring
The Remote Panel, FX/RX Server and Control Panel all must be on the same
network using a Network Switch using standard straight-through Cat5e cables.
The Remote Panels fit into a standard 19” rack, with the integrated rack ears,
which are not removable. Wire the Remote Panel(s) as described below:
Connect the Remote Panel(s) to a Network Switch using the To Switcher
connector. (Note the Network Switch is not provided by Broadcast Pix)
Connect the FX/RX Server to the same Network Switch using the NIC
connector next to the IO cards.
Connect the Control Panel to the same Network Switch using either one of
the Network connector.
Remote Panel Configuration
Once the Remote Panel(s) are wired and powered on each unit must be set to its
own IP Address. By default each Panel comes shipped with the IP Address of
192.168.53.200. The BPswitch System and Control Panel are all on the
192.168.53.XXX subnet. Inmost installations only the last 3 digits of the IP address
of the panel need to be adjusted.
Note that there is no on/off switch, simply plug in the AC power to turn the unit on.