BPswitch Operators Manual
174 / 413
Either by using the joystick or [Knob] controls,
move the Virtual Set.
To recall a saved move, select the [Move A], [Move
B], [Move C] or [Move D] PixButton.
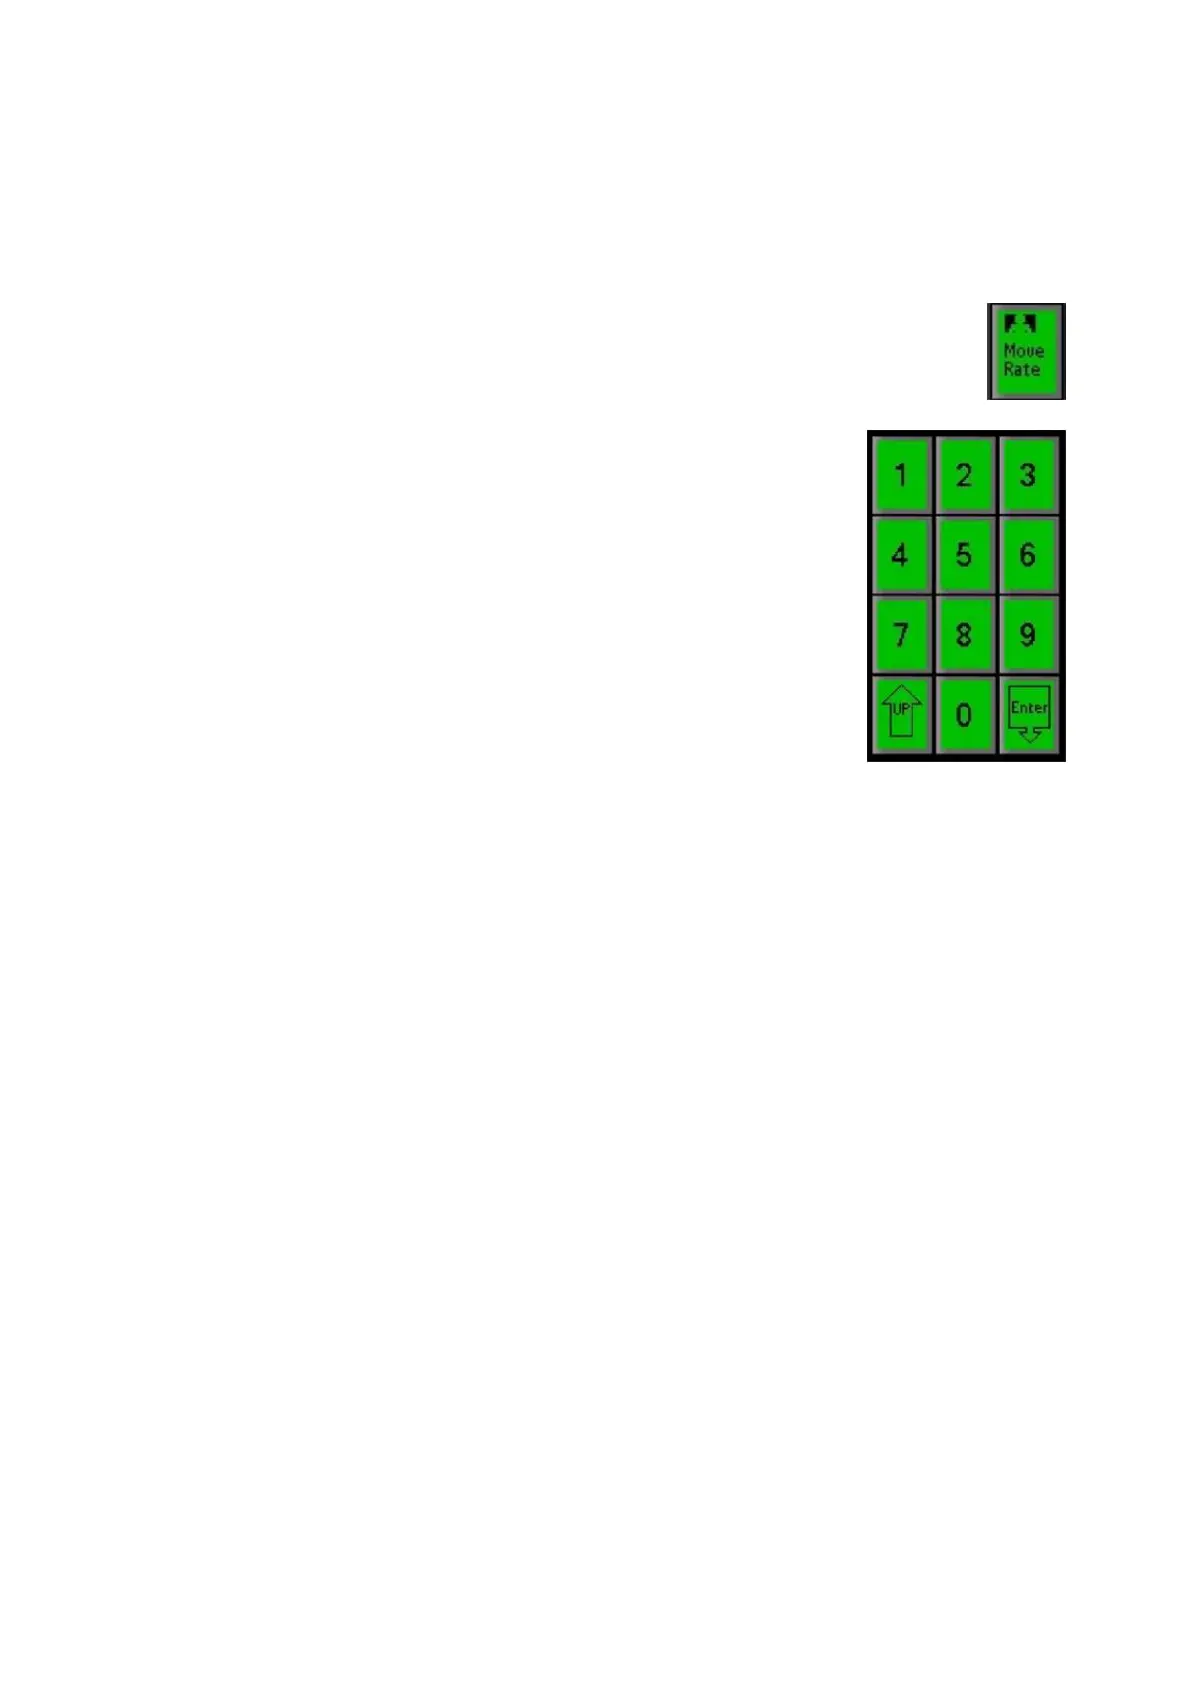
To select a move rate, press the [Move Rate]
PixButton, as shown on the right.
The PixPad will change showing a numeric pad,
enter the desired move rate and press the [Enter]
PixButton, as shown on the right.
To save a move, select the [Save Move] PixButton,
the PixPad with change showing Move A, Move, B,
Move C and Move D, select the desired Move and
the Move will be updated.
AutoFlags
As described in previous sections all Broadcast Pix systems can mix and match
4:3 sources with 16:9 sources each with their own unique and custom aspect
ratios, without any additional delay. Traditionally a 4:3 source in a 16:9 production
will show black pillar boxes on the left and right of the screen. With AutoFlags, the
black sides can now be replaced with a custom image. This image could be as
simple as station call letters, to a more complex graphic with the station logo.
AutoFlags uses the same techniques of assigning a virtual background, as
described in the previous section.
To assign an image for AutoFlags:
Activate Virtual Studios and assign a
background to a Virtual Angle, as described in
the previous section.
Be sure to create and save a custom image in a
folder in the directory C:graphics\Virtual Sets.
Files must be 1920x1080 using a .png, .tga,
.jpg or .bmp file extension.
Ensure that ClearKey is turned off, and the will
automatically be removed and replaced with the