BPswitch Operators Manual
227 / 413
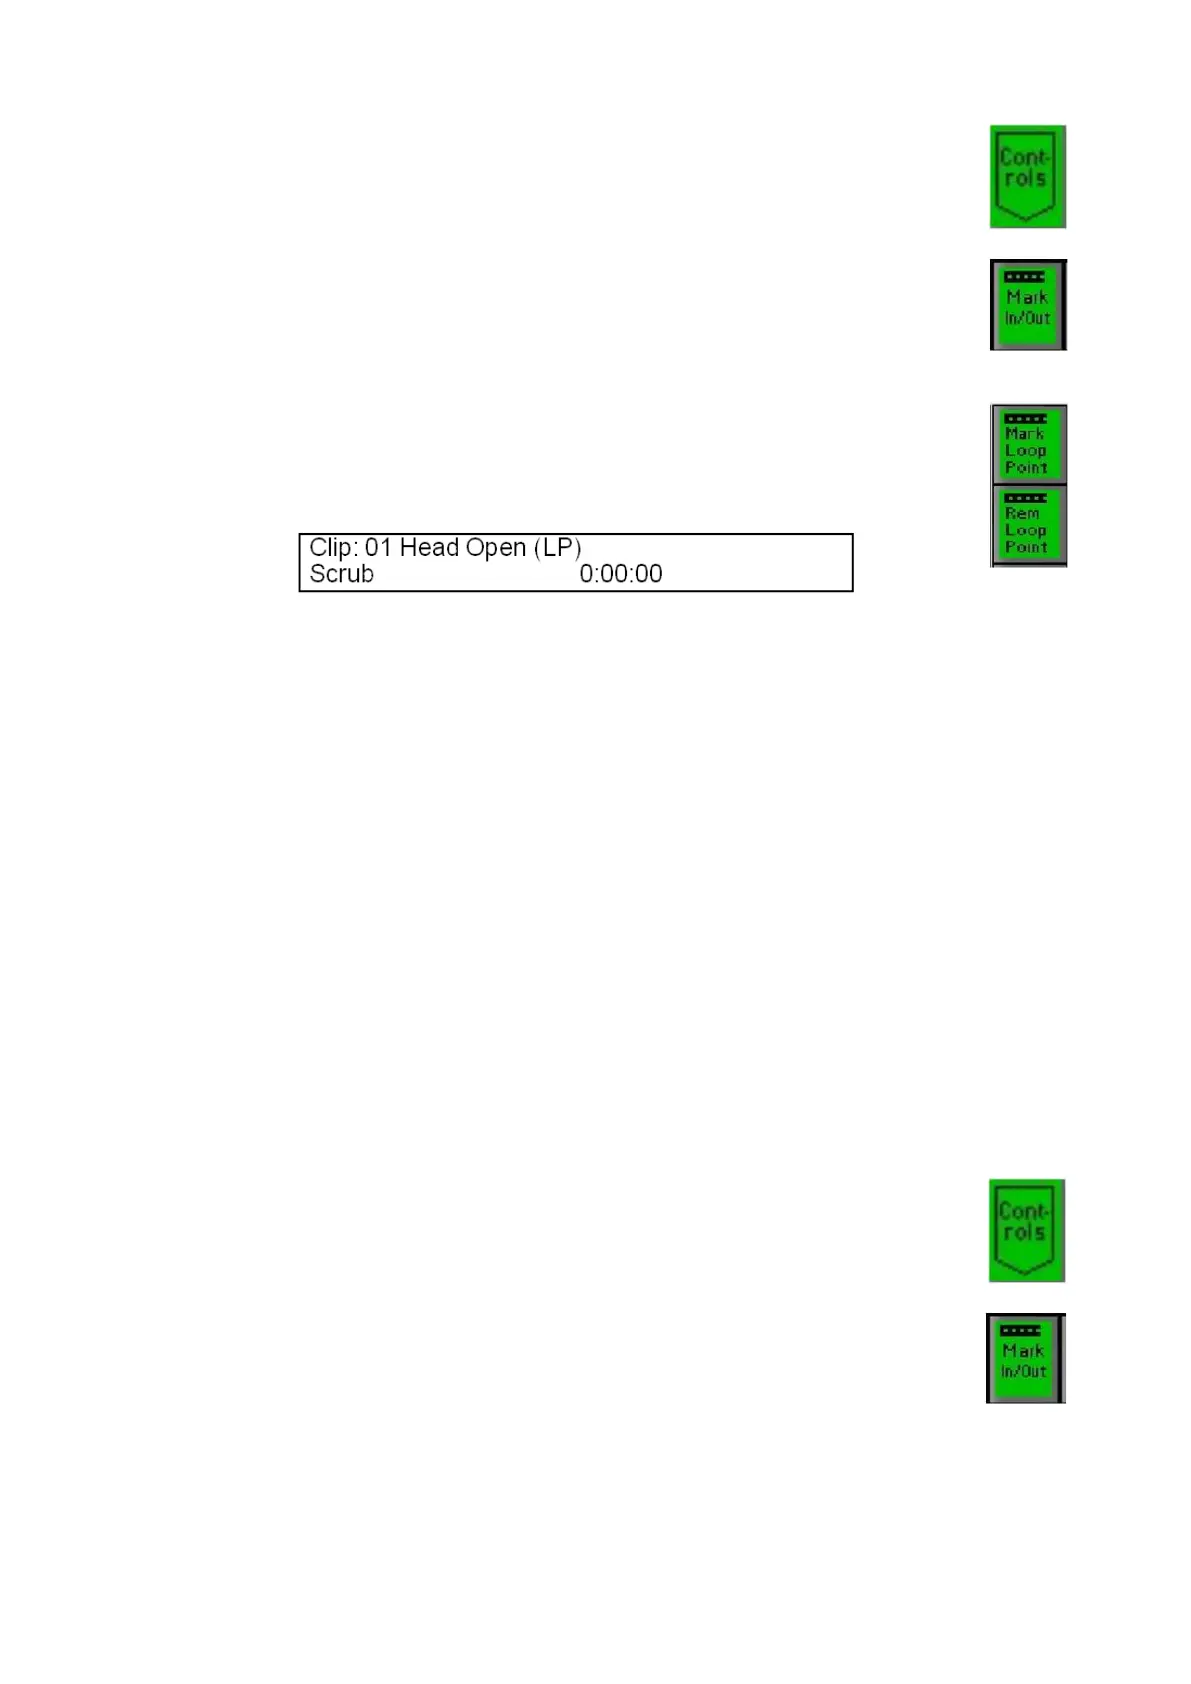
Select the desired clip, and press the [Controls] button on any Clip
PixPad.
Press the [Mark In/Out] PixButton.
Press the [Mark Loop Point] PixButton, and the letter “P” will be
appended to the clip name in the large display to let you know that the
Loop Point function has been turned on for that clip, as illustrated
below (if mark-in and out points are also set, then “LIO” will appear).
To remove the Loop point and to enter a new one, select the [Rem
Loop Point].
Cut Points
Similar to a loop point, where a point in the middle of a clip may be marked, a cut
point can be used to trigger a background transition using a cut. This is useful for
creating automatic alpha wipes for transition effects. Simply mark a cut point on an
animation, assign it to a keyer, turn on the direct key and the system will cut in the
background at the assigned point. When a cut point is assigned, the Loop attribute
is automatically turned off.
To set a cut point on a clip:
Play or scrub the clip to the desired cut point. This is usually
when the animation has a full screen image covering the screen,
hiding the cut in the background.
Select the desired clip, and press the [Controls] button on any
Clip PixPad.
Press the [Mark In/Out] PixButton.
Press the [Cut Point] PixButton, and the letter “C” will be
appended to the clip name in the large display to let you know
that a Cut Point has been turned on for that clip, as illustrated
below.