BPswitch Operators Manual
177 / 413
To restore the image back to the original with no
effect, click on the Reset All button.
After applying the desired effects, the image may
be temporally sent to the selected Angle so it may
be previewed in the Broadcast Pix Switcher,
without the need of saving and importing the file.
Select the desired Angle, then click and hold down
on the Live Preview (Hold down) button, as
shown on the right.
The Output image will now be sent to the selected
angle for previewing, as shown on the right.
Releasing the mouse, will return the selected Angle
back to the assigned image.
Exporting an image:
Once the image is modified to your liking,
the file can be exported for use in the
Images section of the Virtual Set (or the still
store of the switcher for use as a
background).
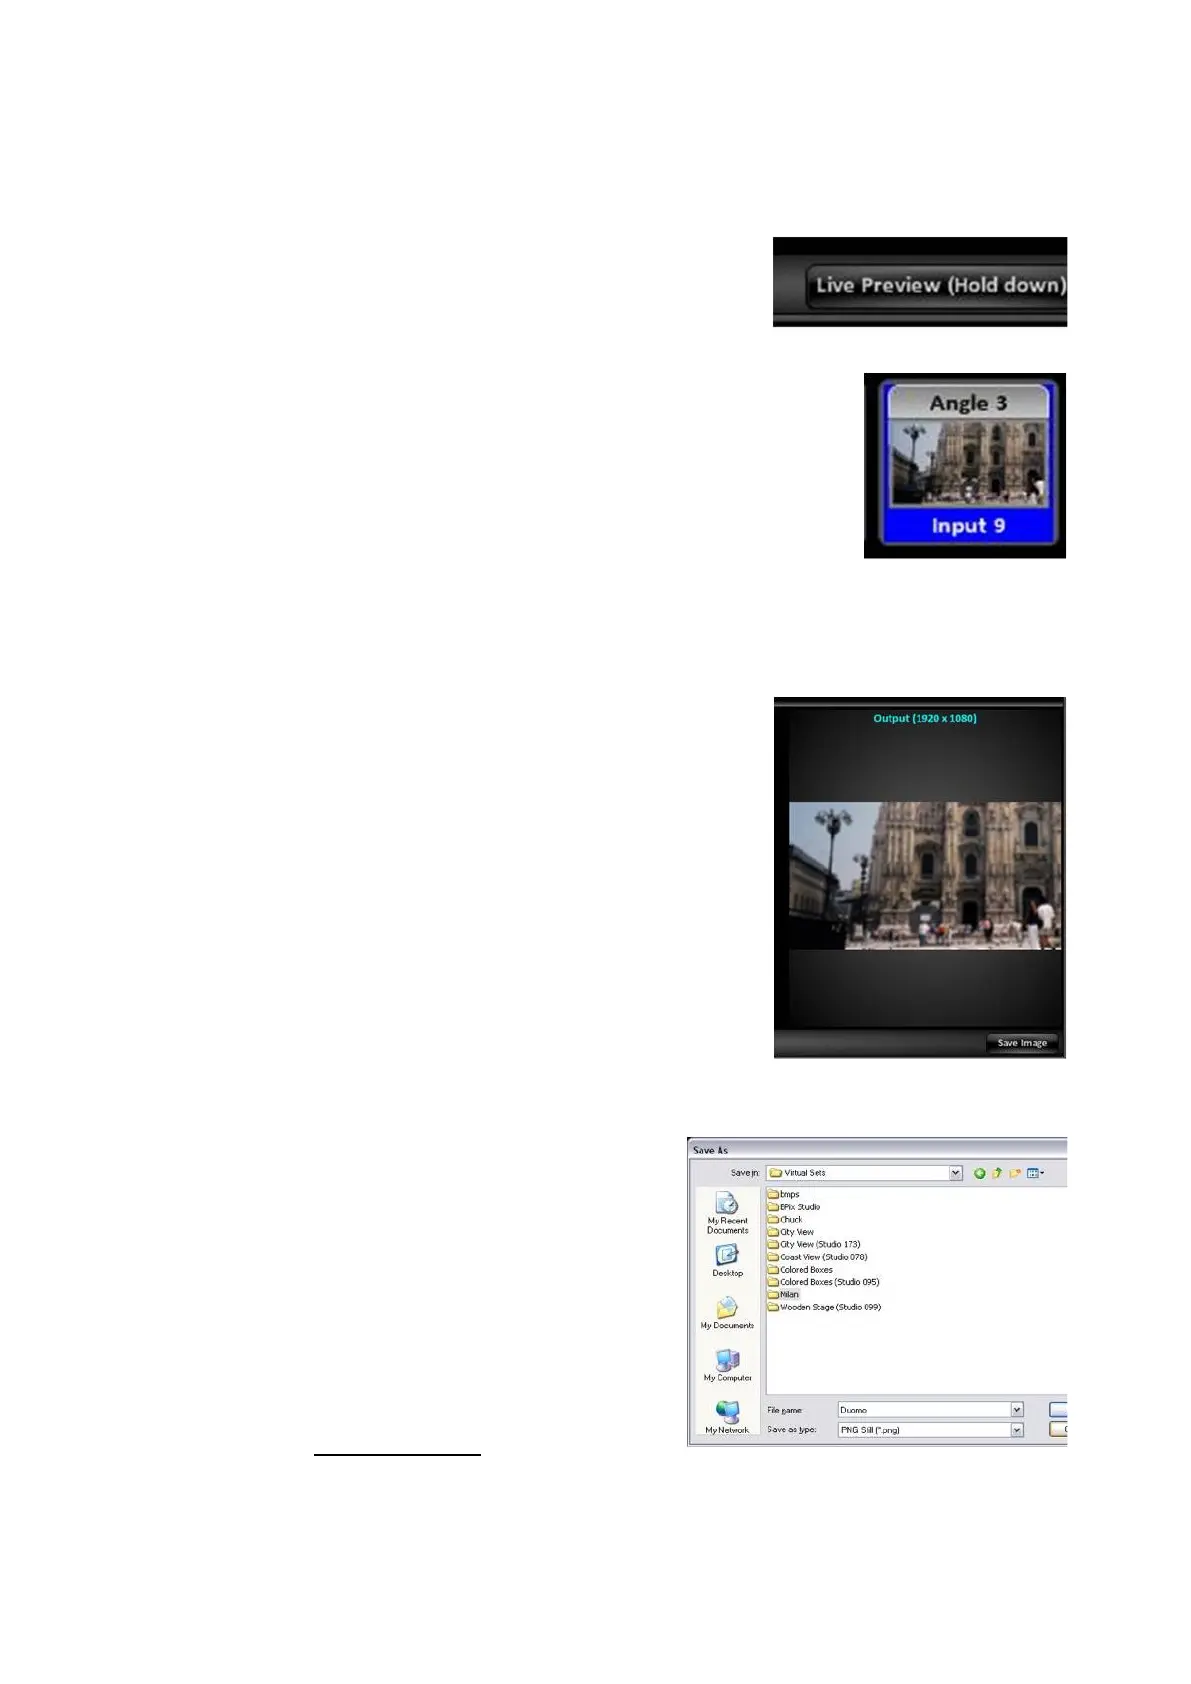
In the Output Image section, click on the
Save Image button, as shown on the right.
A Windows Save as window will appear,
navigate to C:\graphics\Virtual Sets and
either create a new folder or select an
existing folder of images, in this example
‘Milan’.
Name the file, in this example ‘Duomo’, as
shown on the right.
Click on the Save button.
A 1920x1080 .png file will be created to the
directory.
The newly created image can now be used
in the Images pane of Virtual Sets, as
described in Virtual Studios.