BPswitch Operators Manual
176 / 413
A Windows open dialog box will appear,
navigate to the desired location path and
click on the Open button.
You may also drag a file from the
desktop or a Windows Explore window
into any section of the Image Editor.
A thumbnail of the raw image will be
shown in the Original Image section and
the final cropped and processed output
will appear in the Output section.
To modify an image:
Depending on the original image size, the image
may be zoomed in by clicking, holding down and
dragging the edge of the yellow frame inwards
, as
shown on the right.
To zoom out, click, hold down and drag the edge
of the yellow frame outwards.
The yellow frame represents the area to be used in
the output file.
To reposition the newly cropped image, click and
drag anywhere on the original image.
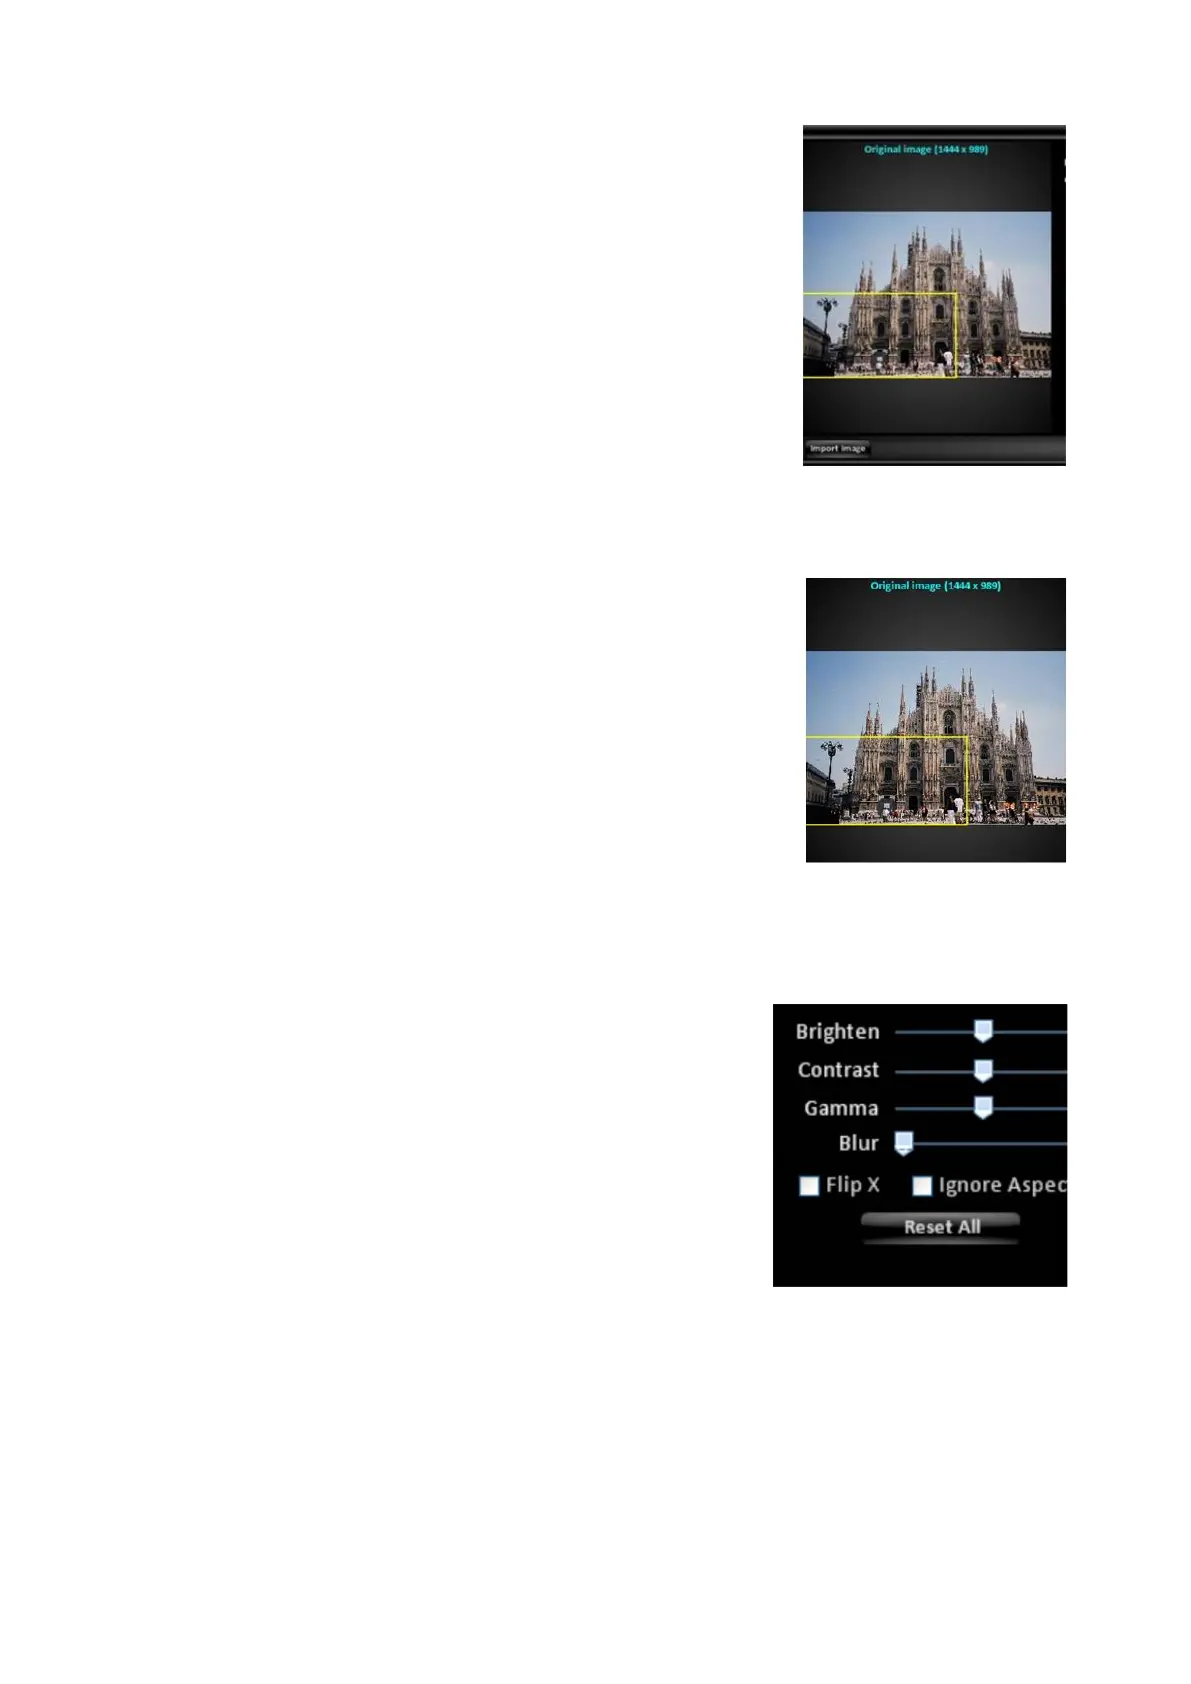
In the middle of the Image Editor, there are basic
controls to modify the picture.
Move the sliders to the right to increase the
Brightness/Contrast/Gamma/Blur.
The blur slider is useful to add the correct amount
of depth of field to your image.
Move them to the left to decrease.
Clicking on the individual label, i.e. Brighten, will
reset the value and remove the effect.
To flip the image horizontally, select the Flip X
checkbox.
To ignore the 16:9 aspect ratio and to stretch the
image, select the Ignore Aspect Ratio checkbox.