BPswitch Operators Manual
255 / 413
to have the Broadcast Pix system control these cameras, the IP address must
change to be on the same subnet of the Broadcast Pix Server, either on the panel
or LAN networks. The IP settings of the Sony cameras are changed through the
RM-IP10 Setup Tool application that can be provided from Sony. You may
download it here as well:
https://www.servicesplus.sel.sony.com/sony-software-model-RMIP10.aspx
Once downloaded, it can be run locally on the Broadcast Pix Server or on a
remote computer.
NOTE: The IP Setup tool can only see one network port at a time, if both the
Panel and LAN ports have a cable connected, disconnect the LAN cable prior to
performing the following steps. For further instructions, please refer to the Sony IP
Setup Guide.
To change the IP address of a Sony Camera:
Ensure that all the cameras have been
powered on and plugged into the Panel
network.
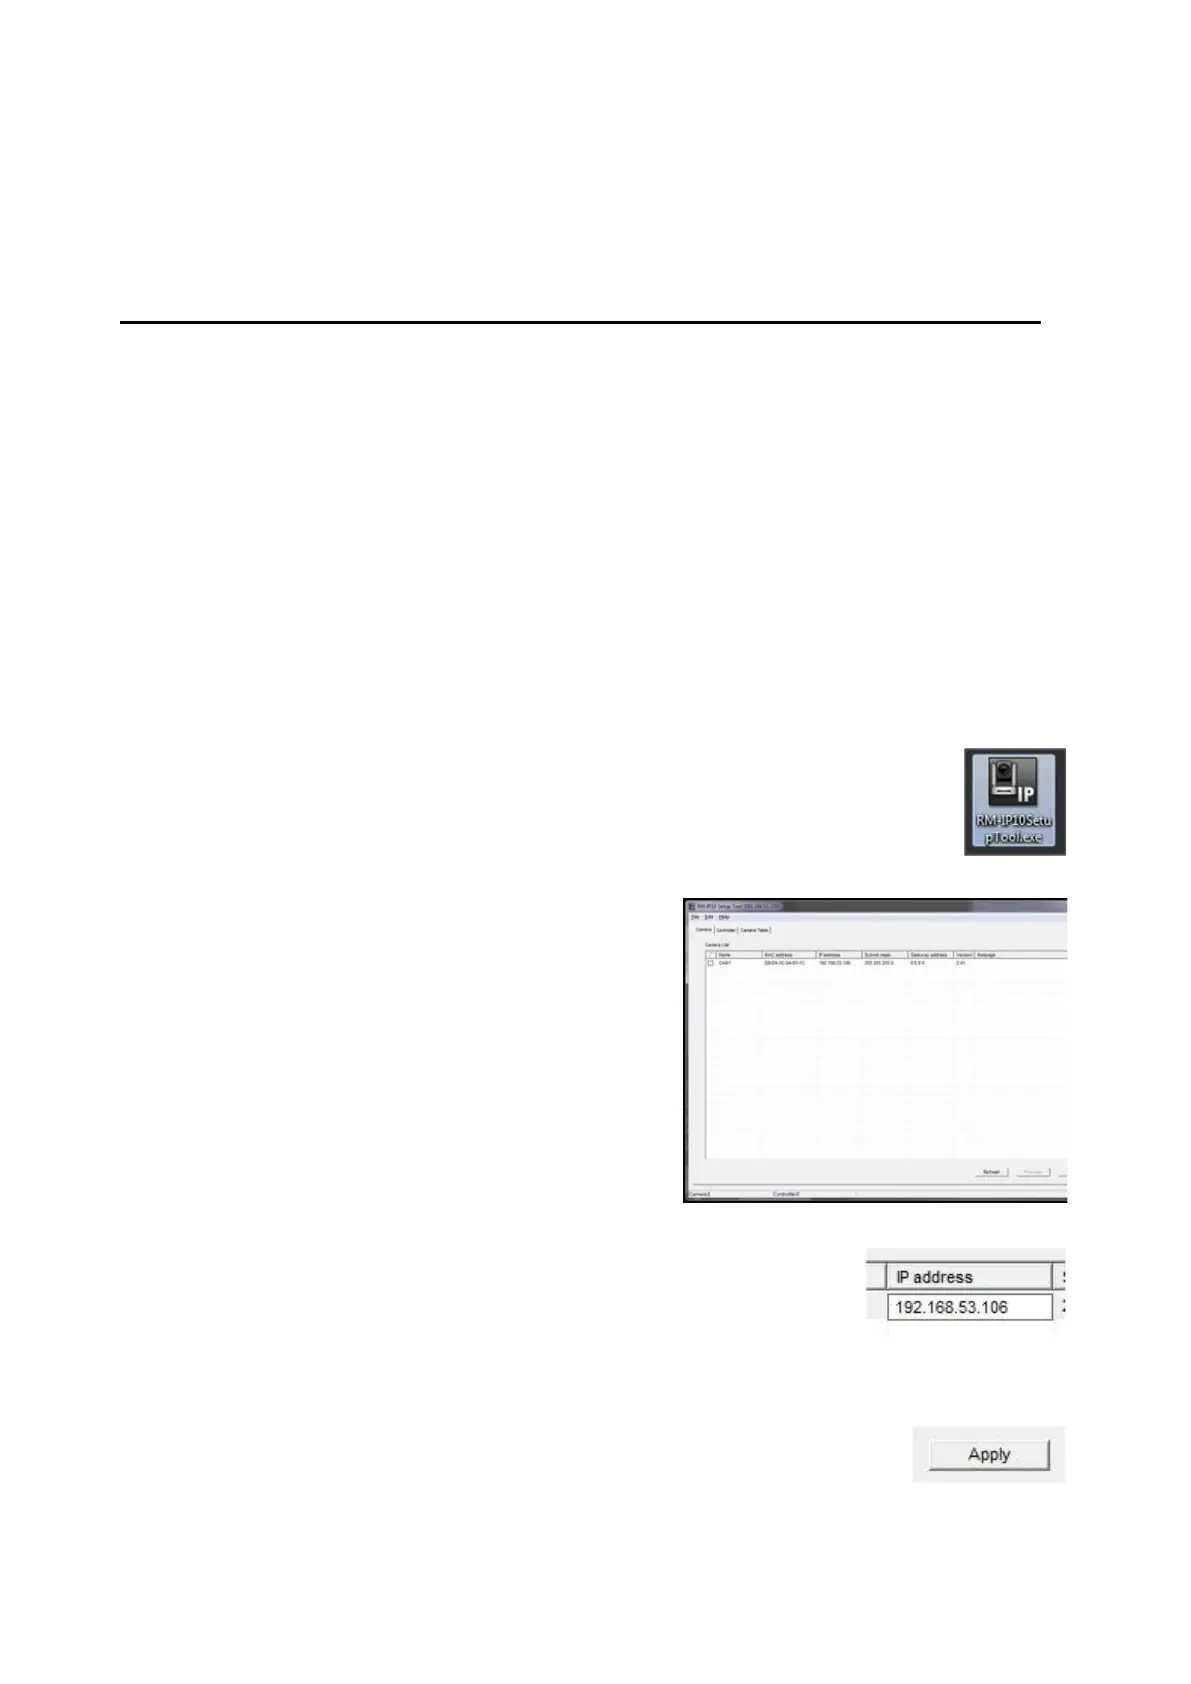
Once the IP Setup Tool has been
downloaded, double-click the RM-
IP10SetupTool.exe icon, as shown on the
right.
In the Camera tab a list of connected
cameras will appear, as shown on the right.
Note: If not all cameras are visible, ensure
that the dip switches on the bottom of each
camera is set to LAN. If all cameras are still
not visible, it may be necessary to turn off
the Windows Firewall.
Under the IP Address column, double-click
the desired camera IP address.
Enter the new IP address in the text field,
ensuring that each camera has a unique IP
address that does not conflict with other
devices on the same network, as shown on
the right.
Hit Enter on the keyboard and click on the
Apply button, on the bottom right of the
window, as shown on the right.