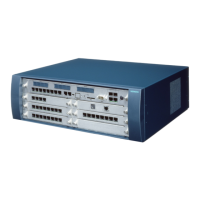
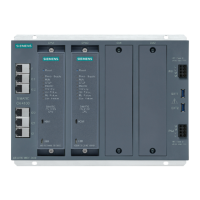
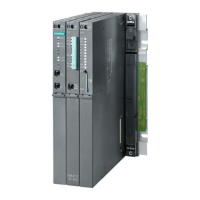
Starting up HICOM
Step Action
1. Load the customer database from the system.
2. Check whether the S
0
ports associated with the slot are entered as active S
0
stations under
System status -> Terminal or under Set up station -> Station (Type, Access).
3. Define free extensions
4. Create a unique numbering plan
Starting up LAN Bridge
Step Action
1. Re-create a customer database (via Assistant)
2. Call up the service mode with CTRL+Q and enter the technician's name and service password
17197.
3. Change the number of released B channels (i.e. the number purchased by the customer)
4. The number of B channels used for routing is entered in the menu Settings/Basic settings (only
even values permitted here).
5. Set the hardware interface, 10Base T for TP, change all for AUI.
6. IP address list for configuration: the IP address of the customer PC which the customer wants
to use for administration is entered here.
7. LAN Bridge extensions: the extensions reserved for routing in Hicom are entered here.
8. Setting/Network interfaces menu: the following must be set under Active network interfaces:
EXTLAN and ISDN 1/2
9. For network interfaces: SLIP: no settings. For EXTLAN the actual IP address of the LAN
Bridge is entered (depending on the customer network!)
10. IP network mask: the network class is set here: class A, B or C (depending on the customer
network!)
11. Data package length: the IPX network number and the IPX node depend on the customer
network and are only needed if IPX protocols are to be used.
12. Security: the parameters Extension check, IP firewall, MAC check and IPX firewall must be
deactivated.
13. Save the customer database (in the LAN Bridge board). The board performs a board RESET
after the data has been transferred back once.
14. The basic function of the card can be tested from any computer in the LAN via the IP protocol
with the PING test program and the IP address of LAN Bridge.
15. Make LAN Bridge known in the administration tool: the Assistant can be started from the
customer PC that was just released (see above). The name and the associated IP address of
LAN Bridge is entered under Options and Administered HICOM systems. This must be done
before the customer can proceed with further configuration of LAN Bridge via the LAN.
16. The customer database should now be loaded to the PC and saved separately.
http://cmweb01.mch.pn.siemens.de/e_doku/en/h150/h15/30/sh/2/15_6fc.htm (8 of 11) [06/04/2000 13:07:52]
 Loading...
