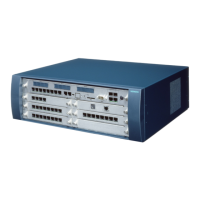
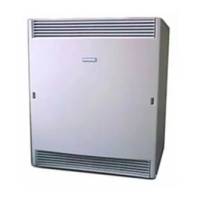
The front cabinet cover (for board servicing) and the rear cabinet cover (for cable servicing) are both
secured by two snap fasteners.
You can remove the upper and lower grills in both covers. This enables you, for example, to route the
cables to the MDFU/MDFU-E.
Replace the cover by positioning the snap fasteners into the two guides and pressing down on the
cover until it clicks into place.
Procedure (Figure 4-1)
Step Action
1. Insert the slotted screwdriver (with the blade held vertically) into a recess (1).
2. Carefully swing the end of the screwdriver (handle) inward (2) until the snap fastener snaps
out and the cover becomes loose.
3. Insert the screwdriver into the second recess (3), loosen the snap
fastener and remove the cover.
Removing the cover
Figure 4-1 Hicom 150 E OfficePro - removing the front and rear covers
4.1.6.3 Setting up a single-cabinet system
Procedure
Step Action
1. Remove the front and rear cabinet covers.
2. Place the system cabinet in the installation site and ensure that it is level and stable.
4.1.6.4 Setting up a two-cabinet system (stacked)
Procedure
Step Action
http://cmweb01.mch.pn.siemens.de/e_doku/en/h150/h15/30/sh/2/15_4m.htm (5 of 27) [06/04/2000 13:04:41]
 Loading...
