a. For a SCSI drive, loosen the two thumb screws that hold the SCSI cable and
terminator in place by turning them counterclockwise. Disconnect the cable
and terminator from the drive being removed.
b. For a Fibre Channel or SAS drive, unplug the host interface cable.
3. Loosen the two thumb screws (2 in Figure 8-46 on page 8-43) that hold the
drive in place by turning them counterclockwise.
4. Slide the drive out of the library module. Grasp the handle (5 in Figure 8-46
on page 8-43) and slowly pull the drive toward you, while supporting the drive
sled from underneath.
Note: Removing a drive sled with power ON will generate a Service Action
Ticket T012.
Replacing a Drive Sled
Attention: NEVER install a drive sled when a cartridge is in the drive in the eject
position. Remove the cartridge first.
1. Align the drive sled with the guide rails and guide slots along the tracks (3
in Figure 8-48 on page 8-45) in the open drive sled slot (2 in Figure 8-48 on
page 8-45). Grasp the handle (5 in Figure 8-46 on page 8-43) and slowly slide
the drive sled into the library, while supporting the drive sled from
underneath.
Note: The thumb screws must be aligned with the screw holes in the module.
If they are not aligned, the drive sled was not inserted correctly.
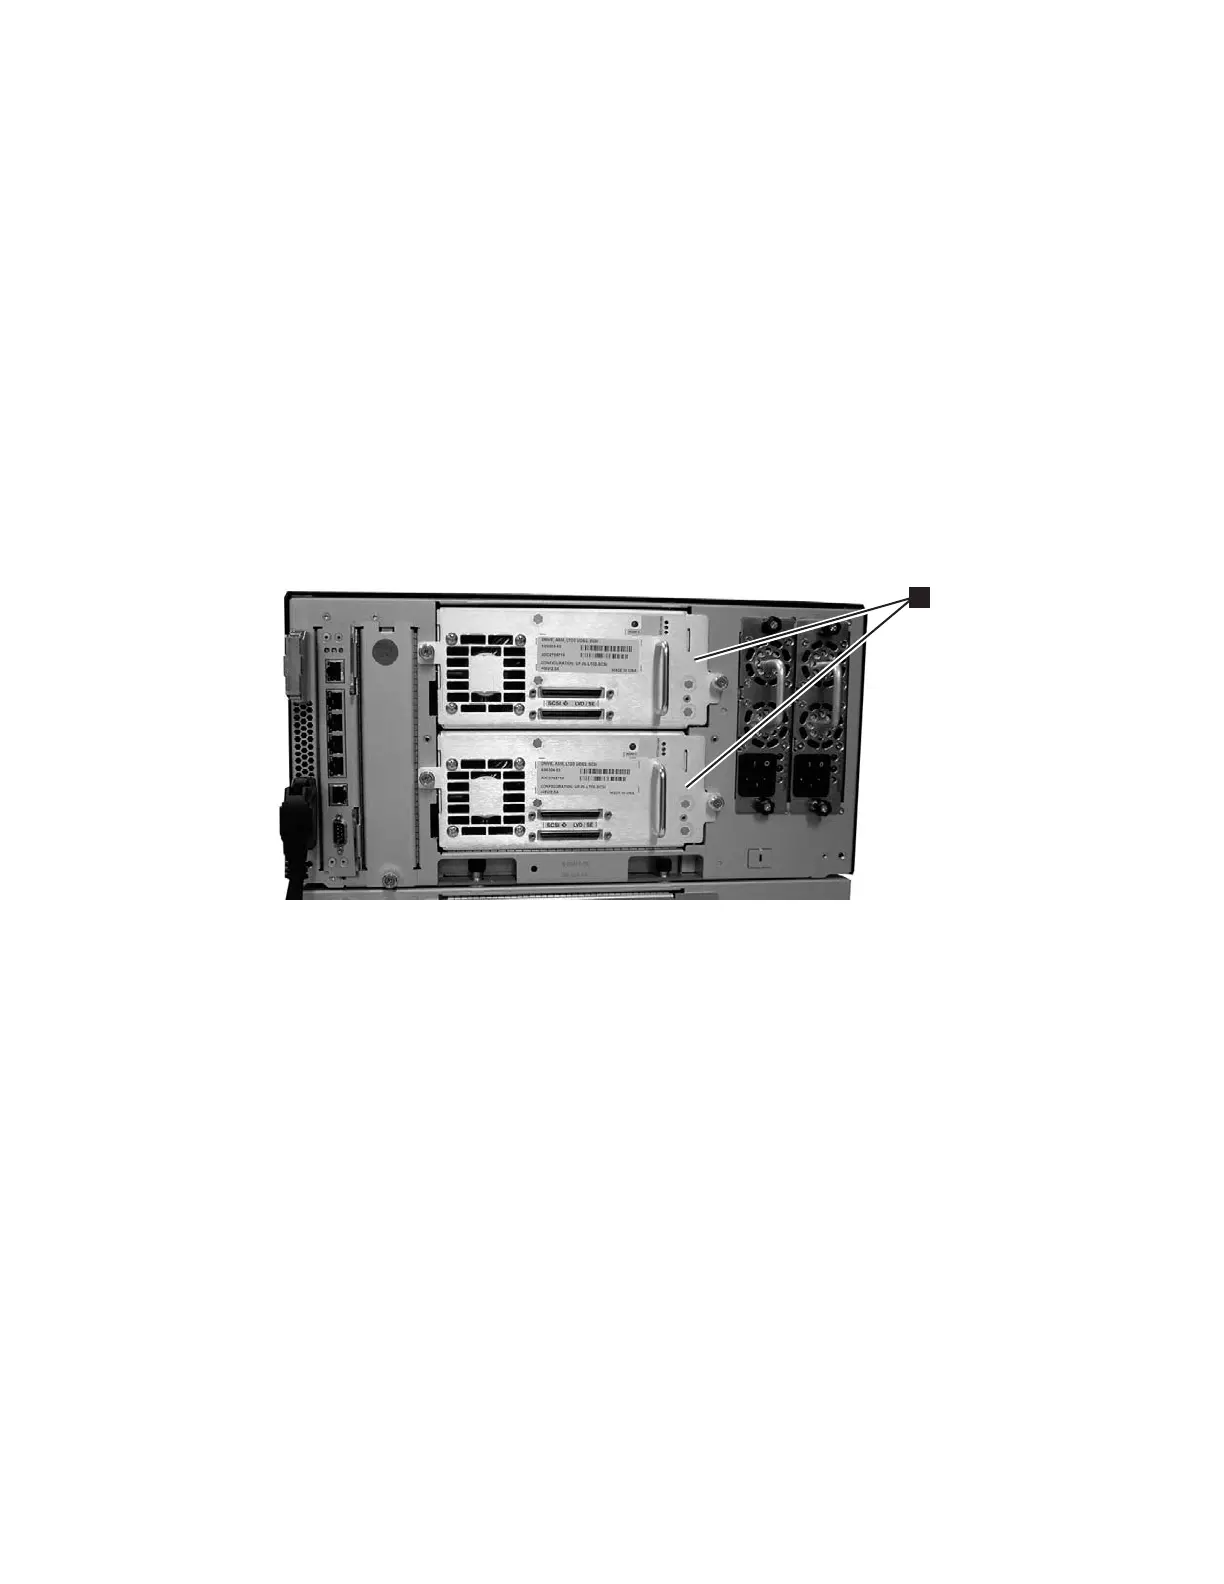
a66ug011
1
Figure 8-47. Control Module Drive Sled
8-44 TS3310 Tape Library Maintenance Information