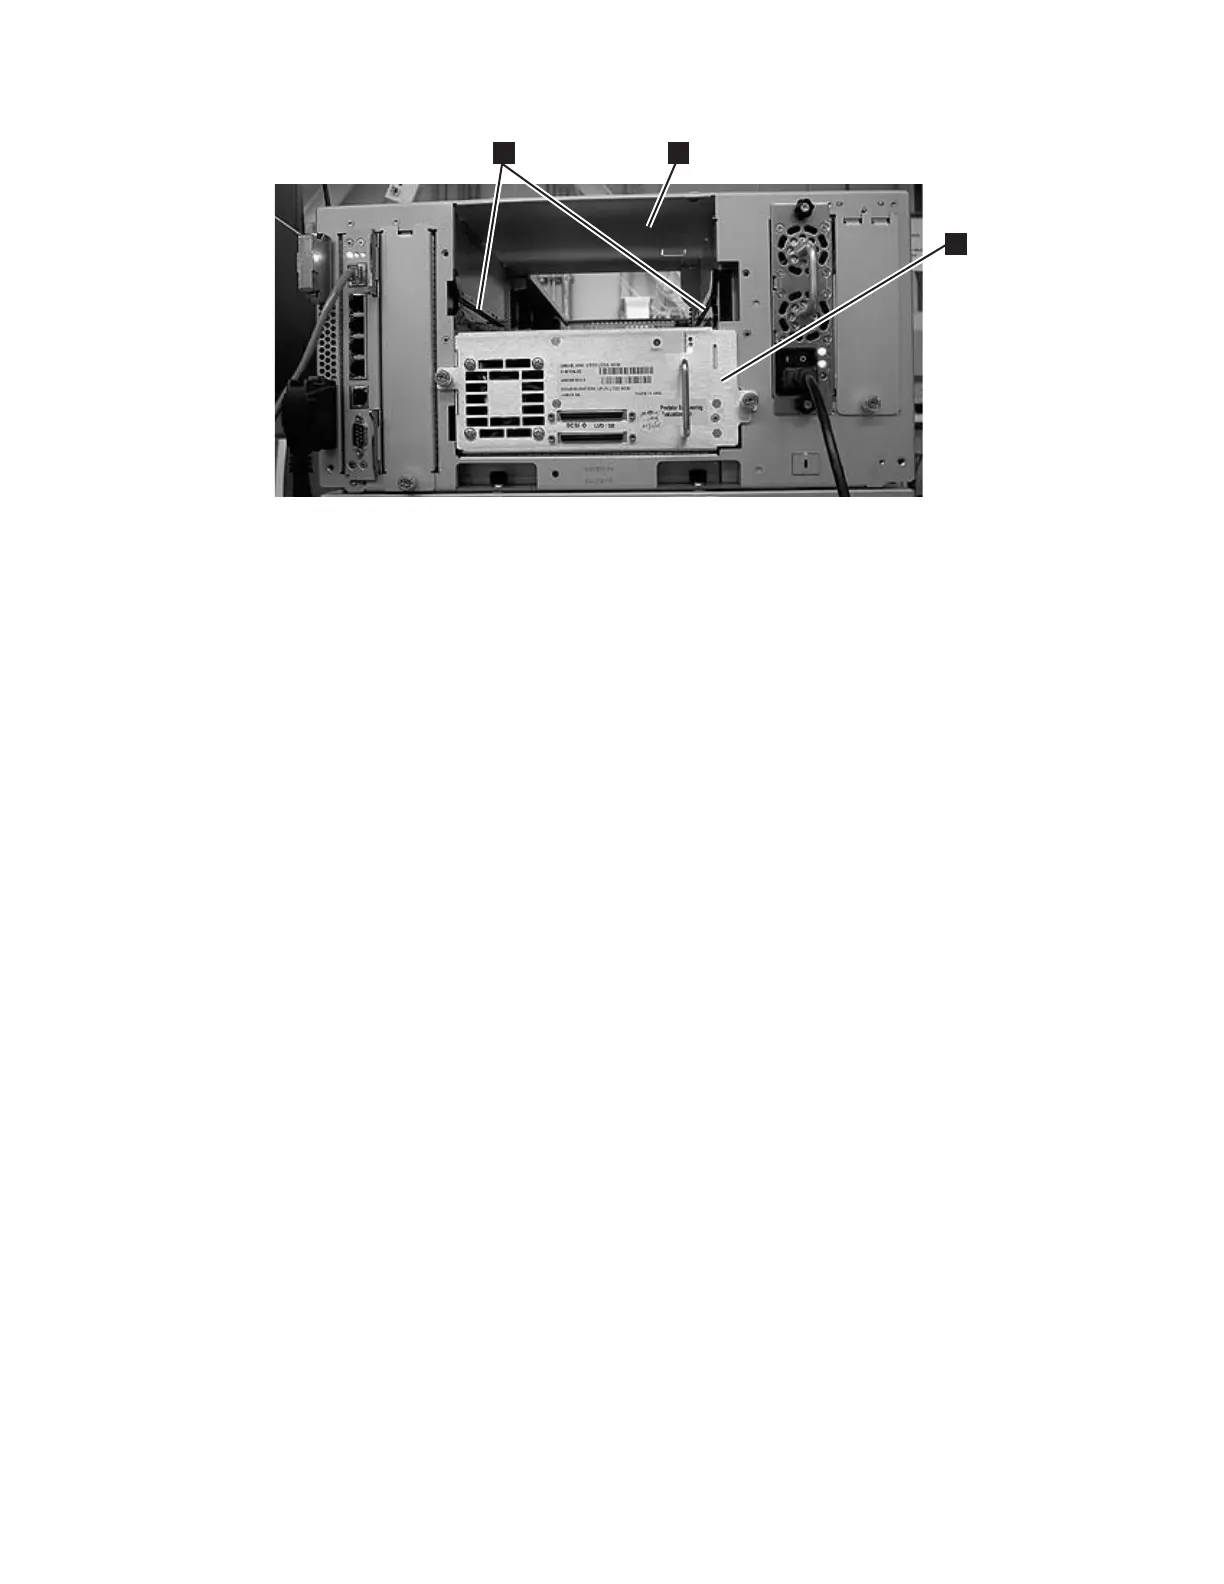
2. Tighten the two thumb screws (2 in Figure 8-46 on page 8-43) that hold the
drive sled in place by turning them clockwise.
3. Reconnect the drive sled cable.
a. For a SCSI drive sled, plug the cable and terminator into the drive sled.
Tighten the thumb screws that hold the SCSI cable (4 in Figure 8-46 on
page 8-43 shows the SCSI receptacle) and terminator (3 in Figure 8-46 on
page 8-43) in place by turning them clockwise.
b. For a Fibre Channel or SAS drive sled, connect the host interface cable.
4. Repeat this procedure for all drives to be reinstalled in the library.
5. Ensure that all new drives being installed have the correct firmware level. New
drive CRUs from stock may have downlevel firmware. All drives of a given
interface and drive type should have the same firmware level.
a. From the operator panel: Tools → Drive Info.
b. From the Web user interface: Service Library → View/Update Drive
Firmware Levels .
6. Update the drive firmware, if necessary. See “Updating Drive Firmware” on
page 7-26.
7. Vary all drives online from the host.
8. If a new drive is installed in place of the drive that was removed, it will be
necessary that the host application be reconfigured to recognize the Vital
Product Data (VPD) of the new drive. This will prevent possible
communication and backup application disruptions.
Note: This does not need to be performed if Logical serial number addressing
had been implemented at a prior date.
Library Control Blade or Compact Flash Card
The Library Control Blade (LCB) manages the entire library, including the Operator
Panel and picker assembly. It also runs system tests to ensure that the library is
functioning properly.
The Compact Flash (CF) Card is housed on the LCB and contains the library
firmware and vital product data (VPD) such as configuration settings.
a66ug049
3
1
2
Figure 8-48. Drive sled slot
Chapter 8. Add, Check, Adjust, Remove, and Replace Procedures 8-45