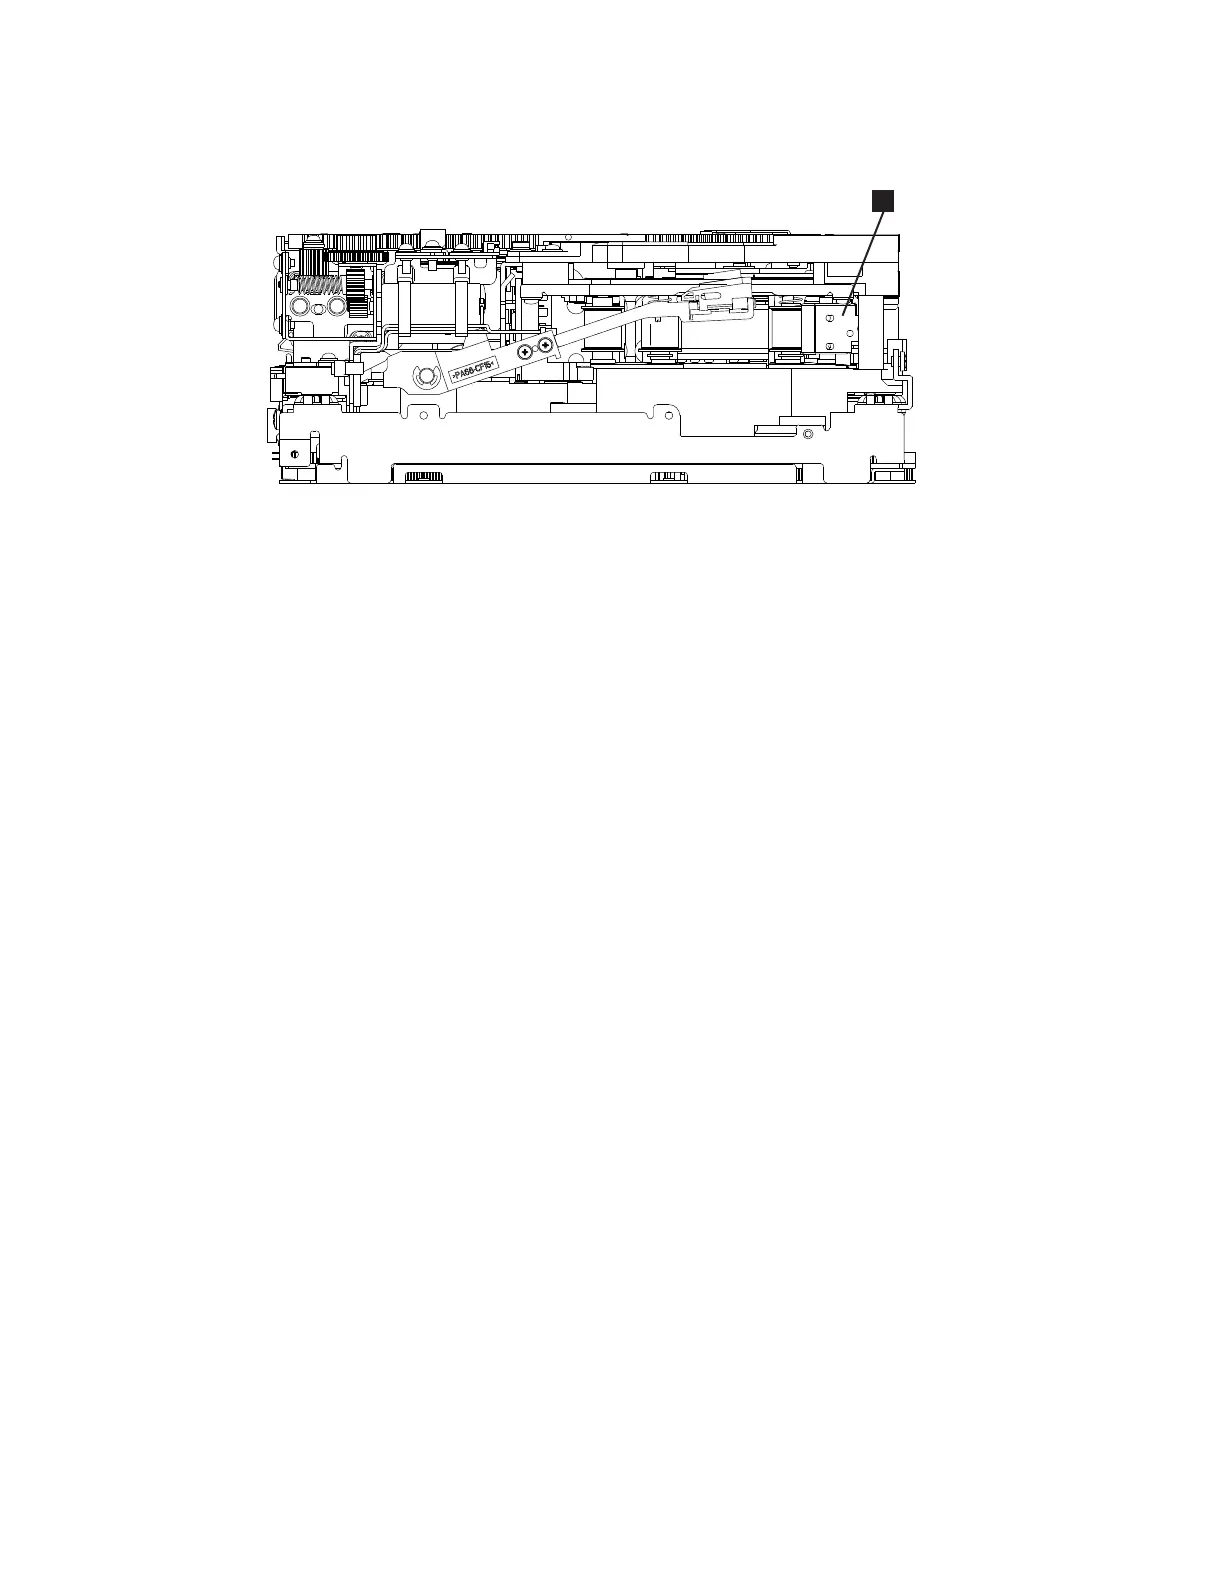
nearest the rear of the drive (1 in Figure 8-138).
8. Continue rotating the loader motor worm gear (1 in Figure 8-136 on page
8-126) until the rotate stub (3 in Figure 8-136 on page 8-126) is positioned as
shown. Notice that the rotator stub (3 in Figure 8-136 on page 8-126) is
nearly aligned with the cartridge loader tray guide bearing (2 in
Figure 8-136 on page 8-126).
9. Remove the cartridge from the cartridge loader tray.
10. Reassemble the drive by reversing the procedure in Step 5 in “Beginning
Procedure” on page 8-123.
11. Refer to the appropriate procedure to install the new drive and return the
failed drive.
Tape Broken in Mid-tape
1. With the front of the drive facing you, pull an arm's length of tape out of the
take up reel from the left side of the drive.
Note: If there is less than approximately 5 cm (2 in.) of tape on the take up
reel, go to “Tape Pulled from or Broken near Leader Pin” on page
8-126.
2. From the supply reel inside the cartridge, pull approximately 0.3 m (1 ft.) of
tape.
3. From the take up reel, thread tape around the rear of the tape path and over
the head rollers on the left side of the drive.
4. Moisten a cotton swab with water, and wet approximately 13 mm (0.5 in.) of
the tape end. Overlap the tape ends, loosely mending them together.
5. Set the drive on its left side with the head and tape path facing up.
6. From the bottom of the drive, locate the access hole (1 in Figure 8-139 on
page 8-129) in the bottom cover. Insert a 2.5 mm offset hex wrench through
the bottom cover access hole and into the reel motor axle. begin spooling tape
back into the cartridge by turning the hex wrench clockwise.
a82ru010
1
Figure 8-138. Leader Block Assembly (LBA)
8-128 TS3310 Tape Library Maintenance Information