v “Replacing a 5U Library (Control Module) in a Rack” on page 8-5
v “Replacing a Control Module in a Standalone or Rack-mounted Library
(14U or larger)” on page 8-12
12. Perform “Returning a Library or Library Module to Normal Operations after
Repairs” on page 8-4.
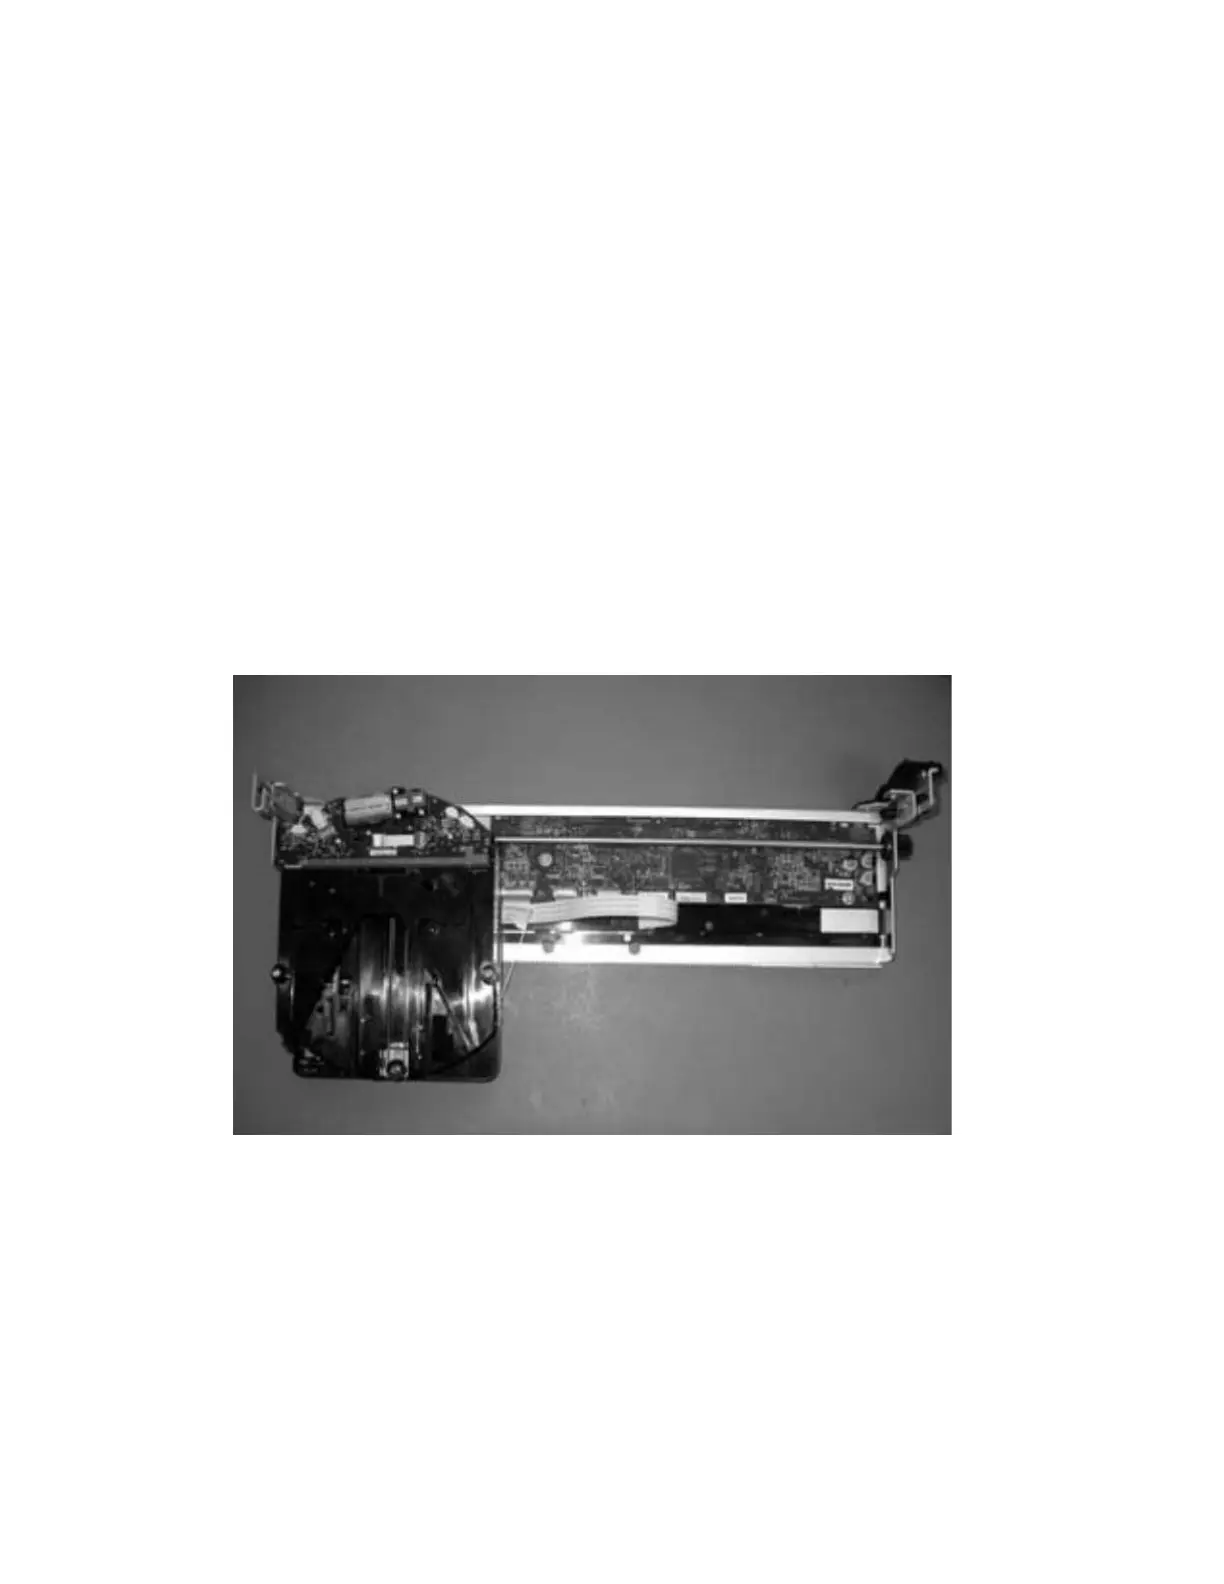
M2 Picker Assembly
The Picker moves media to and from storage slots and tape drives and positions
the Bar Code Scanner to enable it to read bar code labels on cartridges and
fiducials on cartridge magazines and tape drives. The Picker Assembly is attached
to the Y-Axis/Picker Assembly. If the Picker Assembly requires service, you can
either remove it from the Y-Axis/Picker Assembly while the Y-Axis/Picker
Assembly is still in the library, or you can remove the Y-Axis/Picker Assembly
from the library and then disconnect the Picker Assembly from it.
Removing the Picker Assembly from the M2 Robot Assembly
Outside of a Library
1. Perform “Removing the M2 Robot Assembly from the Library” on page 8-67.
2. Slide Picker Assembly to the forward side of the Y-carriage as shown in
Figure 8-75.
3. Hold robot as shown in Figure 8-76 on page 8-73 and locate the release lever
(1 in Figure 8-77 on page 8-73) on the underside of the Picker Assembly.
Rotate the release lever forward and lift up on the Picker Assembly. It will
pivot against the sheet metal edge near the drive shaft. Pull to the right and
remove the Picker Assembly.
CAUTION:
The flex cables are still attached to the M2 Robot Assembly.
a66mi167
Figure 8-75. Picker Assembly on Forward side of Y-carriage
8-72 TS3310 Tape Library Maintenance Information