c. Verify that the Picker Assembly is fully resting on the M2 Robot Assembly
by slowly moving the Picker Assembly toward the rear. If it moves
smoothly, installation is complete
5. If necessary, install the I/O Station(s) into the library. See “Reinstalling an I/O
Station” on page 8-36.
6. Close the Access door, then the I/O Station door.
7. Perform “Returning a Library or Library Module to Normal Operations after
Repairs” on page 8-4.
Removing/Replacing a Storage Column
Storage columns, like the cartridge magazine(s) in the I/O Station, store tape
cartridges that are placed within the library.
Removing a Storage Column
1. Perform “Preparing a Library or Library Module for Repairs” on page 8-4.
2. Perform one of the following:
v For a 5U library, perform “Removing the M2 Robot Assembly from the
Library” on page 8-67.
v For a 14U library, position the Y-axis/Picker Assembly into the control
module if you are removing storage columns from the expansion module, or
position the Y-axis/Picker Assembly into the expansion module if you are
removing storage columns from the control module.
3. Firmly grasp the storage column. Always begin by removing the front column
first. Then remove the remaining column(s).
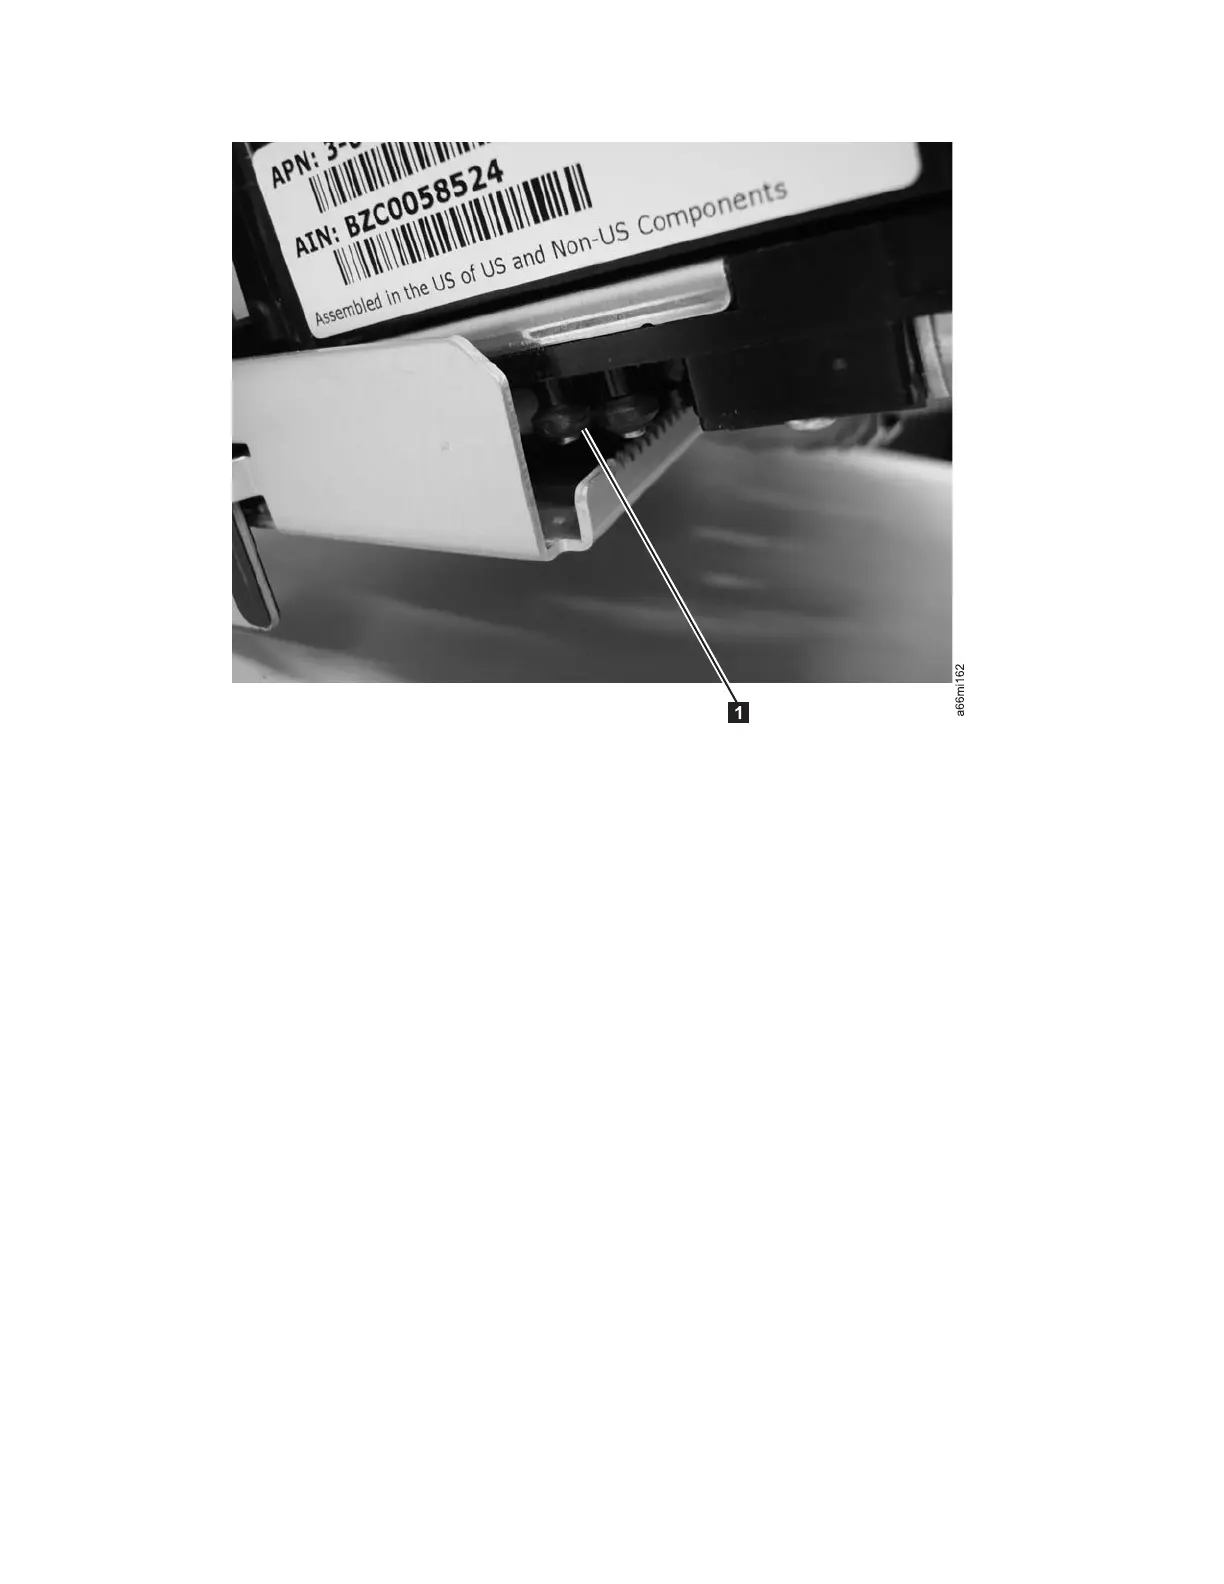
Figure 8-108. Align rollers on the Picker Assembly with slots on the M2 Robot Assembly
8-96 TS3310 Tape Library Maintenance Information