15-3
15
Assembling e Upper Component Area - TR300 Series
Step 1: Place the Printer onto the printer mounting bracket.
Ensure the rear mounting bracket guides engage the slots in the bottom rear of the printer
Step 2: With the Printer forward, align the Control Computer cabling with the channel at the top of the
upper compartment front hood.
Step 3: Lower the upper compartment front hood into place while applying pressure (rearward), to the
Printer
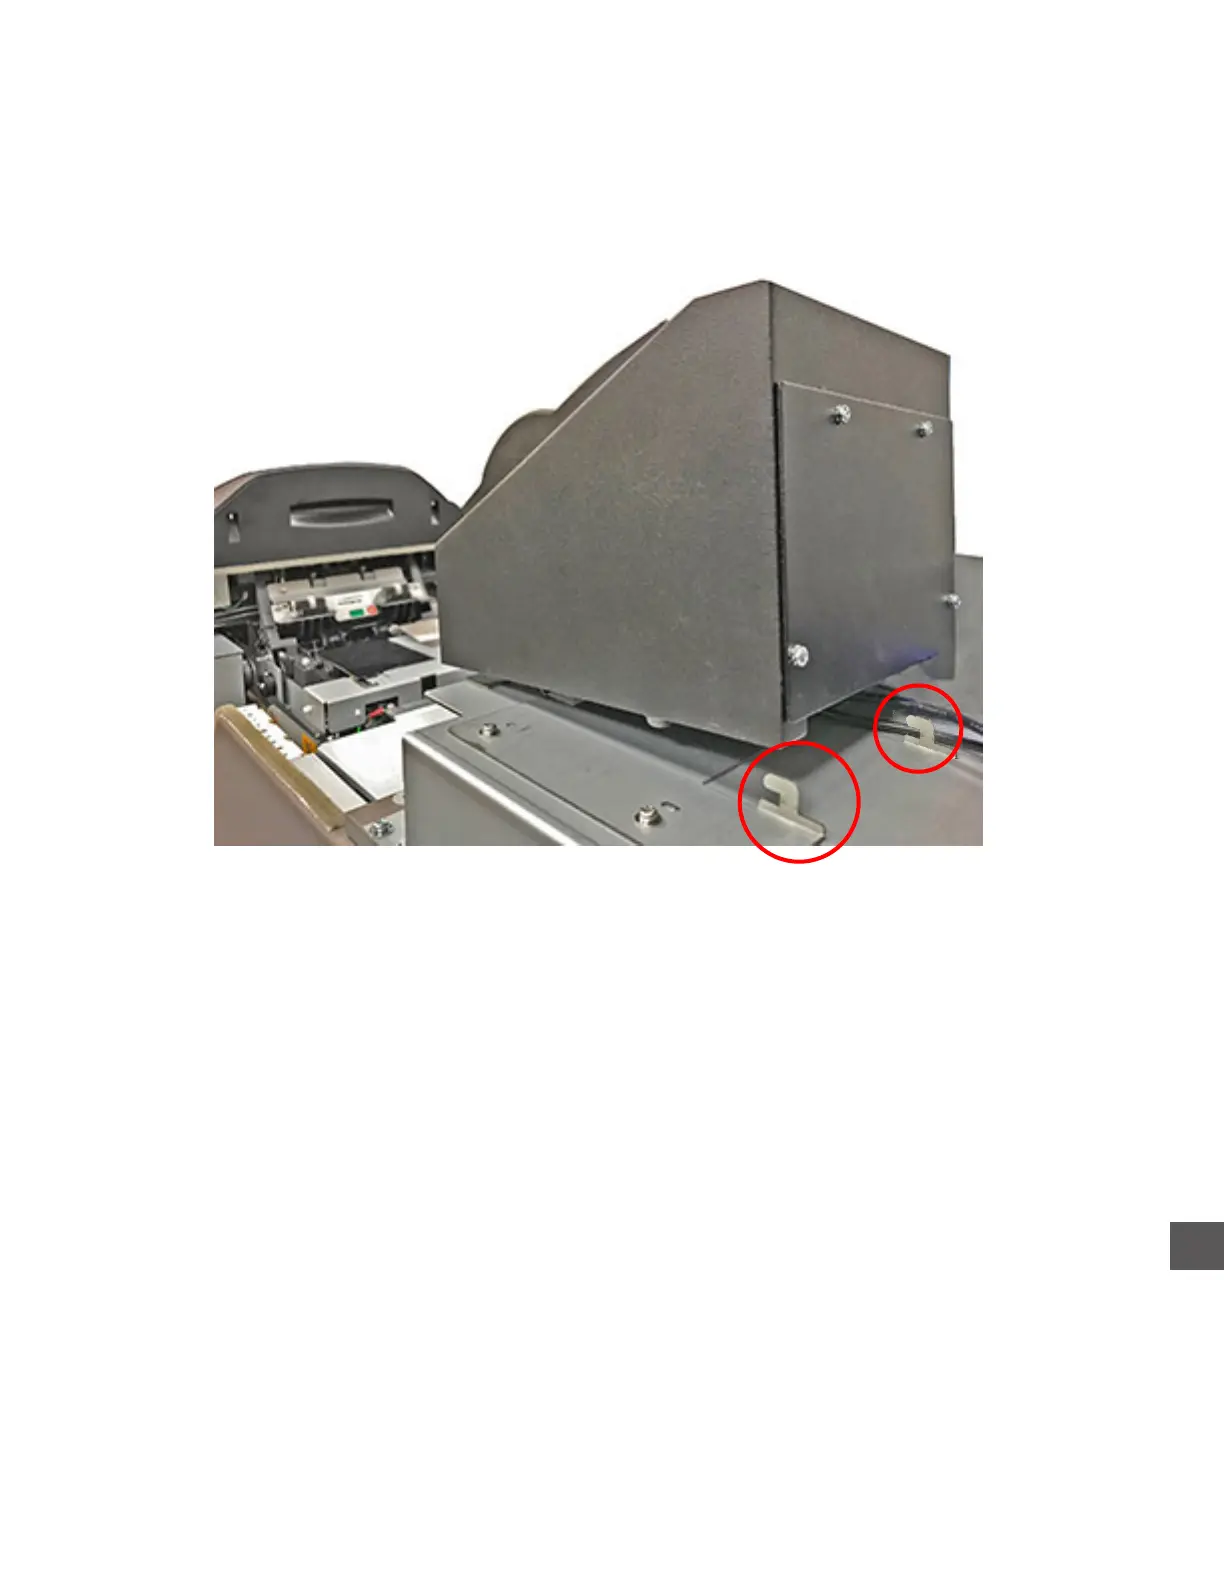
Step 4: Install the (2) screws that secure the upper compartment front hood.
Step 5: Place the upper compartment rear hood into place and secure it with the (1) screw on the left
side of the hood.