15-14
15
Printer Installation (Glory TR300 Series)
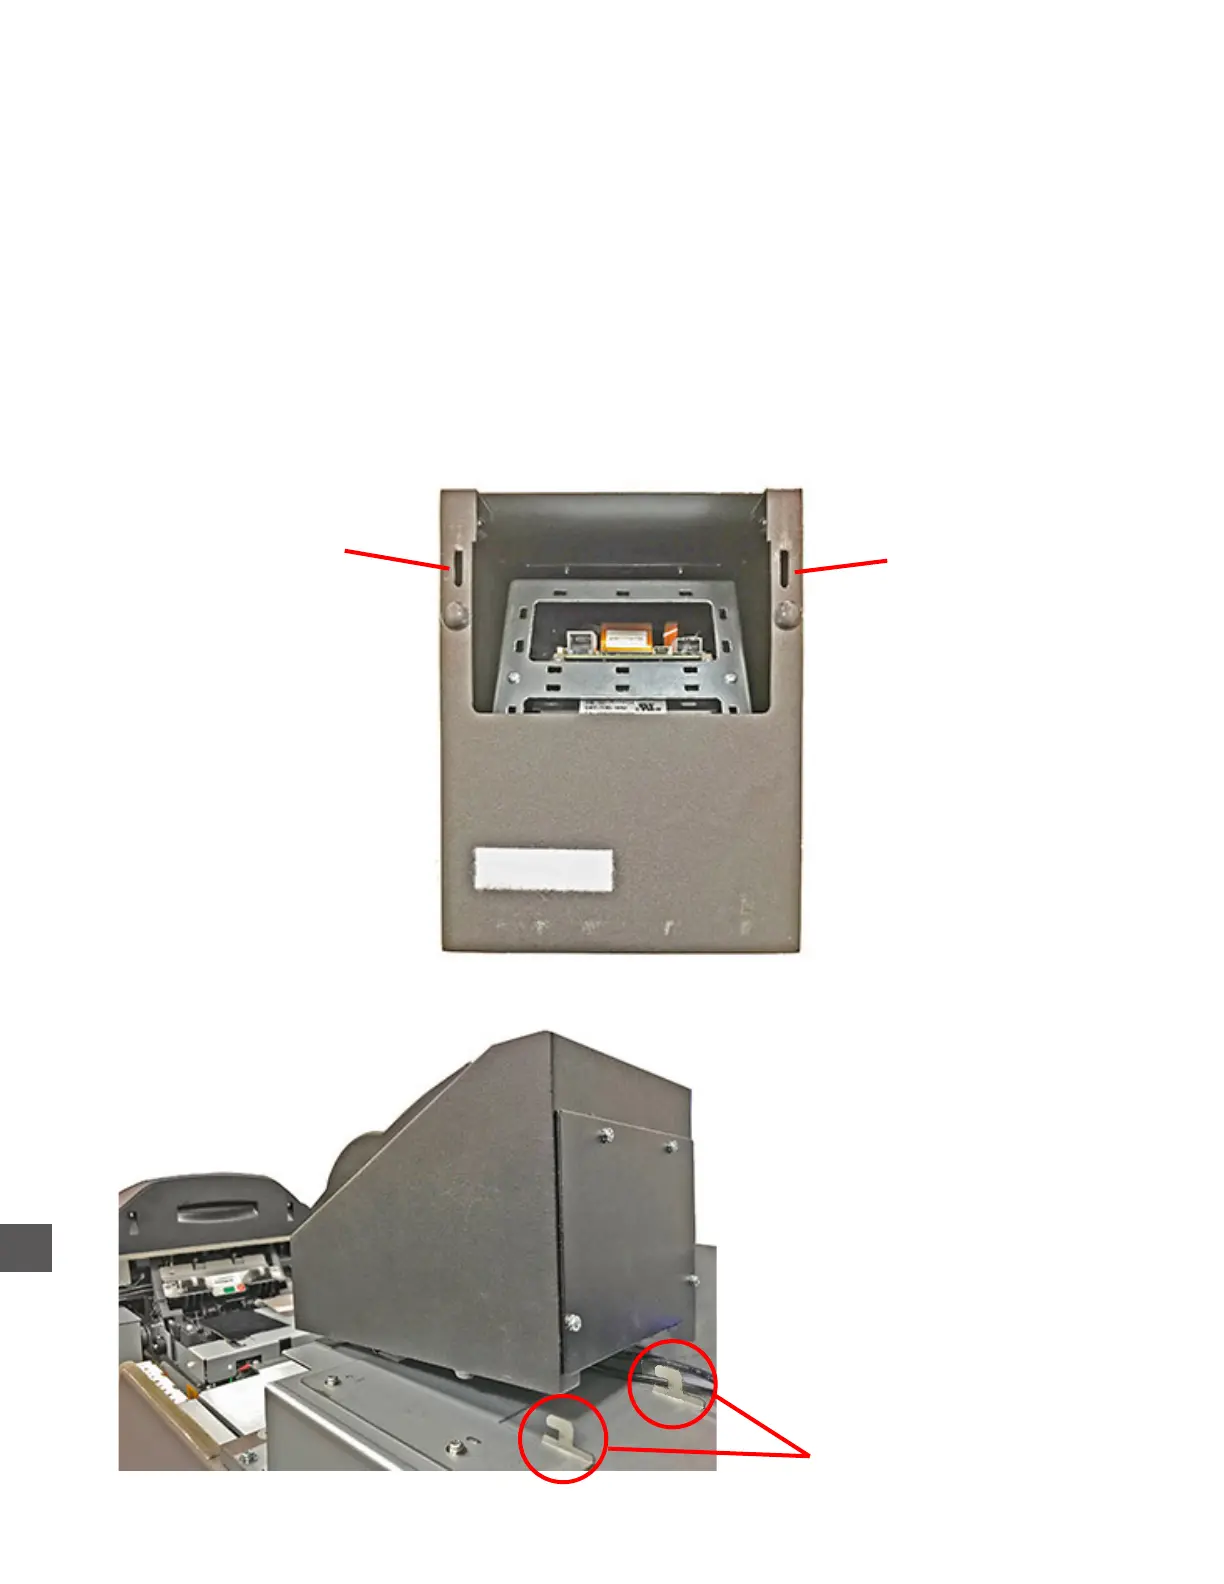
1) Place the Printer onto the printer mounting bracket.
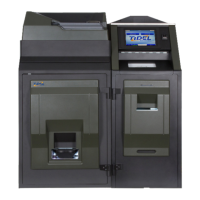
Ensure the rear mounting bracket guides engage the slots in the bottom rear of the printer
2) With the Printer forward, align the Control Computer cabling with the channel at the top of the
upper compartment front hood.
3) Lower the upper compartment front hood into place while applying pressure (rearward), to the
Printer
4) Install the (2) screws that secure the upper compartment front hood.
5) Place the upper compartment rear hood into place and secure it with the (1) screw on the left
side of the hood.
Mounting bracket
slot
Mounting bracket
slot
Bottom view of Printer
Mounting bracket guides