DIAGNOSIS AND TESTING
WHEEL INSPECTION
Inspect wheels for:
• Excessive run out
• Dents or cracks
• Damaged wheel lug nut holes
• Air Leaks from any area or surface of the rim
NOTE: Do not attempt to repair a wheel by ham-
mering, heating or welding.
If a wheel is damaged an original equipment
replacement wheel should be used. When obtaining
replacement wheels, they should be equivalent in
load carrying capacity. The diameter, width, offset,
pilot hole and bolt circle of the wheel should be the
same as the original wheel.
WARNING:
FAILURE TO USE EQUIVALENT REPLACE-
MENT WHEELS MAY ADVERSELY AFFECT THE SAFETY
AND HANDLING OF THE VEHICLE. USED WHEELS ARE
NOT RECOMMENDED. THE SERVICE HISTORY OF THE
WHEEL MAY HAVE INCLUDED SEVERE TREATMENT
OR VERY HIGH MILEAGE. THE RIM COULD FAIL WITH-
OUT WARNING.
TIRE AND WHEEL RUNOUT
Radial run out is the vertical distance between the
high and low points on the tire or wheel edge.
Lateral run out is the horizontal movement of the
tire or wheel.
Radial run out of more than 1.524 mm (.060 inch)
measured at the center line of the tread may cause
the vehicle to shake.
Lateral run out of more than 2.032 mm (.080 inch)
measured near the shoulder of the tire may cause the
vehicle to shake.
Runout should always be measured off the
vehicle and on a suitable balance machine.
Usually radial run out can be reduced by relocat-
ing the wheel and tire on the wheel studs (See
Method 1). If this does not reduce run out to an
acceptable level, the tire can be rotated on the wheel.
(See Method 2).
METHOD 1 (RELOCATE WHEEL ON HUB)
Check accuracy of the wheel mounting surface;
adjust wheel bearings.
Drive vehicle a short distance to eliminate tire flat
spotting from a parked position.
Verify all wheel nuts are properly torqued (Fig. 4).
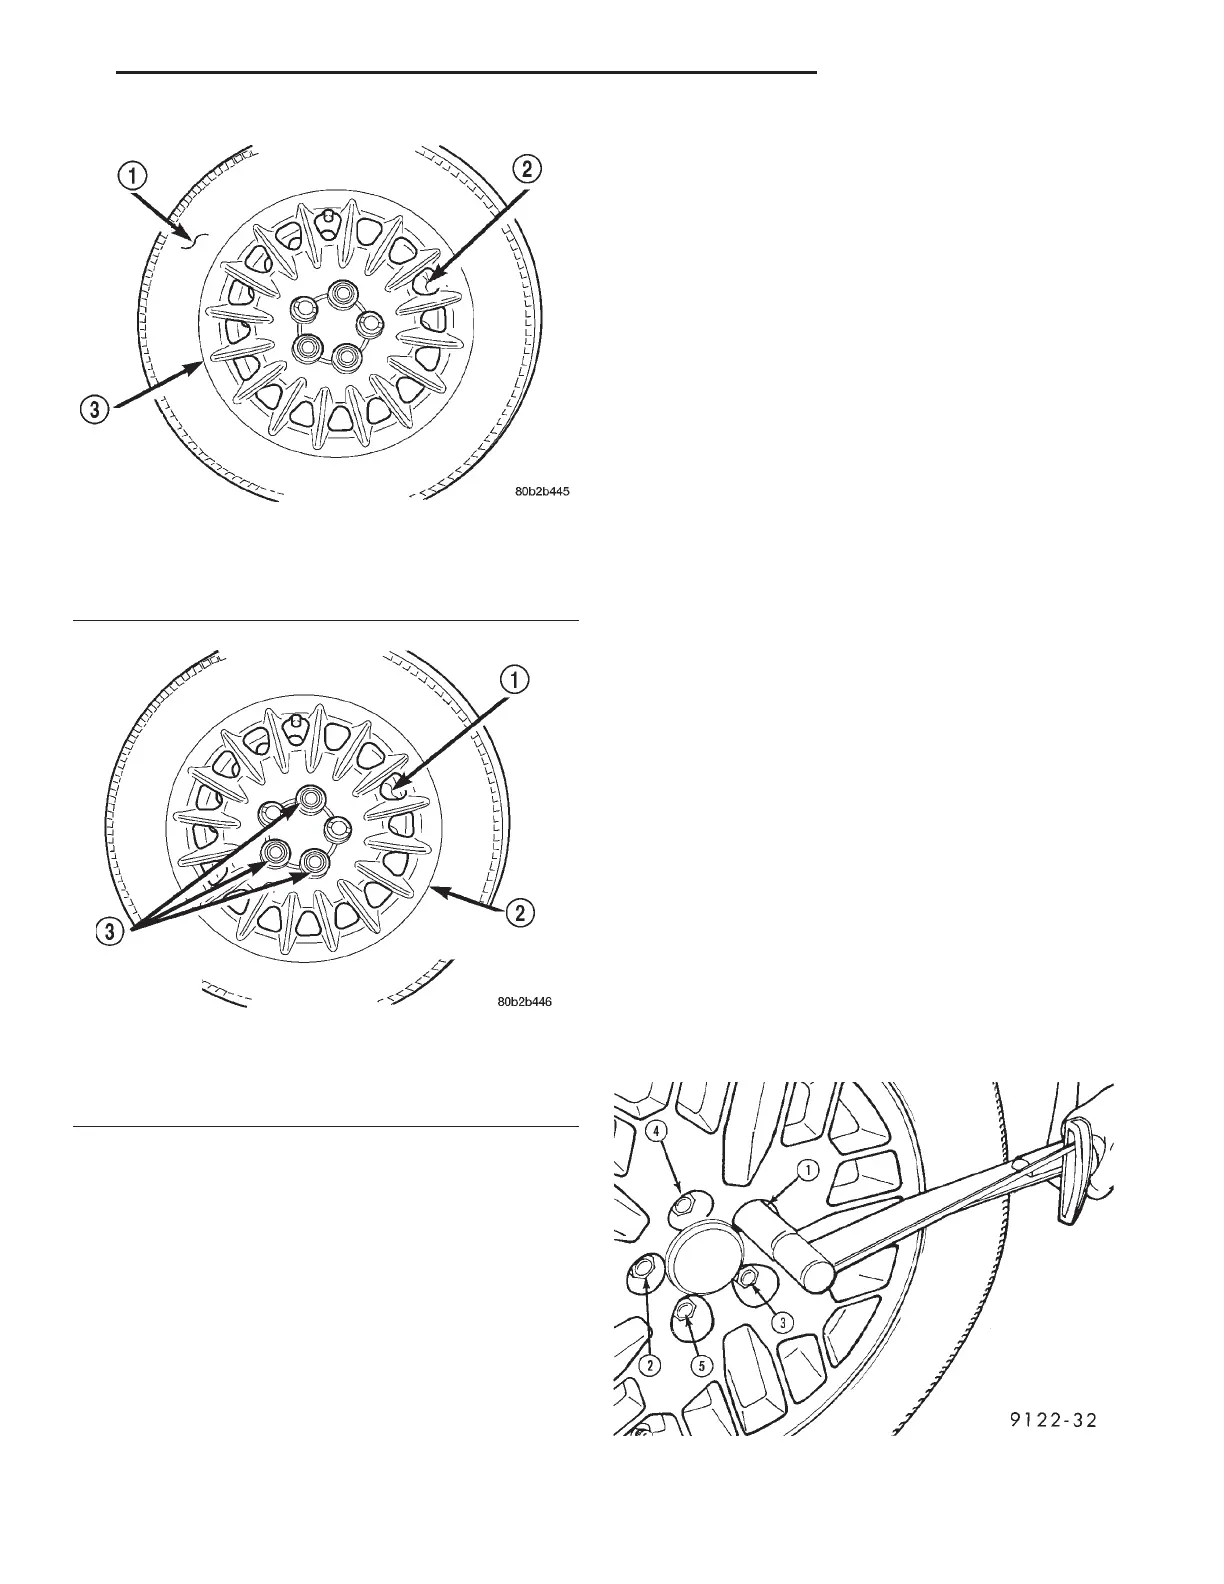
Fig. 2 Bolt-On Wheel Cover
1 – TIRE
2 – WHEEL
3 – BOLT-ON WHEEL COVER (TYPICAL)
Fig. 3 Bolt-On Wheel Cover Retention To Wheel
1 – WHEEL
2 – BOLT-ON WHEEL COVER
3 – WHEEL COVER RETAINING WHEEL NUTS
Fig. 4 Tightening Wheel Nuts
LH TIRES AND WHEELS 22 - 9
DESCRIPTION AND OPERATION (Continued)