(15) Install the reset chain tensioner into the right
cylinder head (Fig. 74).
(16) Position tensioner retaining plate and tighten
bolts to 12 N·m (105 in. lbs.) (Fig. 74).
(17) Starting at the right cylinder bank, insert a
3/8” square drive extension with a breaker bar into
intake camshaft drive hub. Rotate camshaft until the
camshaft hub aligns to the camshaft sprocket and
damper attaching holes. Install the sprocket attach-
ing bolts and tighten to 28 N·m (250 in. lbs.) (Fig.
71).
(18) Turn the left side camshaft by inserting a 3/8”
square drive extension with a breaker bar into intake
camshaft drive hub and rotate camshaft until the
sprocket attaching bolts can be installed. Tighten
sprocket bolts to 28 N·m (250 in. lbs.) (Fig. 71).
(19) Rotate engine slightly clockwise to remove
timing chain slack, if necessary.
(20) To arm the timing chain tensioner: Use a flat
bladed pry tool to gently pry tensioner arm towards
the tensioner slightly (Fig. 75). Then, release the ten-
sioner arm. Verify the tensioner is armed (extends).
(21) Install the timing chain cover, crankshaft
damper, and cylinder head covers.
(22) Install camshaft position sensor and connect
electrical connector.
(23) Install upper intake manifold. Refer procedure
in this section.
NOTE: After installation of a reset tensioner, engine
noise will occur after initial start-up. This noise will
normally disappear within 5–10 seconds.
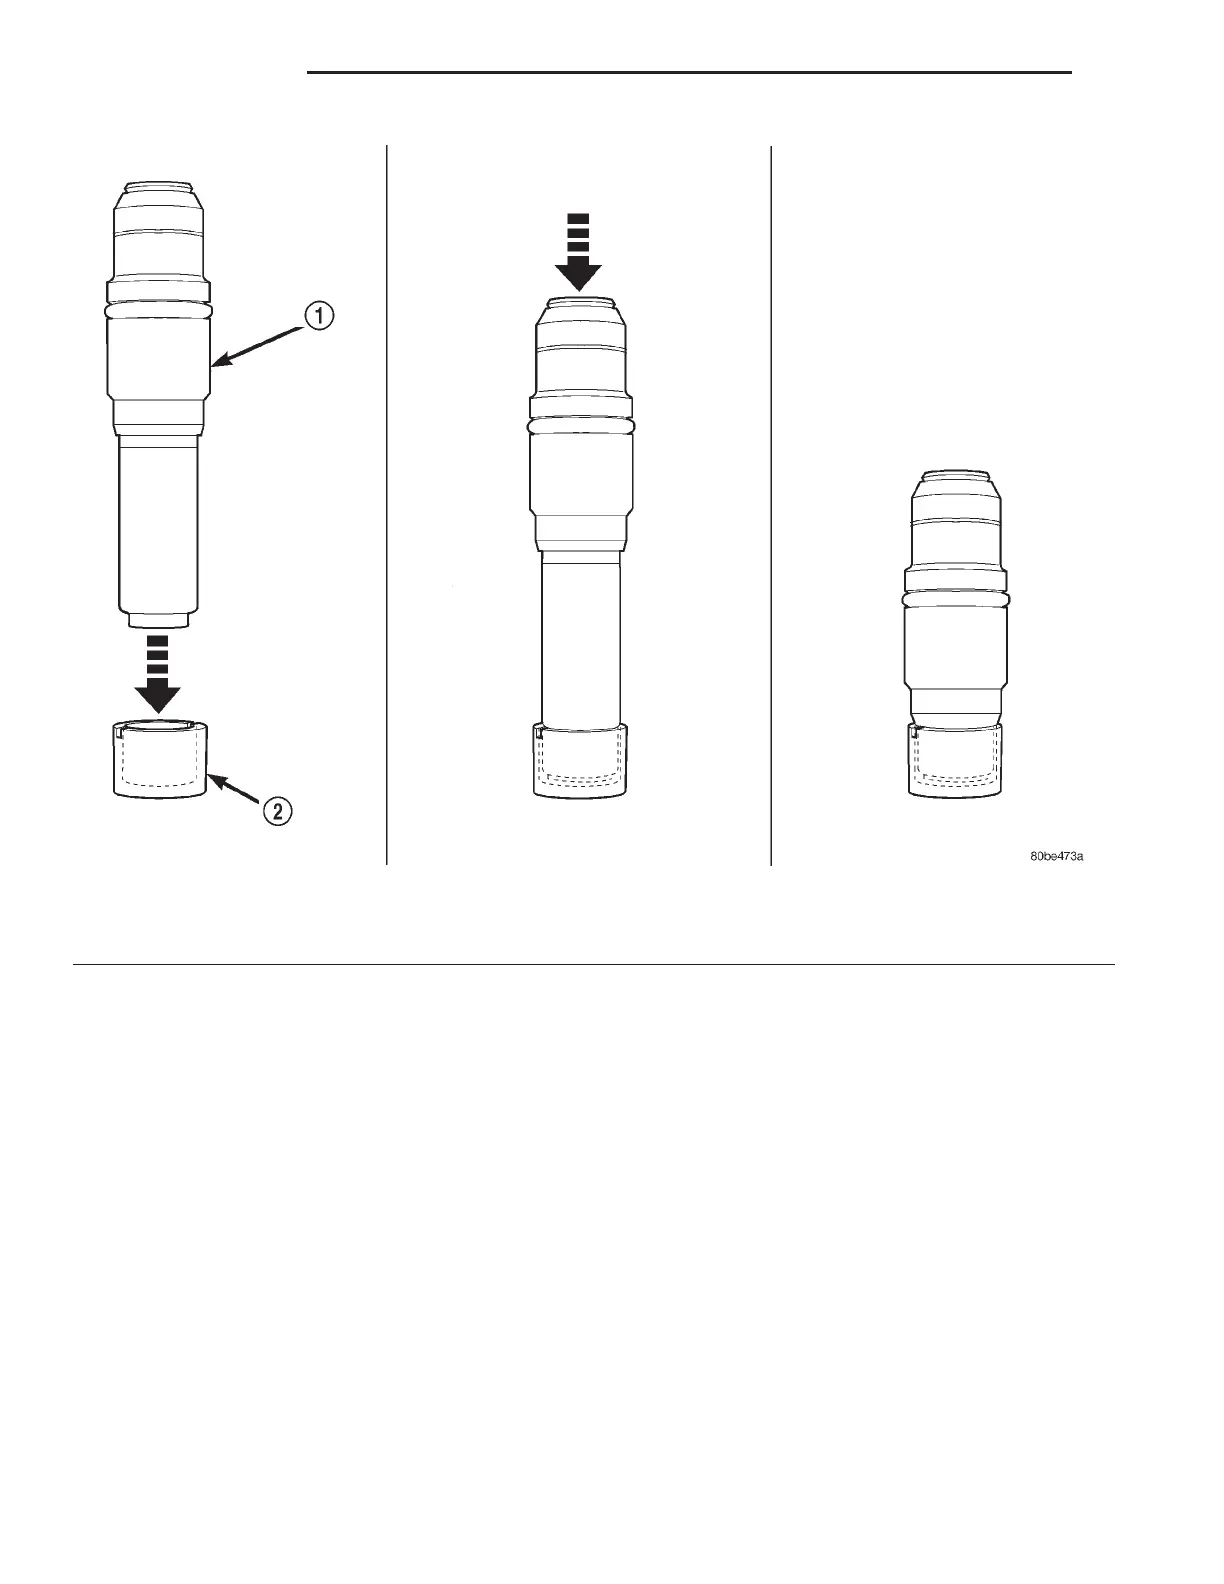
Fig. 73 Timing Chain Tensioner—Resetting
1 – TENSIONER
2 – SPECIAL TOOL 8186
9 - 50 2.7L ENGINE LH
REMOVAL AND INSTALLATION (Continued)