NOTE: Inspect rocker arm for proper engagement
into lash adjuster and valve tip.
(5) Repeat procedure for each rocker arm being
installed.
(6) Install cylinder head cover(s). Refer to proce-
dure in this section.
HYDRAULIC LASH ADJUSTER
REMOVAL
(1) Remove cylinder head cover(s). Refer to proce-
dure in this section.
(2) Remove rocker arm(s). Refer to procedure in
this section.
CAUTION: If lash adjusters and rocker arms are to
be reused, always mark position for reassembly in
their original positions.
(3) Remove lash adjuster(s).
INSTALLATION
(1) Install hydraulic lash adjuster making sure
adjusters are at least partially full of oil. This can be
verified by little or no plunger travel when lash
adjuster is depressed.
(2) Install rocker arm(s) and cylinder head covers.
Refer to procedure in this section.
VALVE STEM SEALS OR VALVE SPRINGS—IN
VEHICLE
REMOVAL
(1) Perform fuel system pressure release procedure
before attempting any repairs. Refer to FUEL
SYSTEM for procedure.
(2) Disconnect negative cable from remote jumper
terminal.
(3) Remove air cleaner housing cover and inlet
hose.
(4) Remove upper intake manifold. Refer to proce-
dure in this section.
(5) Remove cylinder head cover(s). Refer to proce-
dure in this section.
(6) Remove crankshaft damper, timing chain cover,
and timing chain. Refer to procedures in this section.
(7) Remove camshafts. Refer to procedure in this
section.
(8) With air hose attached to spark plug adapter
installed in the cylinder being serviced, apply 620.5 –
689 kPa (90 – 100 psi) air pressure. This is to hold
valves in place while servicing components.
(9) Using Special Tool MD 998772A with adapter
6779, compress valve spring and remove valve locks,
retainer, and valve spring.
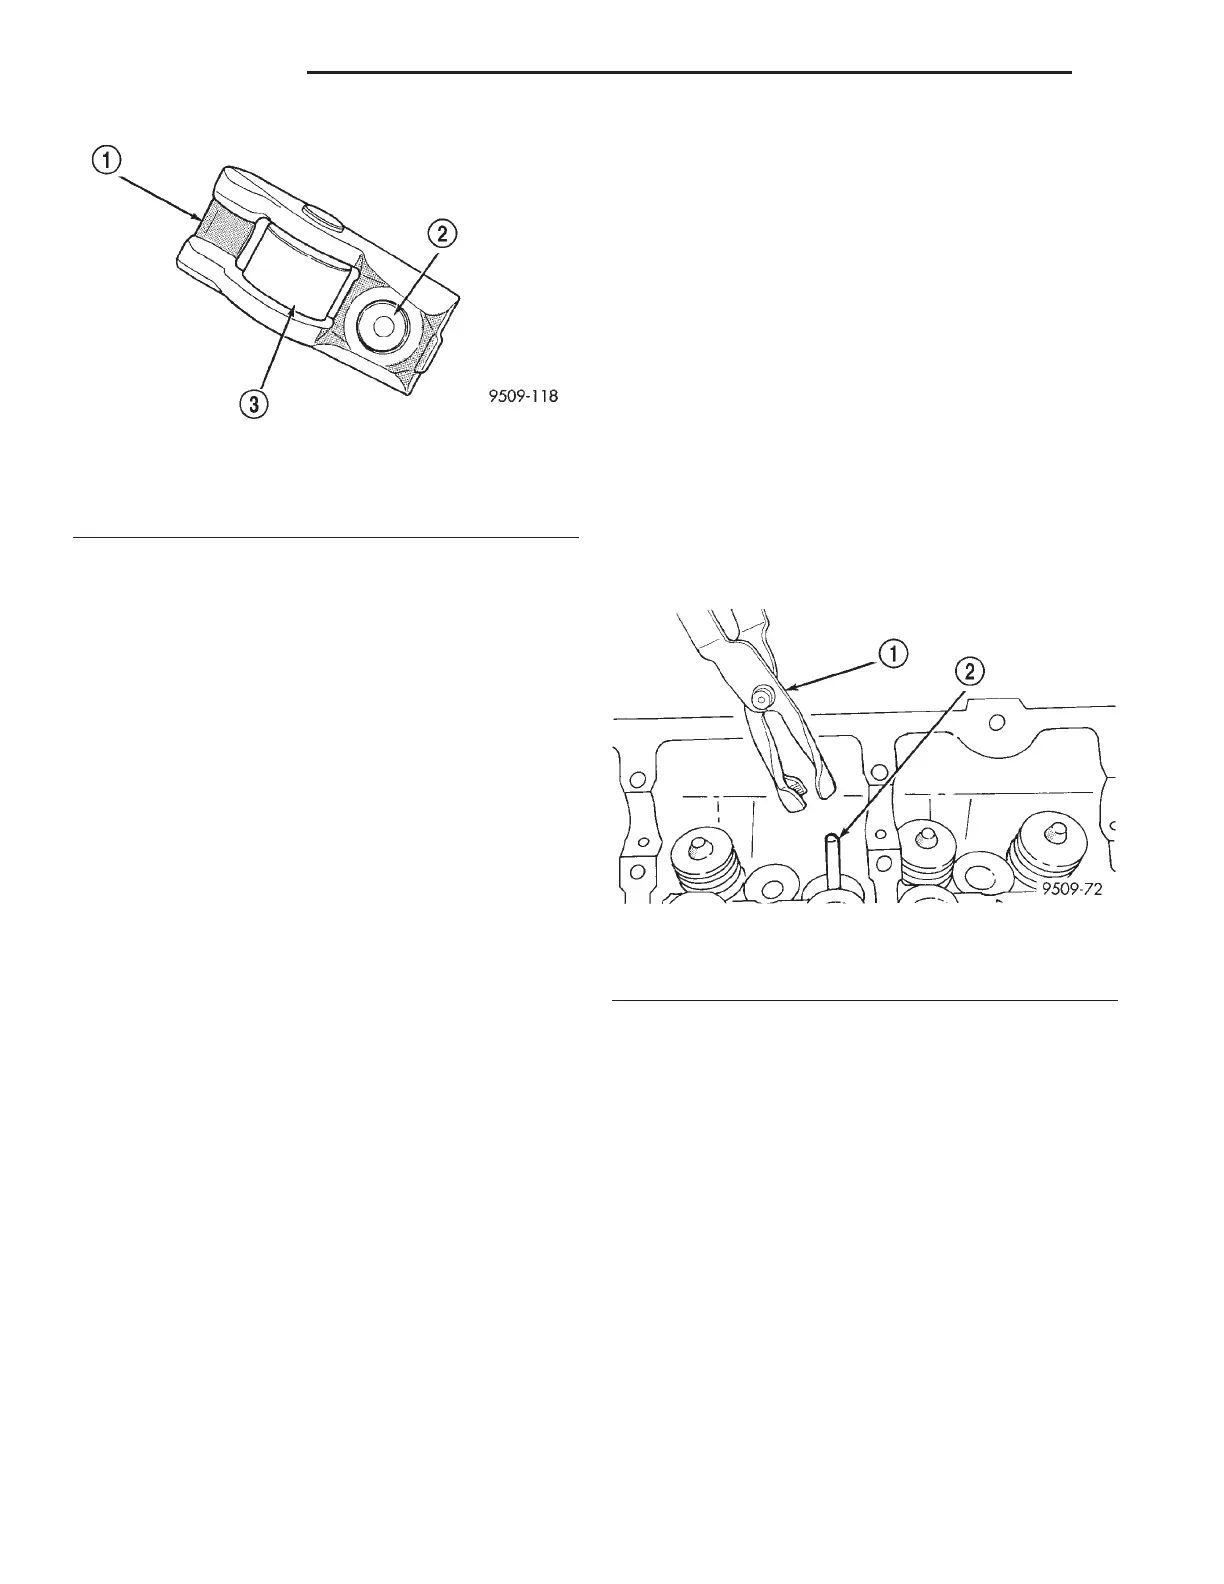
(10) Remove valve stem seals by using a valve seal
tool (Fig. 60).
INSTALLATION
(1) The valve stem seal/valve spring seat should be
pushed firmly and squarely over the valve guide
using the valve stem as guide. Do Not Force seal
against top of guide. When installing the valve
retainer locks, compress the spring only enough to
install locks
(2) Follow the same procedure on the remaining 5
cylinders using the firing sequence 1-2-3-4-5-6. Make
sure piston is at TDC on the cylinder that the
valve spring is to be removed.
(3) Remove spark plug adapter tool and Special
Tool MD 998772A.
(4) Install rocker arm(s). Refer to procedure in this
section.
(5) Install camshafts, timing chain, and timing
chain cover.
(6) Install cylinder head covers.
(7) Install upper intake manifold.
Fig. 59 Rocker Arm
1 – TIP
2 – LASH ADJUSTER POCKET
3 – ROLLER
Fig. 60 Valve Stem Seal—Removal
1 – VALVE SEAL TOOL
2 – VALVE STEM
9 - 42 2.7L ENGINE LH
REMOVAL AND INSTALLATION (Continued)