INSTRUMENT PANEL AND PAD ASSEMBLY
REMOVAL
WARNING: DISCONNECT AND ISOLATE THE NEG-
ATIVE BATTERY CABLE REMOTE TERMINAL
BEFORE BEGINNING ANY AIRBAG SYSTEM COM-
PONENT REMOVAL OR INSTALLATION PROCE-
DURE. THIS WILL DISABLE THE AIRBAG SYSTEM.
FAILURE TO DISCONNECT BATTERY COULD
RESULT IN ACCIDENTAL AIRBAG DEPLOYMENT
AND POSSIBLE PERSONAL INJURY. ALLOW SYS-
TEM CAPACITOR TO DISCHARGE FOR 2 MINUTES
BEFORE REMOVING ANY AIRBAG COMPONENTS.
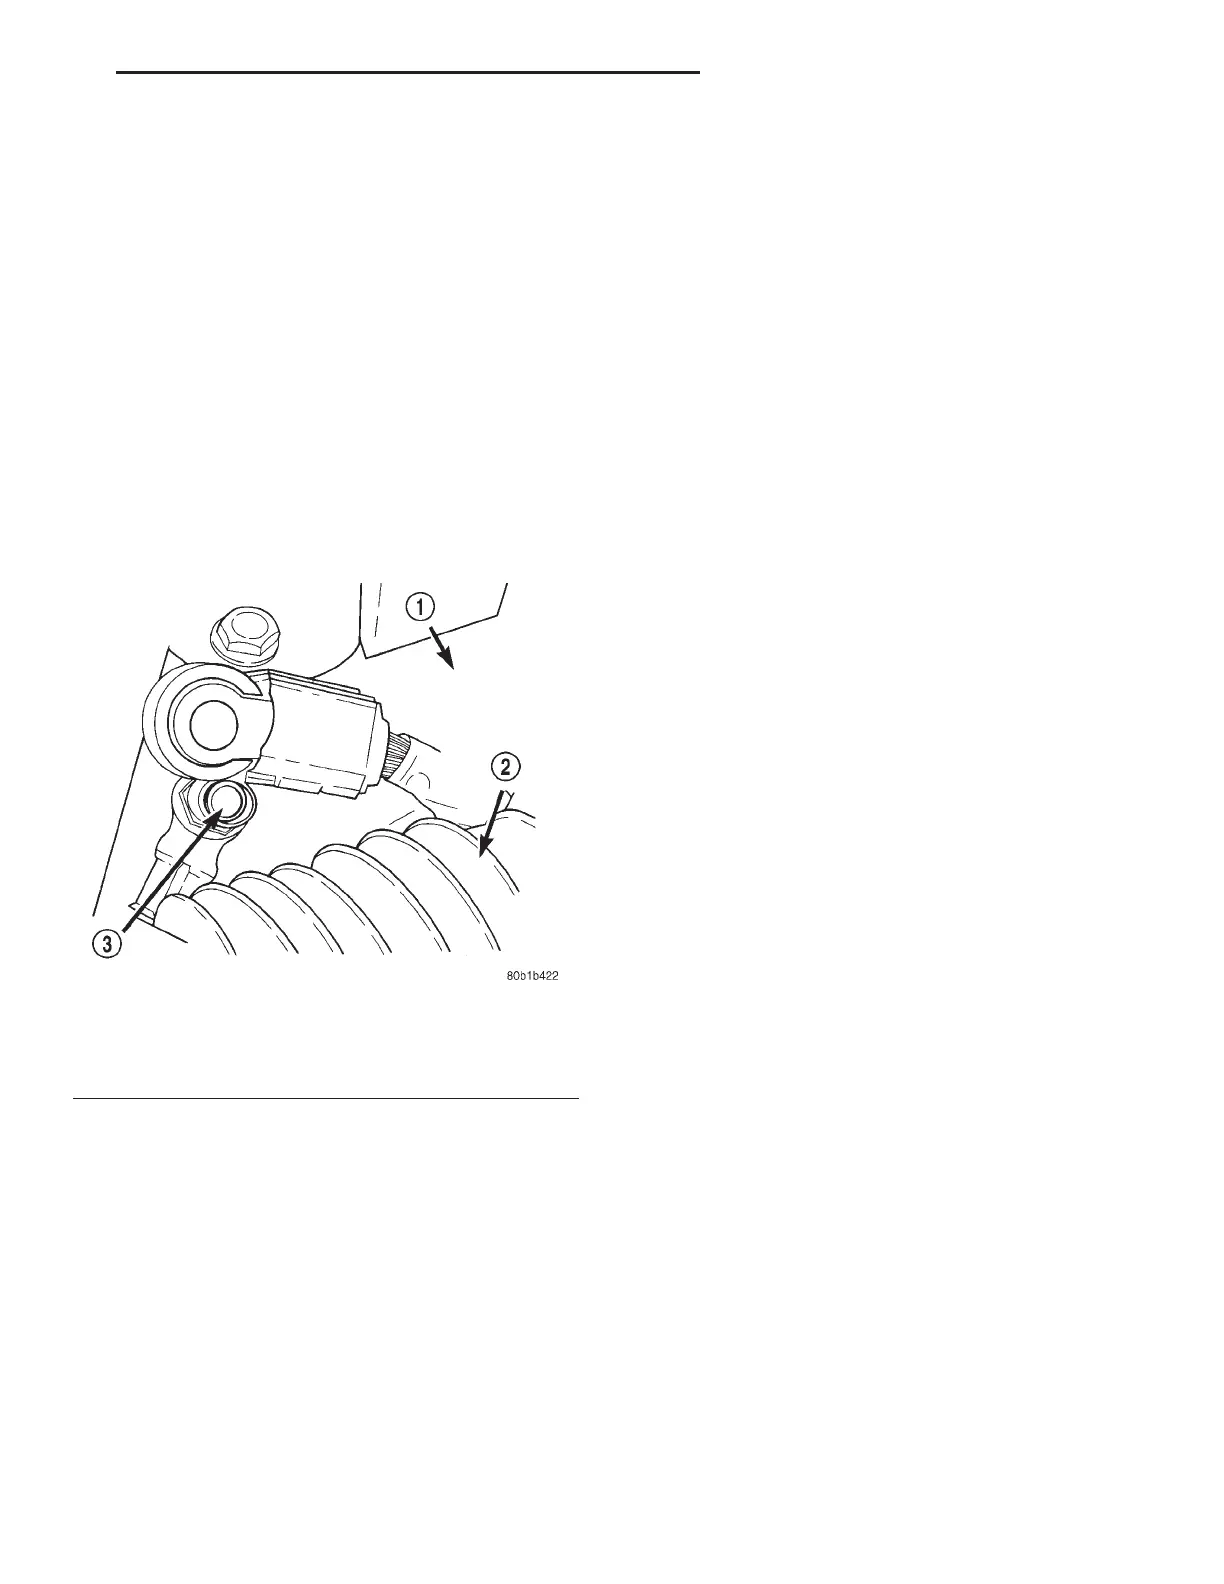
(1) Open hood and disconnect the negative battery
cable remote terminal from the remote battery post
(Fig. 22).
(2) Remove one allen screw to shifter knob.
(3) Remove left and right instrument panel end
covers.
NOTE: On LHS/300M vehicles, the center bezel
must be removed prior to the shifter bezel.
(4) Using a trim stick (special tool #C-4755), gently
pry up on shifter bezel, disconnect two wire connec-
tors, one illumination bulb socket and remove.
(5) Remove two screws from lower instrument
panel cover (outside end) and disconnect decklid
release switch wiring connector. Pull rearward on
lower instrument panel cover releasing clips. Remove
cable to brake release handle. Pull rearward and
remove cover from vehicle.
(6) On six passenger vehicles, remove the lower
floor bin and proceed with Step 12.
(7) On five passenger vehicles, use trim stick to
gently remove center bezel. Disconnect wire har-
nesses connected to hvac control and traction control
switch.
(8) Remove bezel from vehicle.
(9) Remove two screws to left console side cover,
pull outboard and remove from vehicle.
(10) Lower glove box door. Remove two screws to
right console side cover, pull outboard and remove
from vehicle
(11) Remove two front bracket screws and two
screws inside console bin to remove console.
(12) Remove two nuts attaching center lower
instrument panel.
(13) Remove four bolts to steel reinforcement from
bottom of lower instrument panel cover and discon-
nect 16-way Diagnostic Link Connector (DLC) from
steel reinforcement.
(14) Remove one screw to left floor duct/silencer
pad and remove from vehicle.
(15) Remove steering column from vehicle.
(a) Remove column shrouds.
(b) Disconnect shift interlock cable at ignition
switch.
(c) Disconnect column wiring.
(d) Disconnect under column duct section and
remove from vehicle.
(e) Disconnect and remove left panel A/C outlet
duct.
(f) Remove four column mounting bolts at brake
pedal support bracket.
(g) Lower steering column to floor.
(16) Disconnect two harness connectors to the hvac
housing, the Airbag Control Module (ACM) and two
ground eyelets left of the floor tunnel near the bulk-
head.
(17) Using a trim stick, gently pry out on the left
and right A-pillar trim moldings, and slide rearward
to remove.
(18) Using a trim stick, gently pry up on the
instrument panel top cover and remove toward the
rear of vehicle.
(19) Remove one screw retaining each left and
right scuff plate. Using a trim stick, gently pry out
on left and right scuff plates and remove from vehi-
cle.
(20) Remove three screws to right side cowl panel
and remove from vehicle.
(21) Remove three screws to left side cowl panel
and remove from vehicle.
(22) Remove right side under dash silencer/pad.
(23) Disconnect the two right side harness connec-
tors to radio antenna and amplifier DIN cable.
Fig. 22 Negative Battery Cable Remote Terminal
1 – RIGHT STRUT TOWER
2 – AIR CLEANER INLET TUBE
3 – REMOTE TERMINAL
LH INSTRUMENT PANEL SYSTEMS 8E - 15
REMOVAL AND INSTALLATION (Continued)