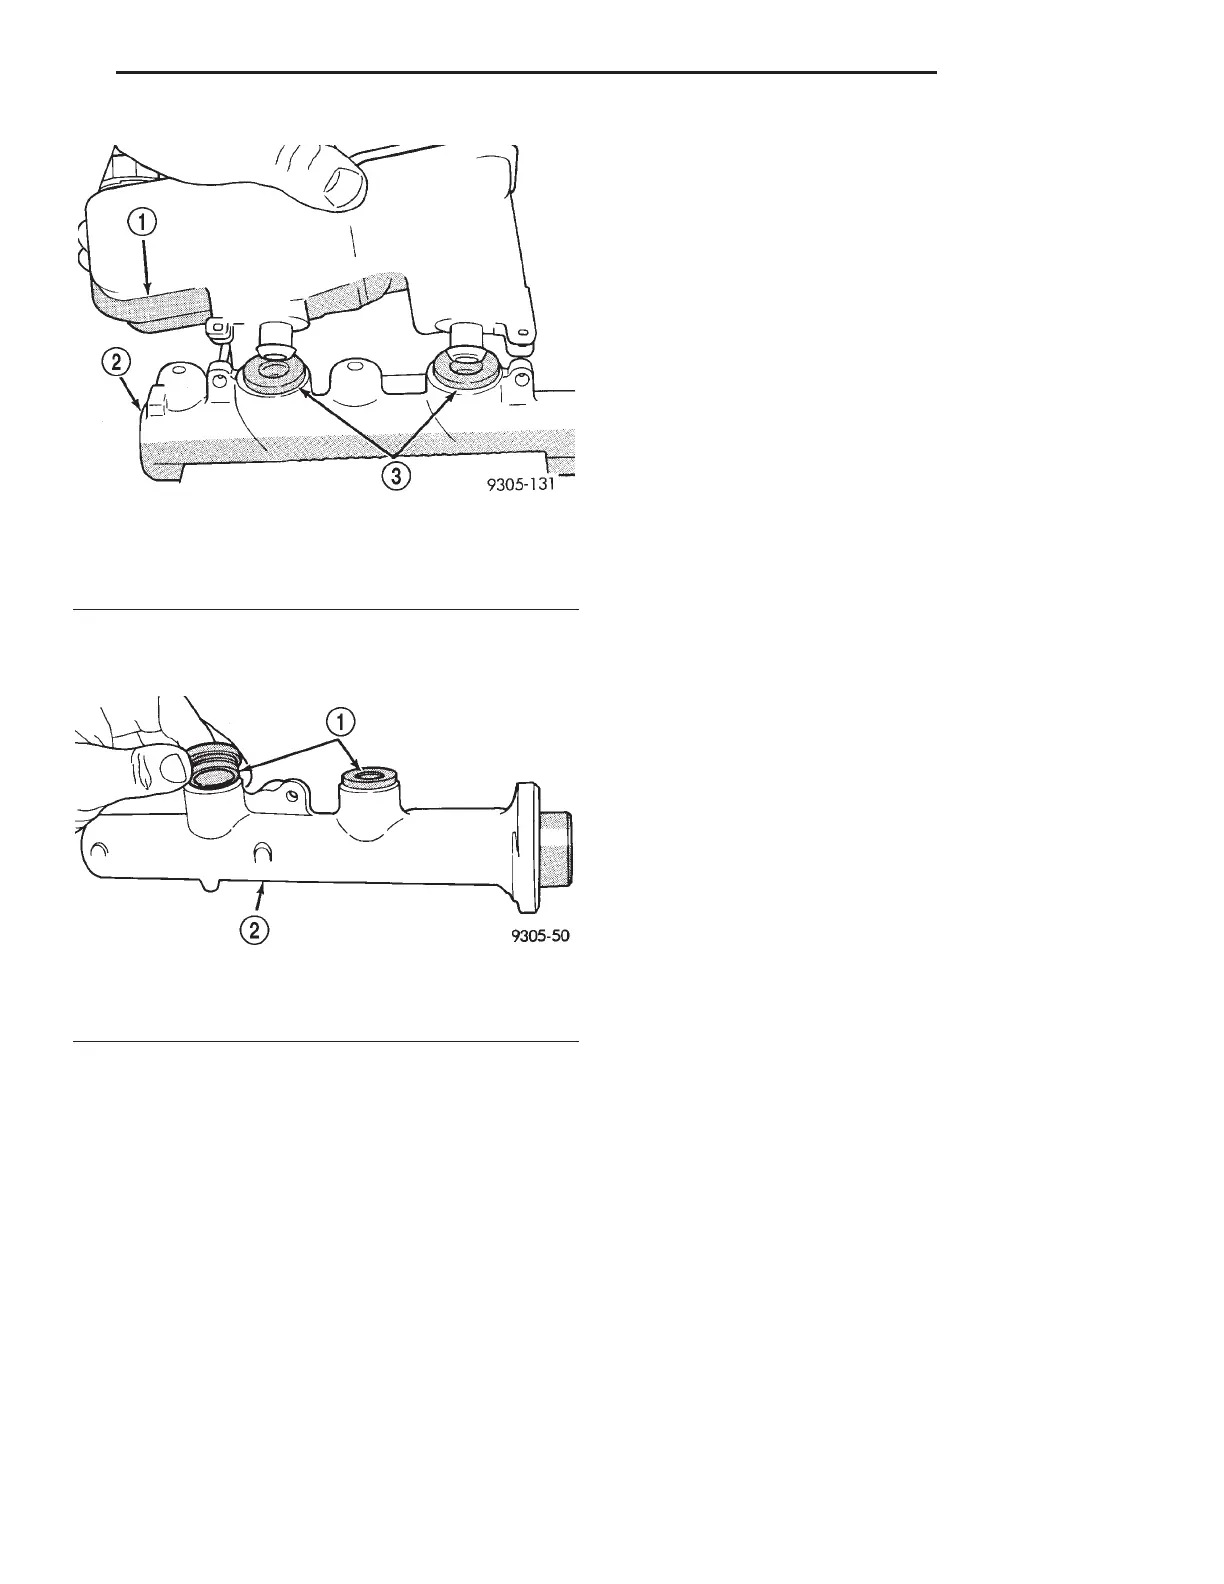
(7) Remove the master cylinder housing-to-reser-
voir grommets (Fig. 85).
ASSEMBLE
(1) Install new housing-to-reservoir grommets in
master cylinder housing (Fig. 85).
(2) Lubricate brake fluid reservoir mounting area
with clean brake fluid. Place reservoir in position
over grommets. Seat reservoir into sealing grommets
using a rocking motion while pushing down on reser-
voir.
(3) Make sure bottom of reservoir touches the top
of both sealing grommets.
(4) Install the 2 fluid reservoir to master cylinder
retaining pins (Fig. 83).
DISC BRAKE CALIPER (FRONT AND REAR)
CLEANING AND INSPECTION
Check for brake fluid leaks in and around dust
boot area and inboard brake pad, and for any rup-
tures, brittleness or damage to the piston dust boot.
If the dust boot is damaged, or a fluid leak is visible,
disassemble caliper assembly and install a new pis-
ton seal and dust boot, and piston if scored. Refer to
Caliper Disassembly And Re-Assembly Procedures in
Disc Brake Caliper Service in this section of the ser-
vice manual.
Check the guide pin dust boots to determine if they
are in good condition. Replace if they are damaged,
dry, or found to be brittle. Refer to Guide Pin Bush-
ing Service in Disc Brake Caliper Service in this sec-
tion of the service manual.
CALIPER GUIDE PIN BUSHING SERVICE
The double pin caliper uses a sealed for life bush-
ing and sleeve assembly. If required this assembly
can be serviced using the following procedure.
REMOVING CALIPER GUIDE PIN BUSHINGS
(1) Remove caliper from brake rotor (See Brake
Shoe Removal). Hang caliper assembly on a wire
hook away from the brake rotor.
(2) Push out and then pull the steel sleeve from
the inside of the bushing using your fingers as shown
in (Fig. 86).
(3) Using your fingers, collapse one side of the
bushing. Then pull on the opposite side to remove
the bushing from the brake caliper housing (Fig. 87).
INSTALLING CALIPER GUIDE PIN BUSHINGS
(1) Fold the bushing in half lengthwise at the solid
middle section of the bushing (Fig. 88).
(2) Insert the folded bushing into the caliper hous-
ing (Fig. 89). Do not use a sharp object to per-
form this step due to possible damage to the
bushing.
(3) Unfold the bushing using your fingers or a
wooden dowel until the bushing is fully seated into
the caliper housing. Flanges should be seated evenly
on both sides of the bushing hole (Fig. 90).
(4) Lubricate the inside surfaces of the bushing
using Mopar, Silicone Dielectric Compound or an
equivalent.
(5) Install guide pin sleeve into one end of bushing
until seal area of bushing is past seal groove in
sleeve (Fig. 91).
Fig. 84 Removing Reservoir
1 – FLUID RESERVOIR
2 – MASTER CYLINDER
3 – SEALING GROMMETS
Fig. 85 Reservoir Sealing Grommets
1 – RESERVOIR SEALING GROMMETS
2 – MASTER CYLINDER
LH BRAKES 5 - 45
DISASSEMBLY AND ASSEMBLY (Continued)
2000 LHS, 300M, CONCORDE AND INTREPID