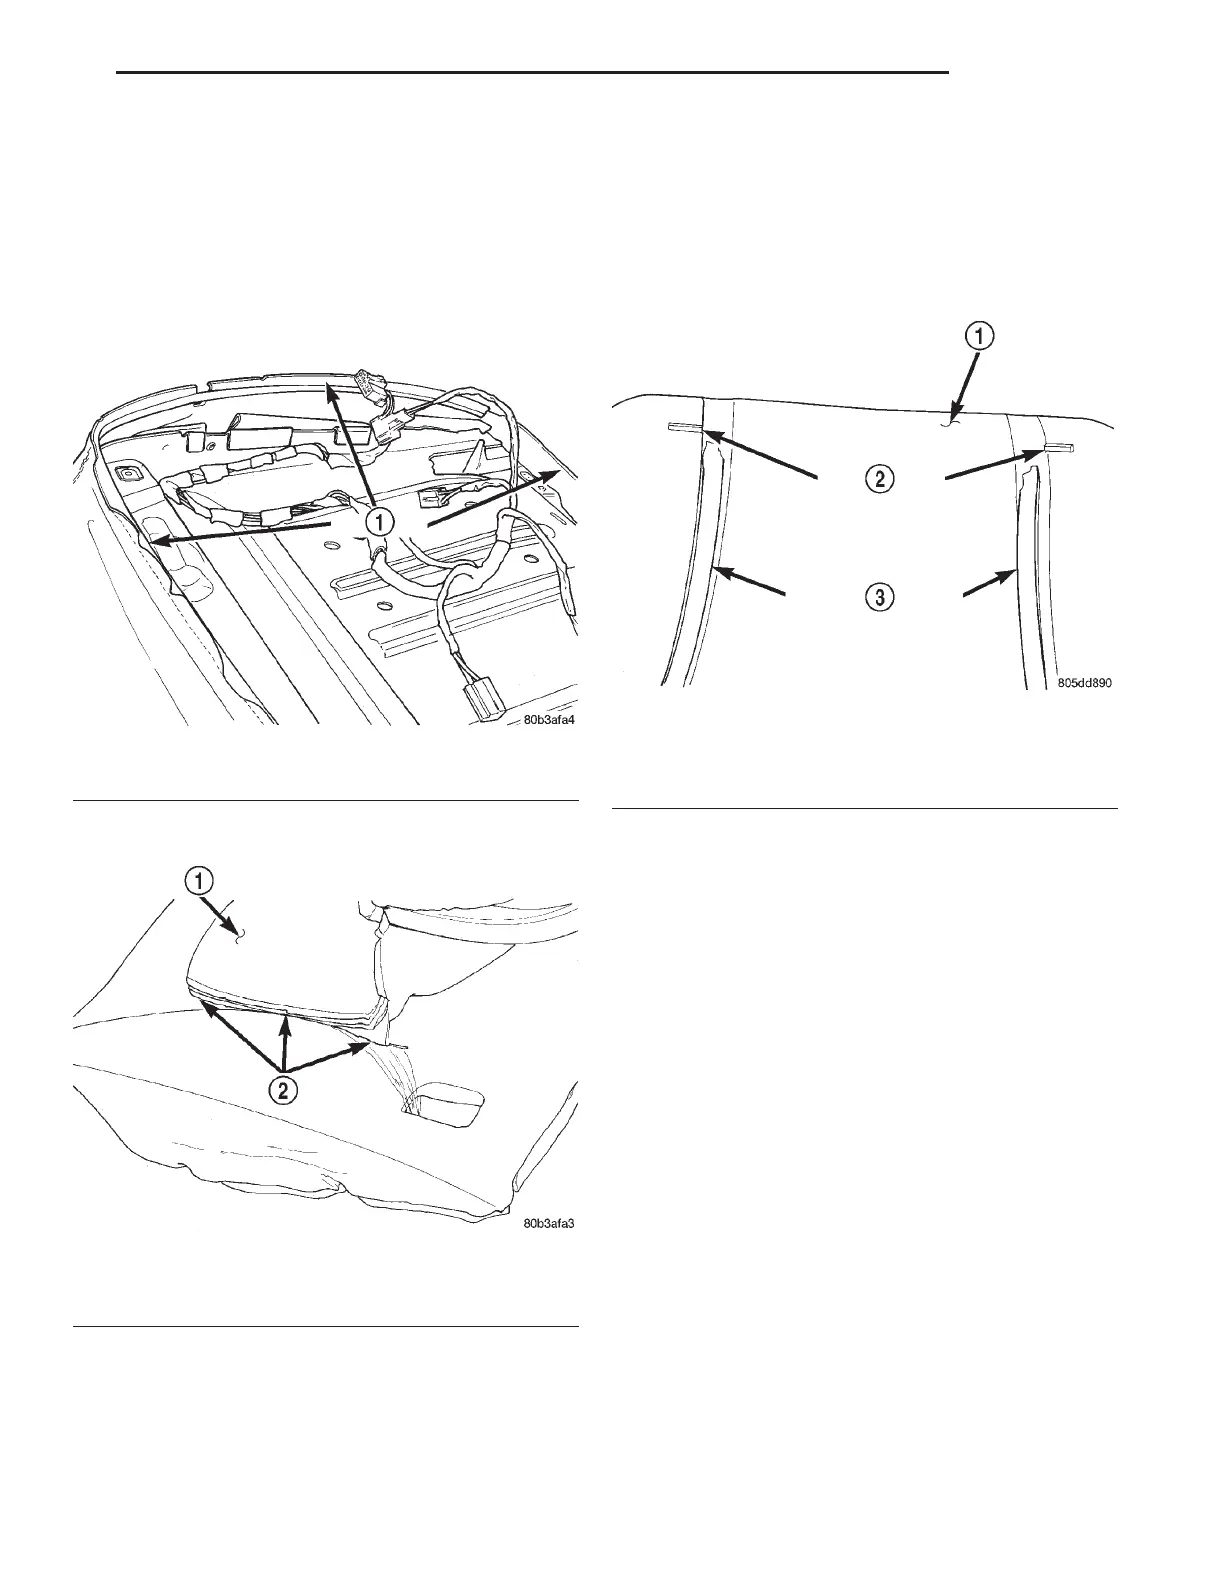
(6) Disengage J-strap attaching seat cover from
the seat cushion frame (Fig. 6).
(7) Peel cover from foam and foam from frame
access the hog rings (Fig. 7).
(8) Cut hog rings attaching seat cover seat cush-
ion.
(9) Route seat function switches through access
hole on outboard side of seat cushion, if equipped.
(10) Remove seat cushion cover from seat cushion.
INSTALLATION
(1) Position seat cover on cushion. Ensure to repo-
sition seat anti-squeak sheet to frame, if equipped.
(2) Align seat cover with cushion alignment inden-
tations.
(3) Engage seat cushion heater element connector,
if equipped.
(4) Install hog rings.
(5) Engage J-strap attaching seat cover to front of
seat cushion frame.
(6) Install track and recliner assembly.
(7) Install seat back.
(8) Install front seat cushion side shields.
(9) Install seat in vehicle.
FRONT SEAT ARM REST – 50/50 SPLIT
REMOVAL
(1) Move the driver seat full forward and the pas-
senger seat full rearward.
(2) Open arm rest lid (Fig. 9).
(3) Remove access retaining nut cover.
(4) Remove arm rest retaining nut.
(5) Slide arm rest off of bracket (Fig. 10).
INSTALLATION
(1) Slide arm rest on bracket.
(2) Install arm rest nut. Tighten nut to 25 N·m (18
ft. lbs.) torque.
(3) Install access retaining nut cover.
(4) Reposition the seats.
FRONT SEAT BACK
REMOVAL
(1) Remove seat from vehicle.
(2) Remove seat cushion side shields.
(3) Remove bolts attaching recliner to seat back
cushion frame (Fig. 11).
(4) Remove inboard and outboard pivot bolts (Fig.
12).
Fig. 6 Front Seat Cushion J- Strap
1 – J-STRAP
Fig. 7 Seat Cushion Cover
1 – SEAT COVER
2 – HOG RINGS
Fig. 8 Seat Cushion Alignment Indentations
1 – SEAT CUSHION
2 – ALIGNMENT INDENTATIONS
3 – HOOK AND LOOP FASTENER
LH BODY 23 - 13
REMOVAL AND INSTALLATION (Continued)