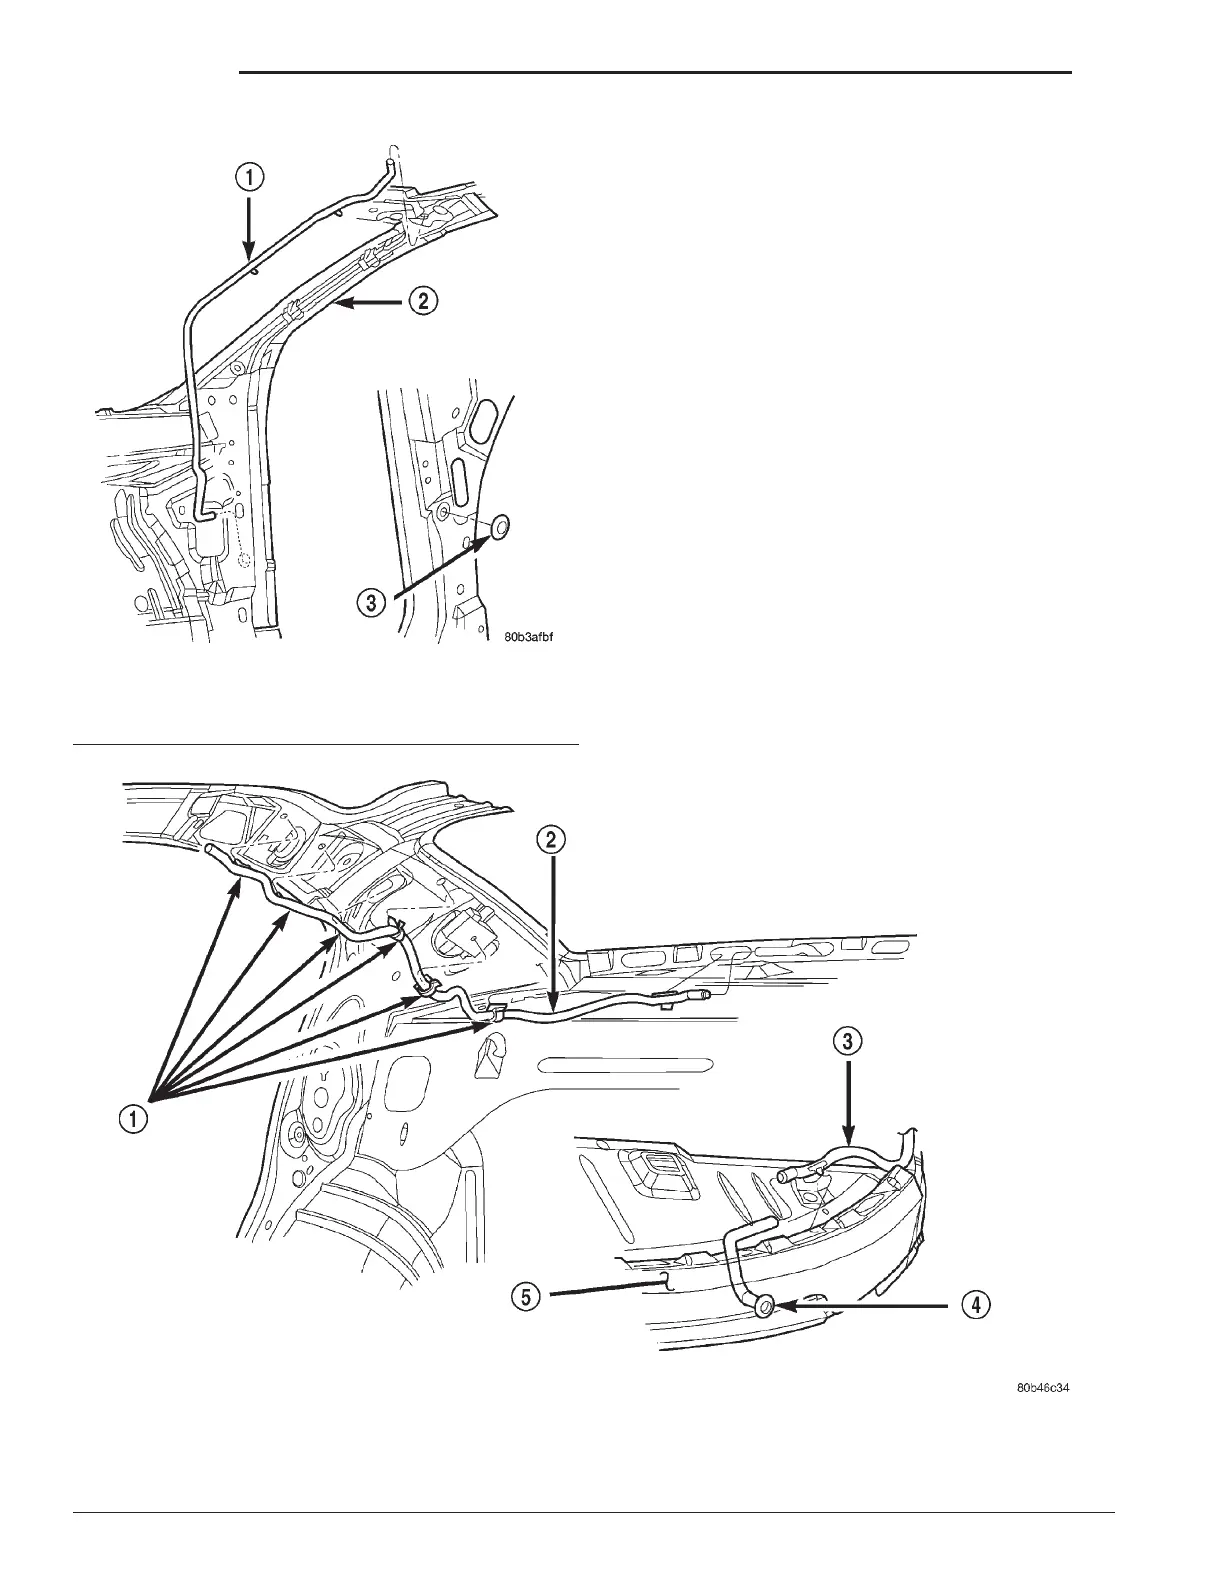
(5) Disconnect the end of the drain tube from the
rubber grommet at the end of the drain tube closest
to the rear window of the vehicle (Fig. 9) or (Fig. 10).
(6) Drain any liquid from hose connection, if nec-
essary.
(7) Disconnect the top end of the drain hose from
the sunroof housing drain nipple.
(8) Remove drain hose clips from the body holes.
INSTALLATION
(1)
Using the proper drain hose (there is a right and
left side rear hose) attach drain hose clips to body holes,
with the flair at the top towards the sunroof nipple.
(2) Connect top flair end of the drain hose to the
sunroof housing drain nipple with the ratchet clamp.
(3) Connect the lower end of the drain tube to the
rubber grommet near the rear window of the vehicle.
(4) Connect the drain hose to the sunroof housing
and test drainage.
(5) Install shelf panel, ensure not to pinch the rub-
ber grommets.
(6) Install headliner.
(7) Connect the control switch wire connector.
Install control switch.
(8) Test for proper operation of the sunroof.
Fig. 9 Rear Drain Hose – Concorde
1 – HOSE FASTENERS
2 – DRAIN HOSE
3 – DRAIN HOSE
4 – DRAIN GROMMET
5 – REAR SHELF PANEL
Fig. 8 Front Right Housing Drain Hose
1 – DRAIN HOSE
2 – A-PILLAR
3 – GROMMET
23 - 28 BODY LH
REMOVAL AND INSTALLATION (Continued)