(14) Install crankshaft sprocket. Refer to proce-
dure in this section.
(15) Install timing chain. Refer to procedure in
this section.
(16) Install timing chain cover.
(17) Install cylinder head covers.
(18) Install idler pulley bracket for accessory drive
belt.
(19) Install oil pick-up tube and O-ring.
(20) Install oil pan and oil filter.
(21) Install oil dipstick tube.
(22) Install engine assembly.
(23) Fill engine crankcase with proper oil to cor-
rect level.
OIL FILTER
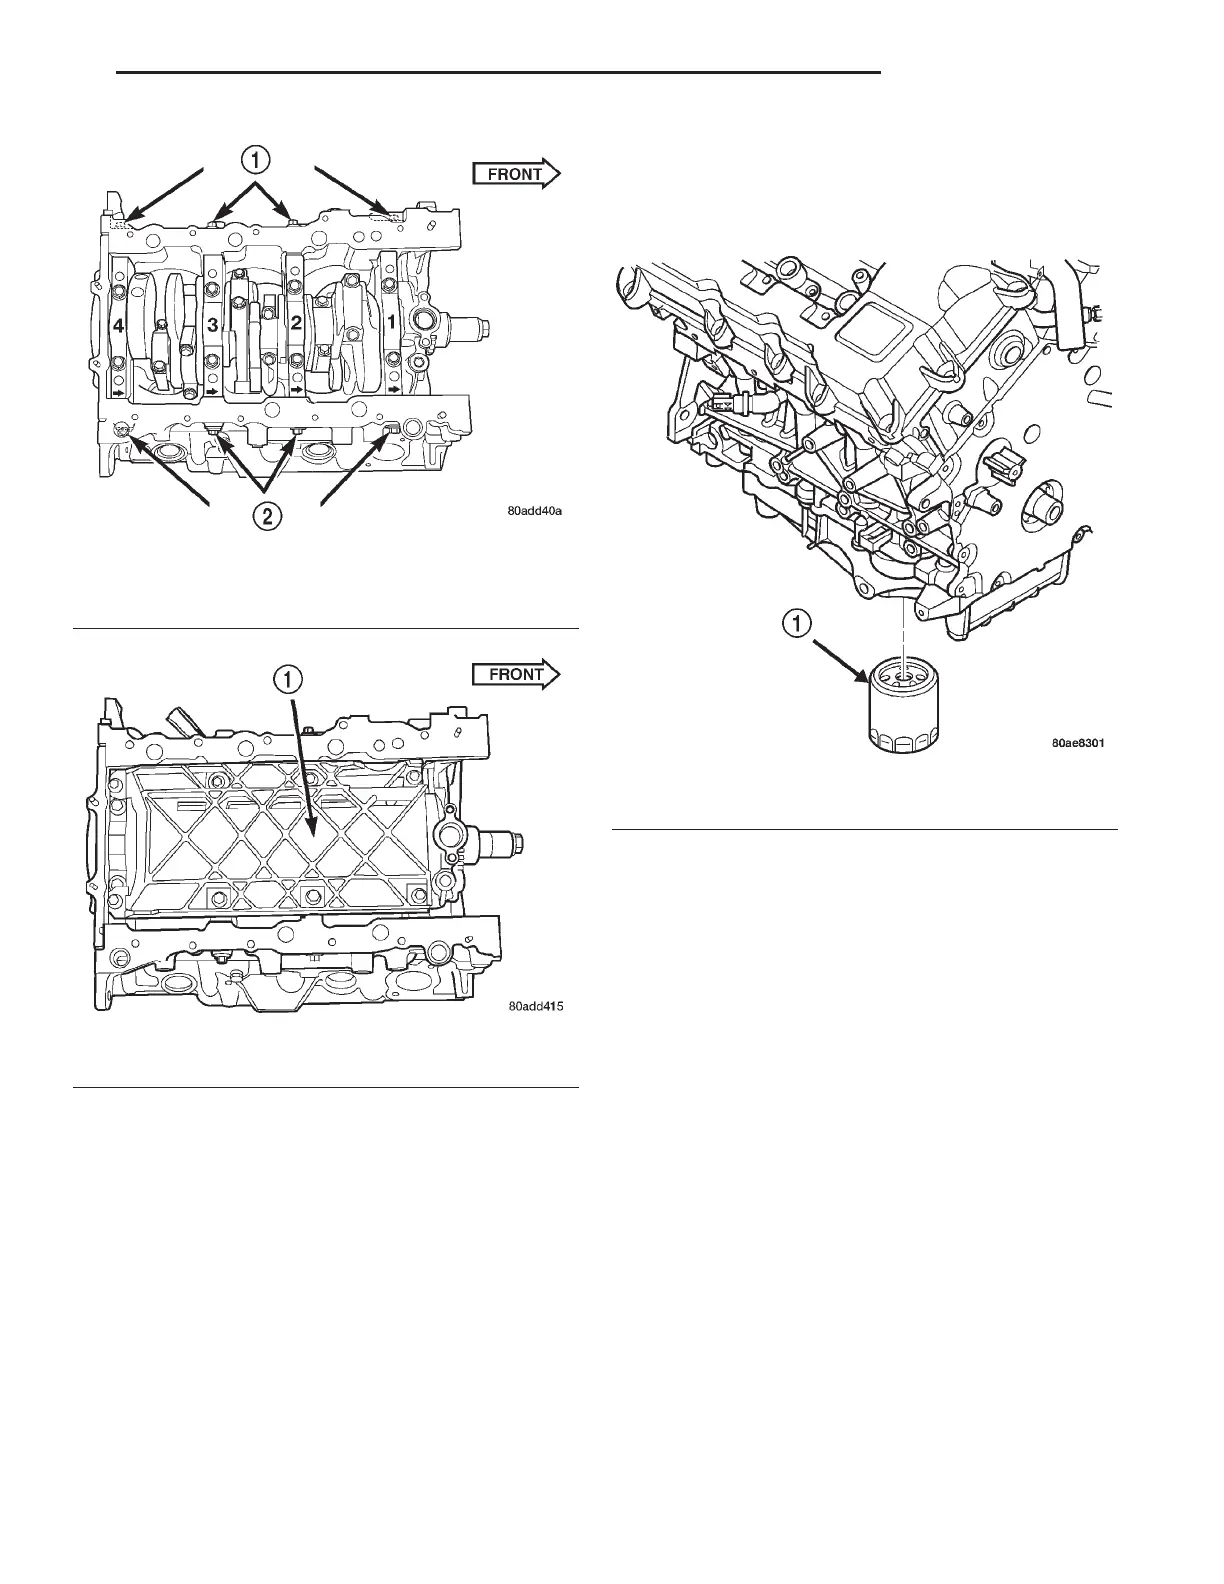
(1) Remove oil filter using suitable oil filter
wrench (Fig. 92). Dispose of oil filter following envi-
romental guidelines.
(2) Wipe filter base clean, then inspect gasket seal-
ing surface.
(3) Lubricate gasket of new filter with clean
engine oil.
(4) Install oil filter and tighten to 20 N·m (15 ft.
lbs.) of torque after gasket contacts base. Use filter
wrench if necessary.
(5) Fill crankcase with proper engine oil to correct
level if drained. Start engine and check for leaks.
OIL PUMP
REMOVAL
The oil pump pressure relief valve can be serviced
by removing the oil pan.
(1) Refer to procedures in this section for removing
the following components:
• Crankshaft Damper
• Timing Chain Cover
• Timing Chain
• Crankshaft Sprocket
• Oil Pan
(2) Remove oil pick-up tube and O-ring (Fig. 94).
(3) Ensure that crankshaft position is at 60° ATDC
of No.1 cylinder, or crankshaft sprocket mark aligns
Fig. 90 Main Bearing Cap Identification
1 – TIE BOLTS
2 – TIE BOLTS
Fig. 91 Windage Tray
1 – STRUCTURAL WINDAGE TRAY
Fig. 92 Engine Oil Filter
1 – OIL FILTER
LH 2.7L ENGINE 9 - 57
REMOVAL AND INSTALLATION (Continued)