No. 2 upper main bulk head and crankshaft thrust
surface (Fig. 72).
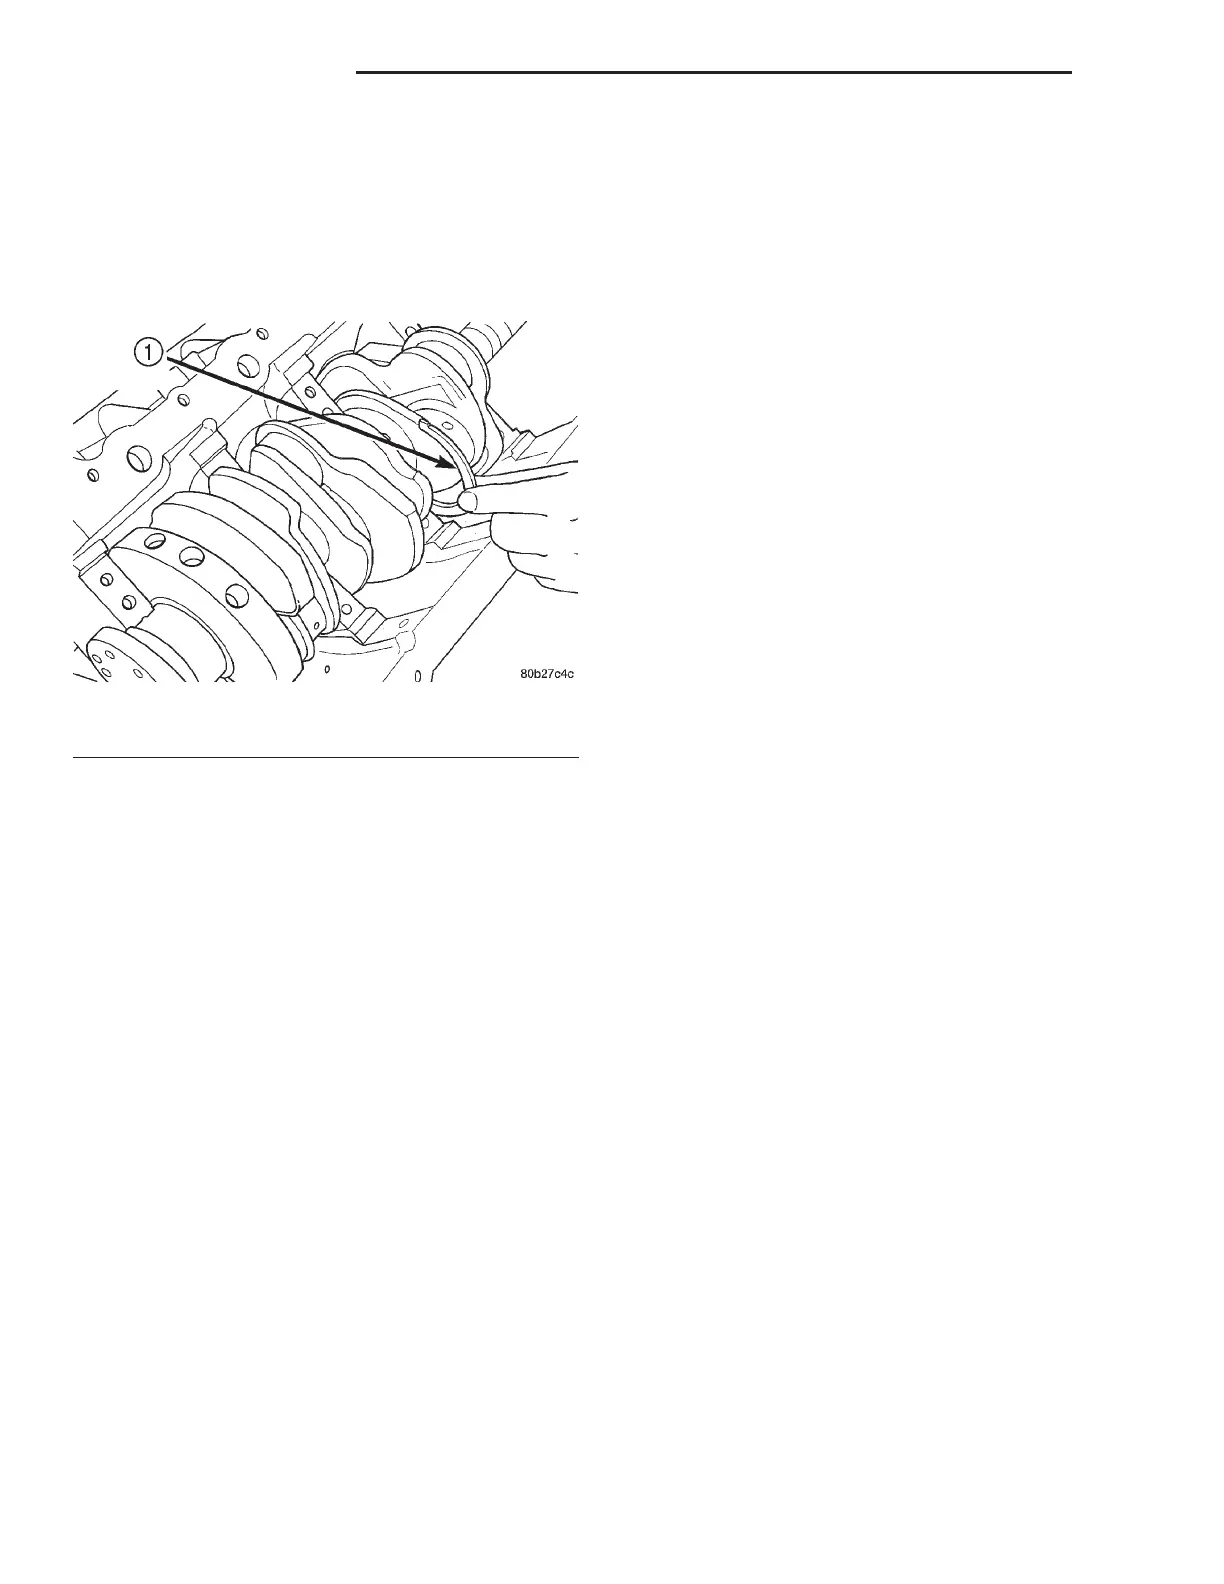
(3) Move crankshaft rearward to limit of travel.
Lubricate and install the rear thrust washer by roll-
ing the washer onto the machined shelf between the
No. 2 upper main bulk head and crankshaft thrust
surface.
(4) Lubricate lower main bearings with clean
engine oil.
NOTE: Lubricate main bearing cap bolts with
engine oil before installation.
(5) Install each main cap and tighten bolts finger
tight.
The main bearing cap bolts must be tightened in
the proper sequence. First the inner main cap bolts,
secondly the windage tray bolts, lastly the main cap
tie (horizontal) bolts.
(6) Install the inside main bearing cap bolts and
tighten to 20 N·m + 1/4 turn (15 ft. lbs. + 1/4 turn).
(7) Measure crankshaft end play. Refer to Service
Procedures in this section.
(8) Install connecting rods and measure side clear-
ance. Refer to Service Procedures in this section.
(9) Install windage tray. Lubricate bolts with
engine oil and tighten to 27 N·m + 1/4 turn (20 ft.
lbs. + 1/4 turn).
(10) Install the main cap tie (horizontal) bolts and
tighten to 28 N·m (250 in. lbs.).
(11) Install rear crankshaft oil seal retainer and oil
seal. Refer to procedure in this section.
(12) Install oil pump assembly. Refer to Oil Pump
Removal and Installation in this section.
(13) Install dowel pin in crankshaft. Refer to Front
Crankshaft Oil Seal Removal and Installation for
procedure.
(14) Install crankshaft sprocket. Refer to Front
Crankshaft Oil Seal Removal and Installation for
procedure.
(15) Install Timing Belt. Refer to Camshaft
Sprockets and Timing Procedure in this section.
(16) Install (3) timing belt covers.
(17) Install crankshaft damper. Refer to procedure
in this section.
(18) Install idler pulley for accessory drive belt.
(19) Install oil pickup tube and tighten bolt to 28
N·m (250 in. lbs.).
(20) Install oil pan. Refer to procedure in this sec-
tion.
(21) Install engine assembly.
(22) Fill engine crankcase with proper amount of
oil.
CAMSHAFT
REMOVAL
Camshafts are serviced from the rear of the cylin-
der head. The cylinder head must be removed.
(1) Remove Camshaft Sprocket(s). Refer to proce-
dure in this section.
(2) Remove cylinder head(s). Refer to procedure in
this section.
(3) Mark the rocker arm and shaft assembly before
removal. Remove the rocker arm and shaft assembly
from the head.
(4) Remove the rear camshaft cover and O-ring
from head.
CAUTION: Be careful not to Nick or Scratch the
journals when removing the camshaft.
(5) Carefully remove the camshaft from the rear of
the cylinder head.
INSTALLATION
(1) Lubricate camshaft journals and cam with
clean engine oil and install camshaft into cylinder
head.
(2) Install cylinder head(s). Refer to procedure in
this section.
(3) Install the rocker arm assembly. Refer to pro-
cedure in this section.
NOTE: Refer to Camshaft Sprocket and Timing Pro-
cedure to complete camshaft installation.
Fig. 72 Thrust Washer Installation
1 – FRONT THRUST WASHER
9 - 116 3.2/3.5L ENGINE LH
REMOVAL AND INSTALLATION (Continued)