(4) Remove timing belt. Refer to procedure in this
section.
(5) Remove crankshaft sprocket. Refer to Crank-
shaft Oil Seal—Front procedure in this section.
(6) Remove oil pan. Refer to procedure in this sec-
tion.
(7) Remove oil pickup tube.
(8) Remove oil pump fasteners. Remove pump and
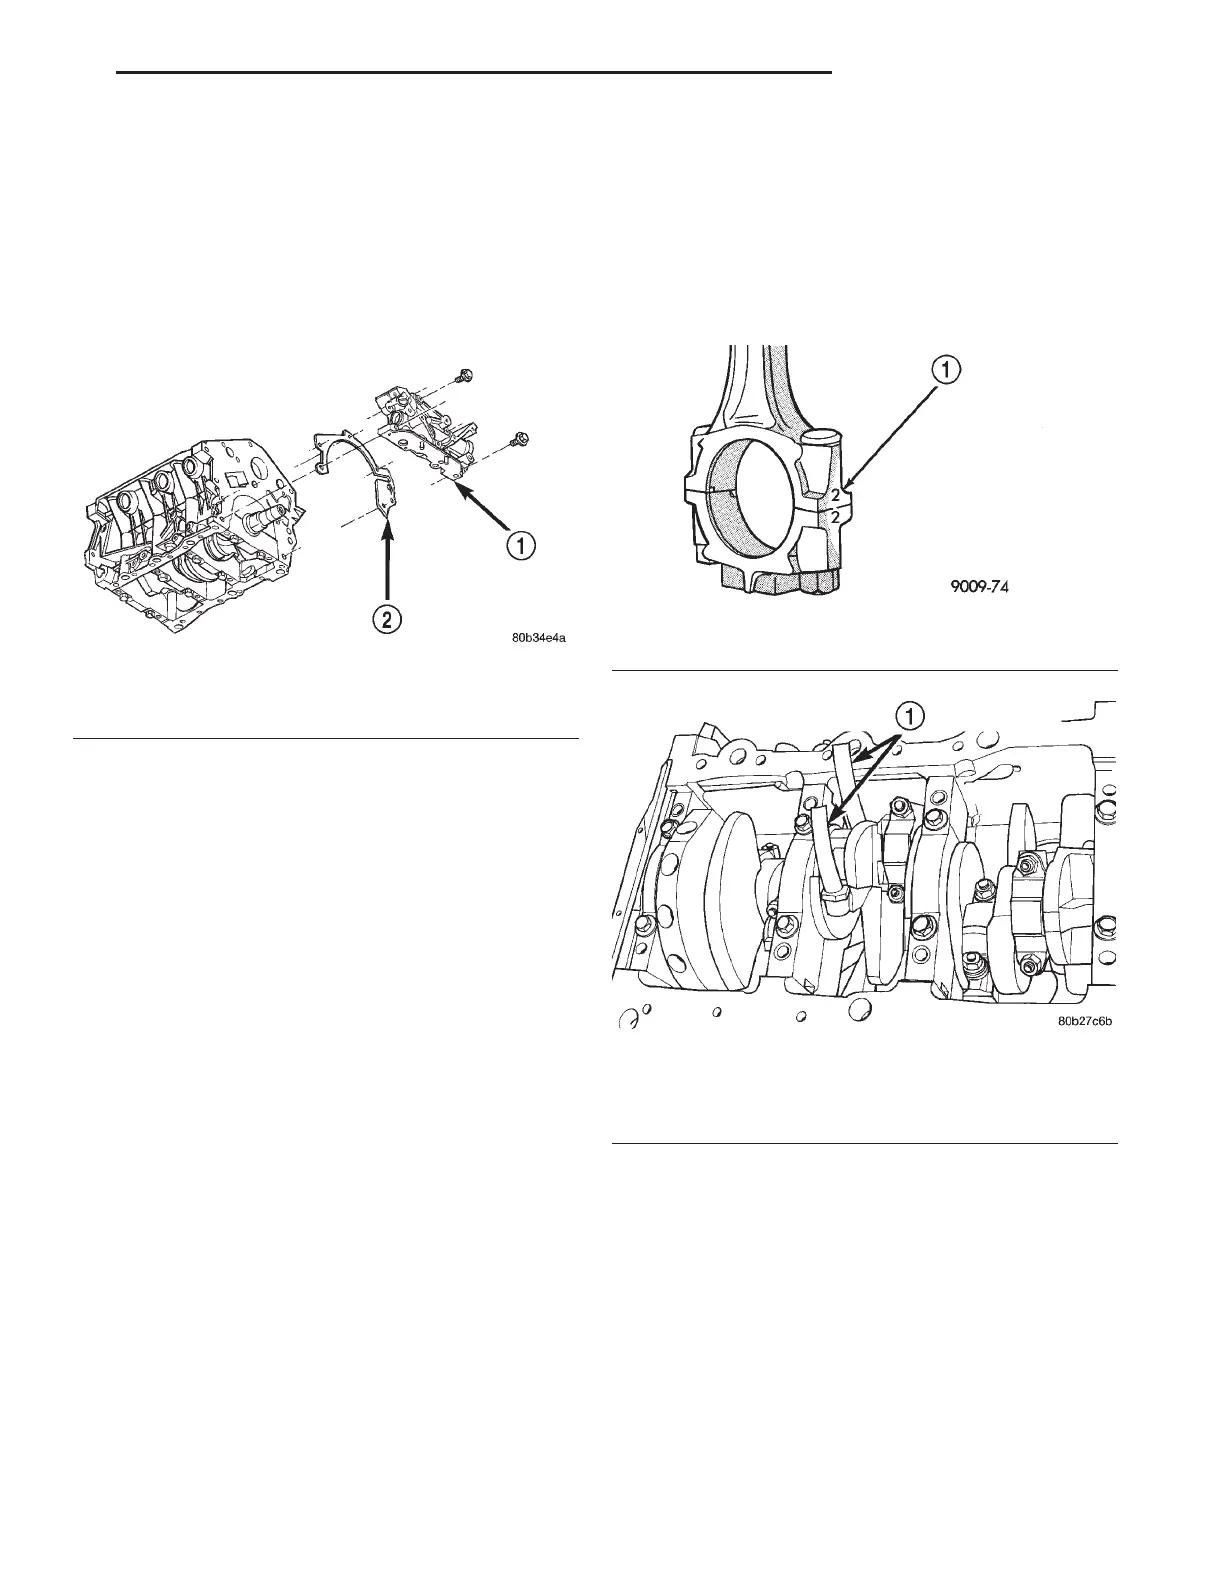
gasket from engine (Fig. 118).
INSTALLATION
(1) Prime oil pump before installation by filling
rotor cavity with engine oil.
(2) Install oil pump and gasket carefully over the
crankshaft. Position pump onto block and tighten
bolts to 28 N·m (250 in. lbs.)
(3) Install new O-ring on oil pickup tube.
(4) Install oil pickup tube.
(5) Install oil pan. Refer to procedure in this sec-
tion.
(6) Install crankshaft sprocket. Refer to Crank-
shaft Oil Seal—Front procedure in this section.
(7) Install timing belt. Refer to procedure in this
section.
(8) Install the timing belt covers and crankshaft
damper. Refer to procedures in this section.
(9) Install the accessory drive belts and fan mod-
ule. Refer to COOLING SYSTEM for procedures.
(10) Fill cooling system. Refer to COOLING SYS-
TEM for procedure.
PISTON AND CONNECTING ROD
REMOVAL
(1) Remove cylinder heads and oil pan. Refer to
procedures in this section.
(2) Remove top ridge of cylinder bores with a reli-
able ridge reamer before removing pistons from cyl-
inder block. Be sure to keep tops of pistons
covered during this operation. Pistons and con-
necting rods must be removed from top of cyl-
inder block. When removing piston and
connecting rod assemblies from the engine,
rotate crankshaft so that each connecting rod
is centered in cylinder bore.
(3) Inspect connecting rods and connecting rod
caps for cylinder identification. Identify them if nec-
essary (Fig. 119).
(4) Remove connecting rod cap. Install protectors
on connecting rod bolts (Fig. 120). Push each piston
and rod assembly out of cylinder bore.
NOTE: Be careful not to nick crankshaft journals.
(5) After removal, install bearing cap on the mat-
ing rod.
PISTON RINGS—INSTALLATION
NOTE: Refer to FITTING PISTON RINGS in this sec-
tion for piston ring specifications.
Fig. 118 Oil Pump—Removal and Installation
1 – OIL PUMP
2 – GASKET
Fig. 119 Identify Connecting Rod to Cylinder
1 – CYLINDER NUMBER
Fig. 120 Connecting Rod Guides and Crankshaft
Protectors
1 – COVER ROD BOLTS WITH A SUITABLE COVERING WHEN
REMOVING OR INSTALLING PISTON ASSEMBLY
LH 3.2/3.5L ENGINE 9 - 133
REMOVAL AND INSTALLATION (Continued)