(6) Verify door alignment and operation, adjust as
necessary.
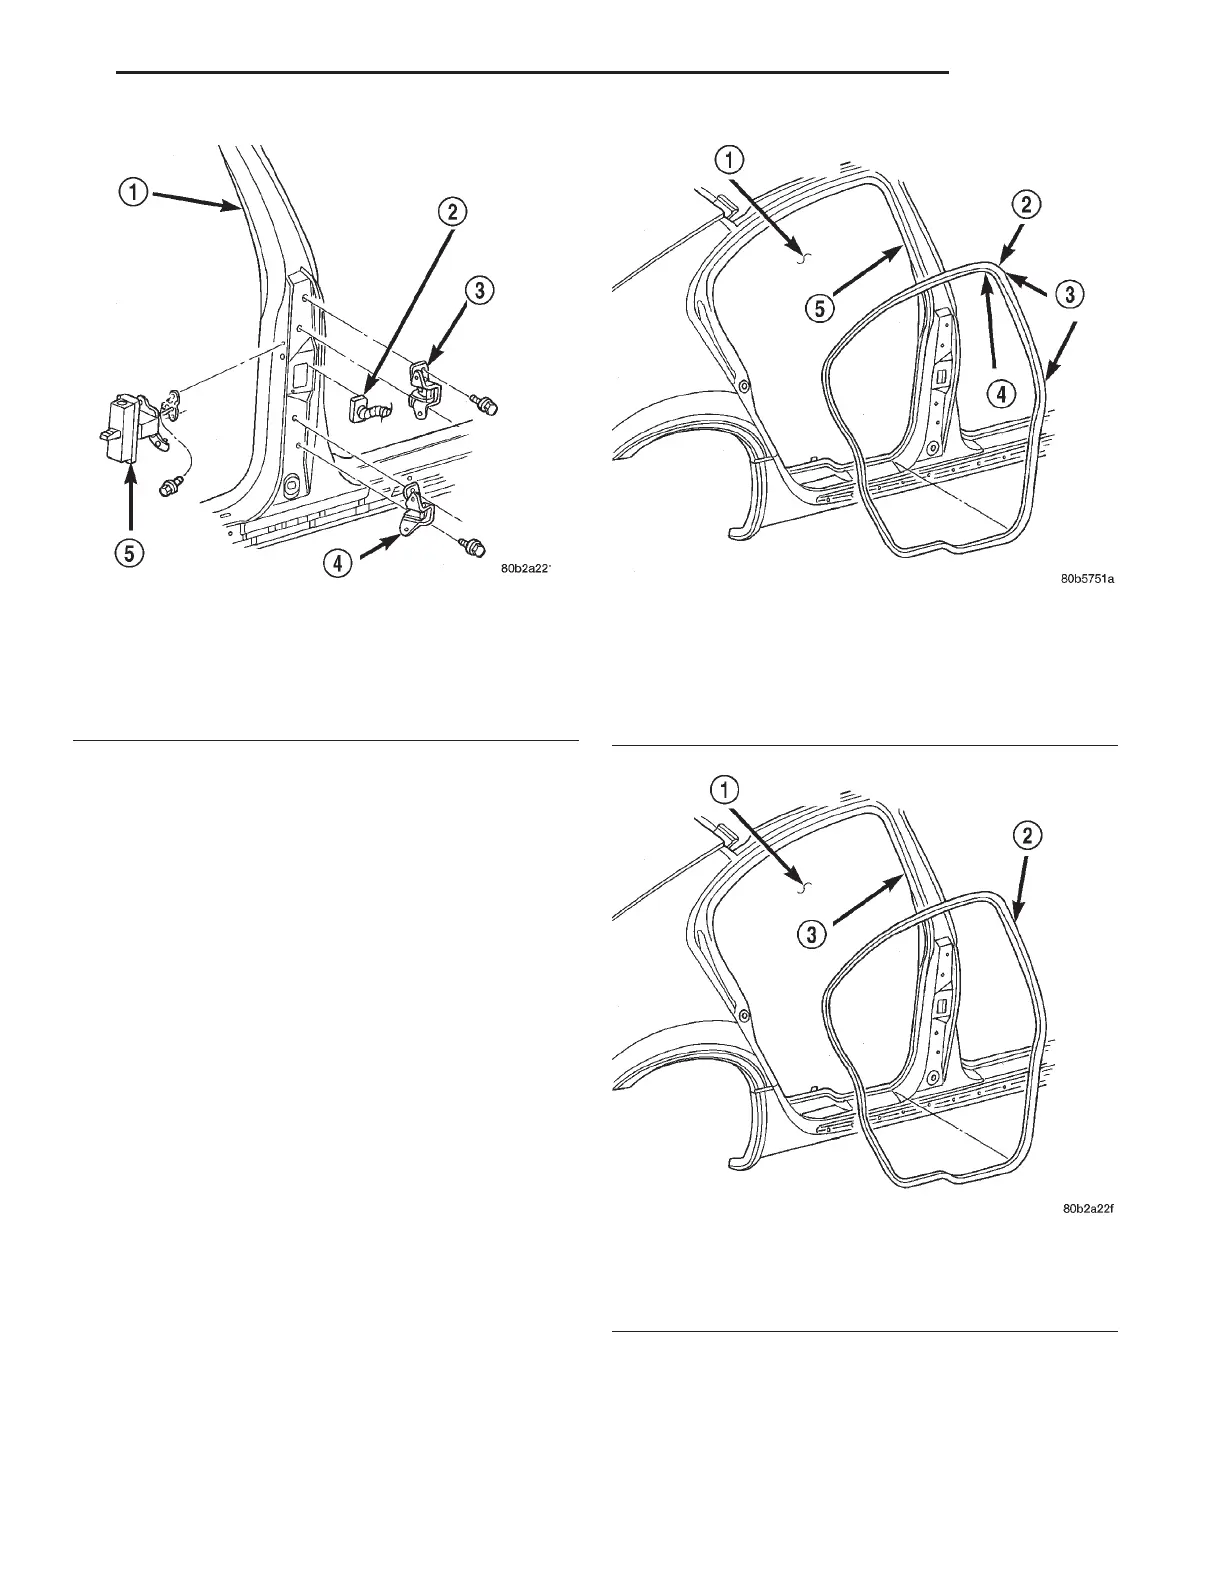
REAR DOOR MOUNTED WEATHERSTRIP
REMOVAL
(1) Open rear door.
(2) Using a fork type prying tool, disengage push
in fasteners attaching weatherstrip to lower door.
(3) Remove body mounted weatherstrip from pinch
weld around door opening (Fig. 57).
INSTALLATION
(1) Place door mount weatherstrip in position on
door with the paint dot in the upper corner of the
B-pillar.
(2) Install push in fasteners to attach door
mounted weatherstrip to lower door.
(3) Verify door alignment and seal.
REAR DOOR BODY MOUNTED WEATHERSTRIP
REMOVAL
(1) Open rear door.
(2) Remove door opening sill plate.
(3) Pull body mounted weatherstrip from fence
around door opening (Fig. 58).
INSTALLATION
(1) Position color dot on weatherstrip at the B-pil-
lar upper corner.
(2) Engage weatherstrip on the fence at upper
B-pillar and work down the B-pillar.
Fig. 56 Rear Door Hinge
1 – B-PILLAR
2 – DOOR WIRE HARNESS CONNECTOR
3 – UPPER HINGE
4 – LOWER HINGE
5 – CHECK STRAP
Fig. 57 Rear Door Mounted Weatherstrip
1 – REAR DOOR OPENING
2 – REAR DOOR BODY MOUNTED WEATHERSTRIP
3 – SEAL INSERT
4 – PAINT DOT
5 – PINCH FLANGE
Fig. 58 Rear Door Body Mounted Weatherstrip
1 – REAR DOOR OPENING
2 – REAR DOOR BODY MOUNTED WEATHERSTRIP
3 – PINCH FLANGE
LH BODY 23 - 57
REMOVAL AND INSTALLATION (Continued)
 Loading...


