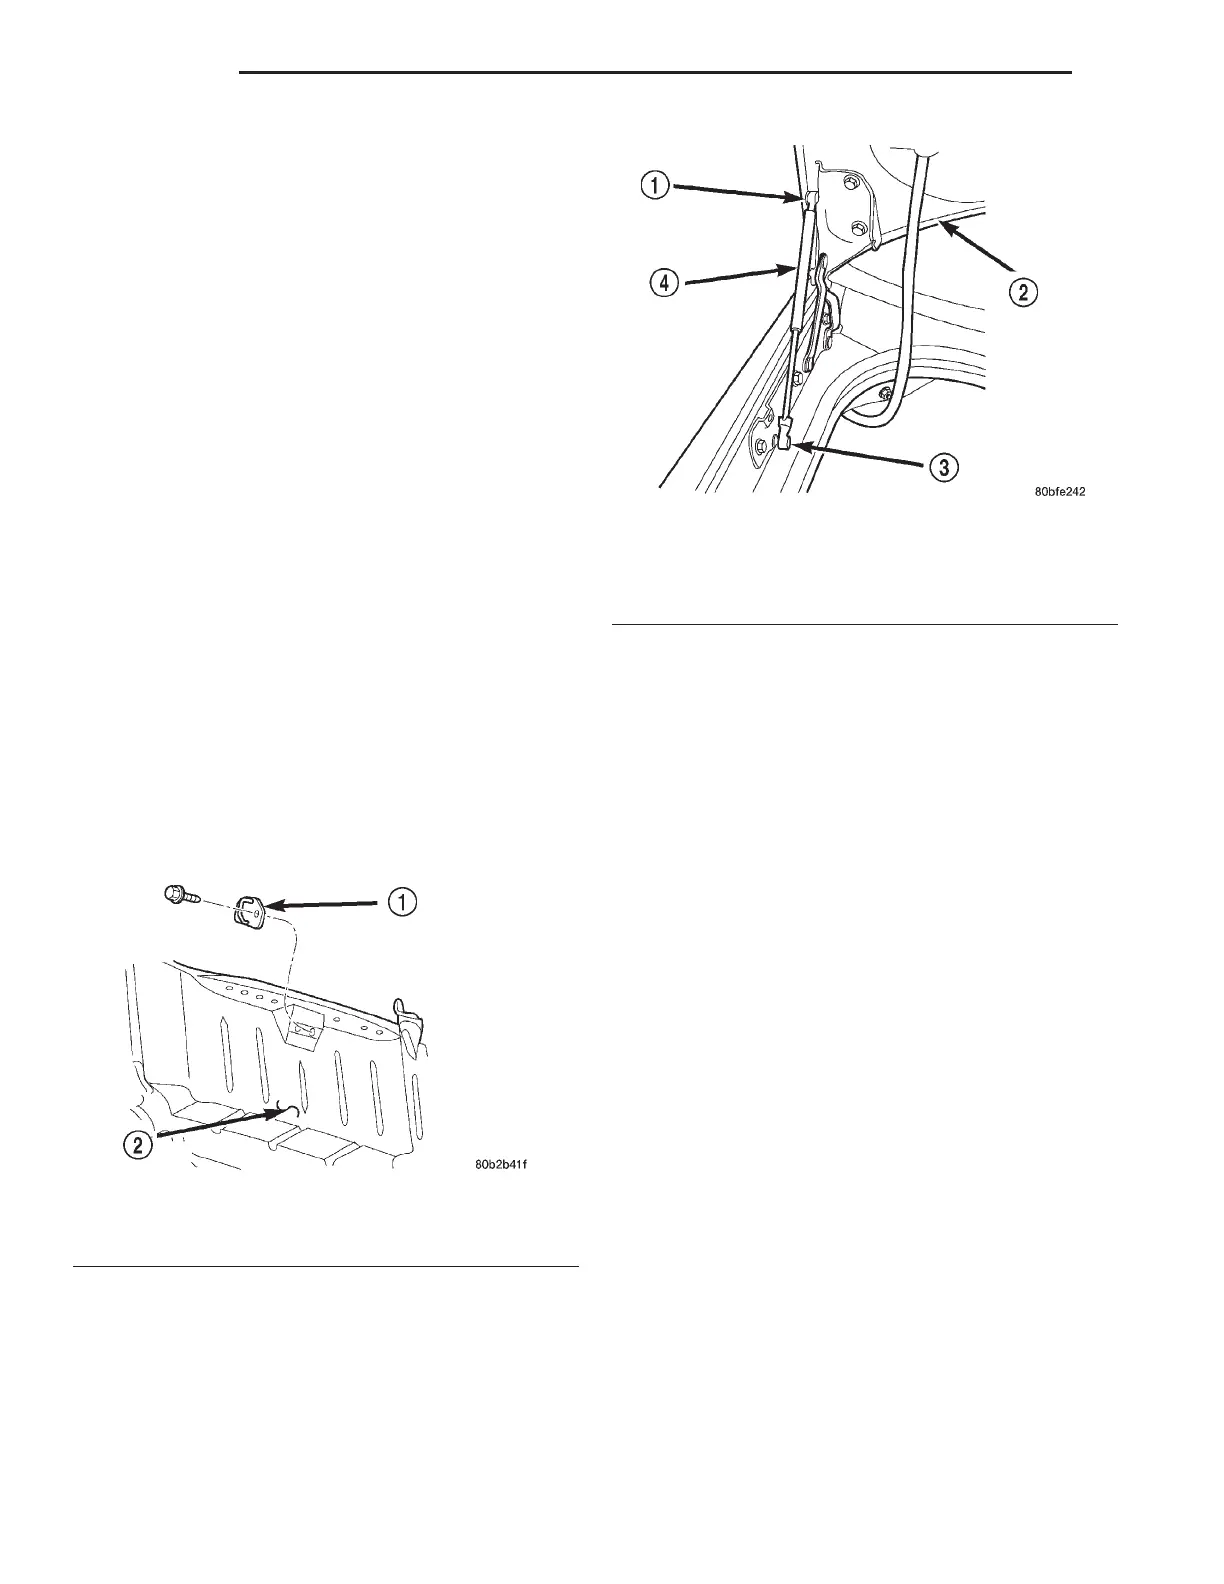
(8) Remove decklid lock set.
(9) Remove decklid lock cylinder.
INSTALLATION
(1) Install decklid lock cylinder.
(2) Install decklid lock set.
(3) Place latch in position on vehicle.
(4) Connect decklid ajar switch connector on latch.
(5) Connect power lock connector on latch solenoid.
(6) Place decklid latch in position on decklid.
(7) Install bolts to attach decklid latch to decklid.
(8) Adjust decklid latch for proper decklid to quar-
ter panel alignment and weatherstrip sealing.
(9) Install fasteners to attach decklid lining to rear
of decklid.
(10) Verify decklid latch operation.
DECKLID LATCH STRIKER
REMOVAL
(1) Open decklid.
(2) Remove trunk liner as necessary.
(3) Remove bolts attaching latch striker (Fig. 64).
(4) Remove latch striker from vehicle.
INSTALLATION
(1) Place latch striker in position.
(2) Install bolts attaching latch striker.
(3) Verify decklid operation and alignment.
(4) Place decklid liner in position.
DECKLID GAS PROPS
REMOVAL
(1) Open decklid.
(2) Support decklid with a suitable prop device.
(3) Remove gas prop lock caps on each end (Fig.
65).
(4) Remove gas prop from vehicle.
INSTALLATION
(1) Place gas prop in position on vehicle.
(2) Install the lock caps on the gas prop.
(3) Verify decklid operation.
DECKLID
REMOVAL
(1) Release decklid latch and open decklid.
(2) Mark hinge locations on inside of decklid to aid
installation.
(3) Disconnect the wire harness connector, if
equipped.
(4) Remove bolts attaching top of hinge to decklid.
(5) Remove bolts attaching bottom of hinge to
decklid (Fig. 66).
(6) With aid from a helper, remove decklid from
vehicle.
INSTALLATION
(1) With aid from a helper, place decklid in posi-
tion on vehicle.
(2)
Install bolts attaching bottom of hinge to decklid.
(3) Install bolts to attach top of hinge to decklid.
(4) Connect wire harness connector.
(5) Align decklid to achieve equal spacing on all
sides and flush across gaps.
(6) Verify decklid operation and sealing.
Fig. 64 Decklid Latch Striker
1 – TRUNK LIP LATCH STRIKER
2 – TRUNK COMPARTMENT
Fig. 65 Decklid Gas Prop
1 – LOCK CAP
2 – DECKLID
3 – LOCK CAP
4 – GAS PROP
23 - 60 BODY LH
REMOVAL AND INSTALLATION (Continued)

 Loading...


