DECKLID HINGE
REMOVAL
(1) Open decklid.
(2) Support decklid with a suitable prop device or
block.
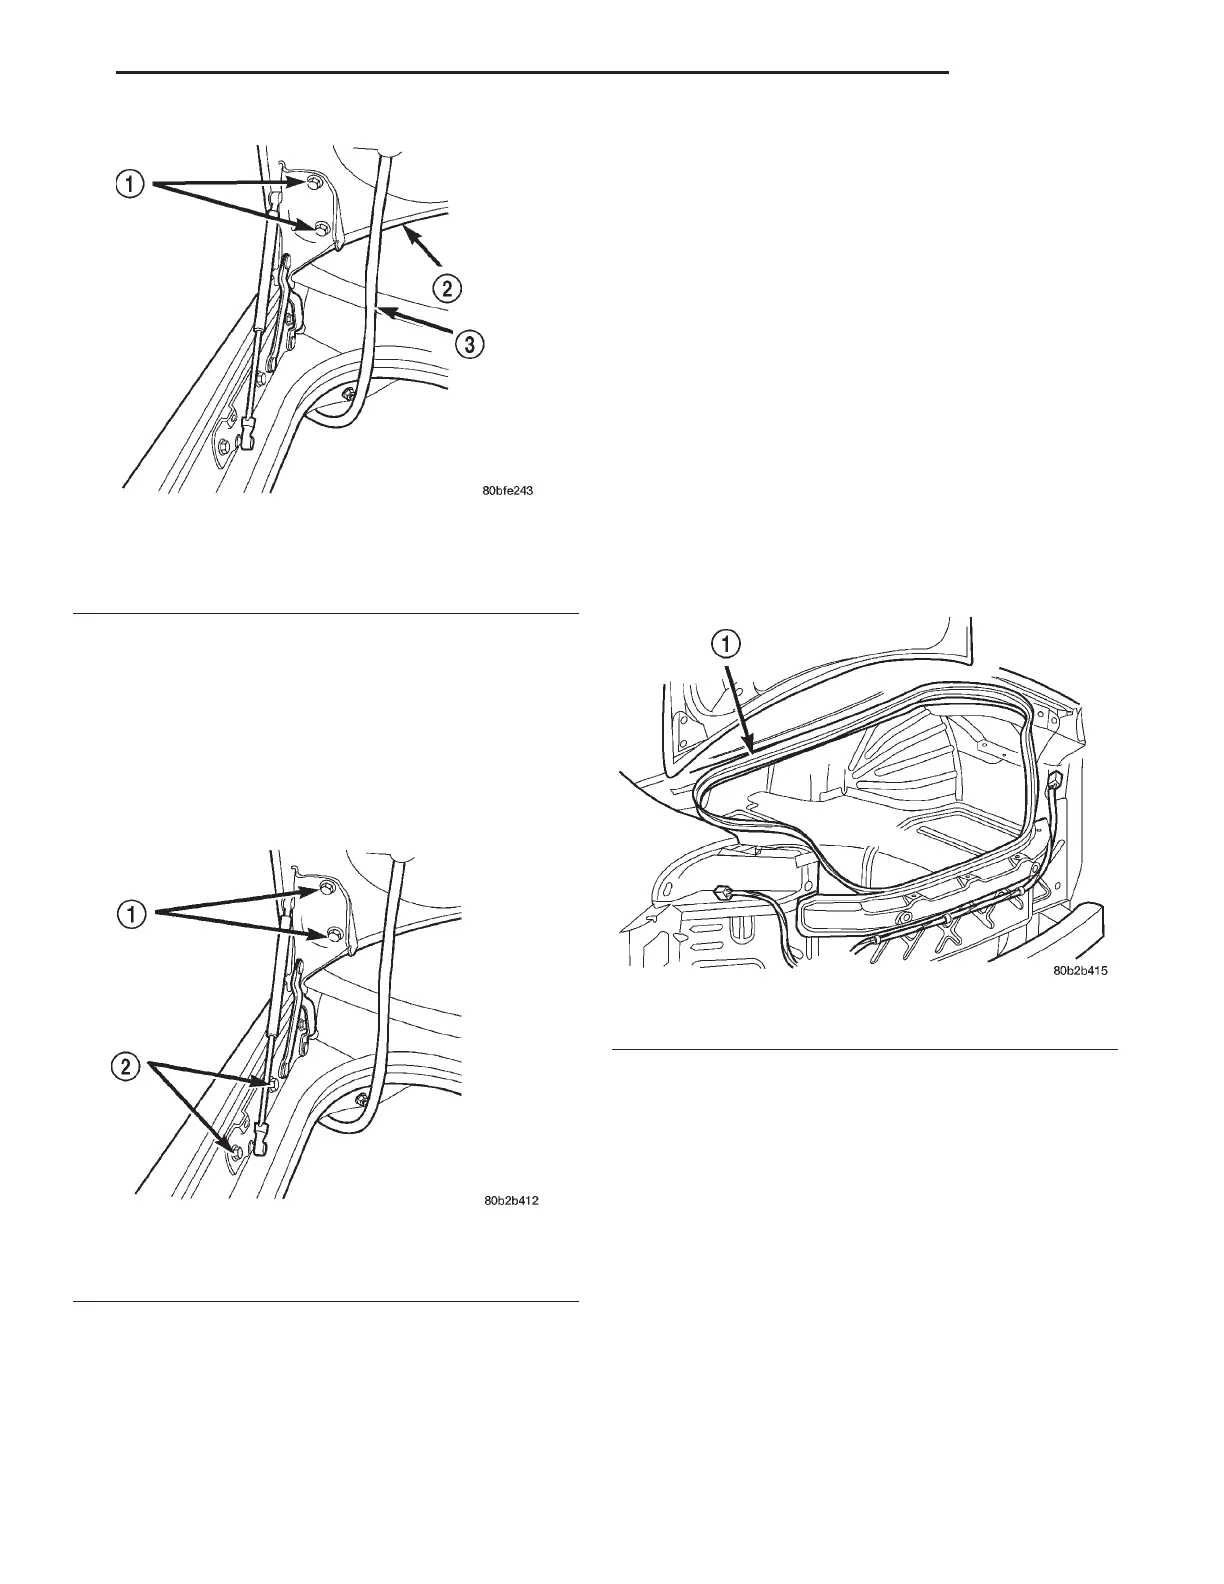
(3) Remove hinge bolts (Fig. 67).
(4) Remove hinge from vehicle.
INSTALLATION
(1) Place hinge in position on vehicle.
(2) Install hinge bolts.
(3) Verify decklid operation and alignment.
DECKLID SLAM BUMPER
REMOVAL
(1) Open decklid.
(2) Pull slam bumper from decklid.
(3) Remove slam bumper from decklid.
INSTALLATION
(1) Place slam bumper in position on decklid.
(2) Push slam bumper into decklid.
(3) Verify decklid alignment.
DECKLID WEATHERSTRIP
REMOVAL
(1) Open decklid.
(2) Pull decklid weatherstrip from decklid opening
fence (Fig. 68).
(3) Remove weatherstrip from vehicle.
INSTALLATION
(1) Place weatherstrip in position on vehicle.
(2) Push decklid weatherstrip onto decklid opening
fence with molded joint at striker location.
(3) Verify decklid operation and sealing.
DRIP RAIL WEATHERSTRIP
REMOVAL
(1) Open front and rear doors.
(2) Remove fasteners attaching drip rail weather-
strip to body and fender tip. (Fig. 69).
(3) Remove drip rail weatherstrip from vehicle.
Fig. 66 Decklid
1 – REMOVE BOLTS
2 – DECKLID
3 – WIRE HARNESS
Fig. 67 Decklid Gas Prop
1 – UPPER HINGE BOLTS
2 – LOWER HINGE BOLTS
Fig. 68 Decklid Weatherstrip – Typical
1 – TRUNK LID WEATHERSTRIP
LH BODY 23 - 61
REMOVAL AND INSTALLATION (Continued)
 Loading...


