INSTALLATION
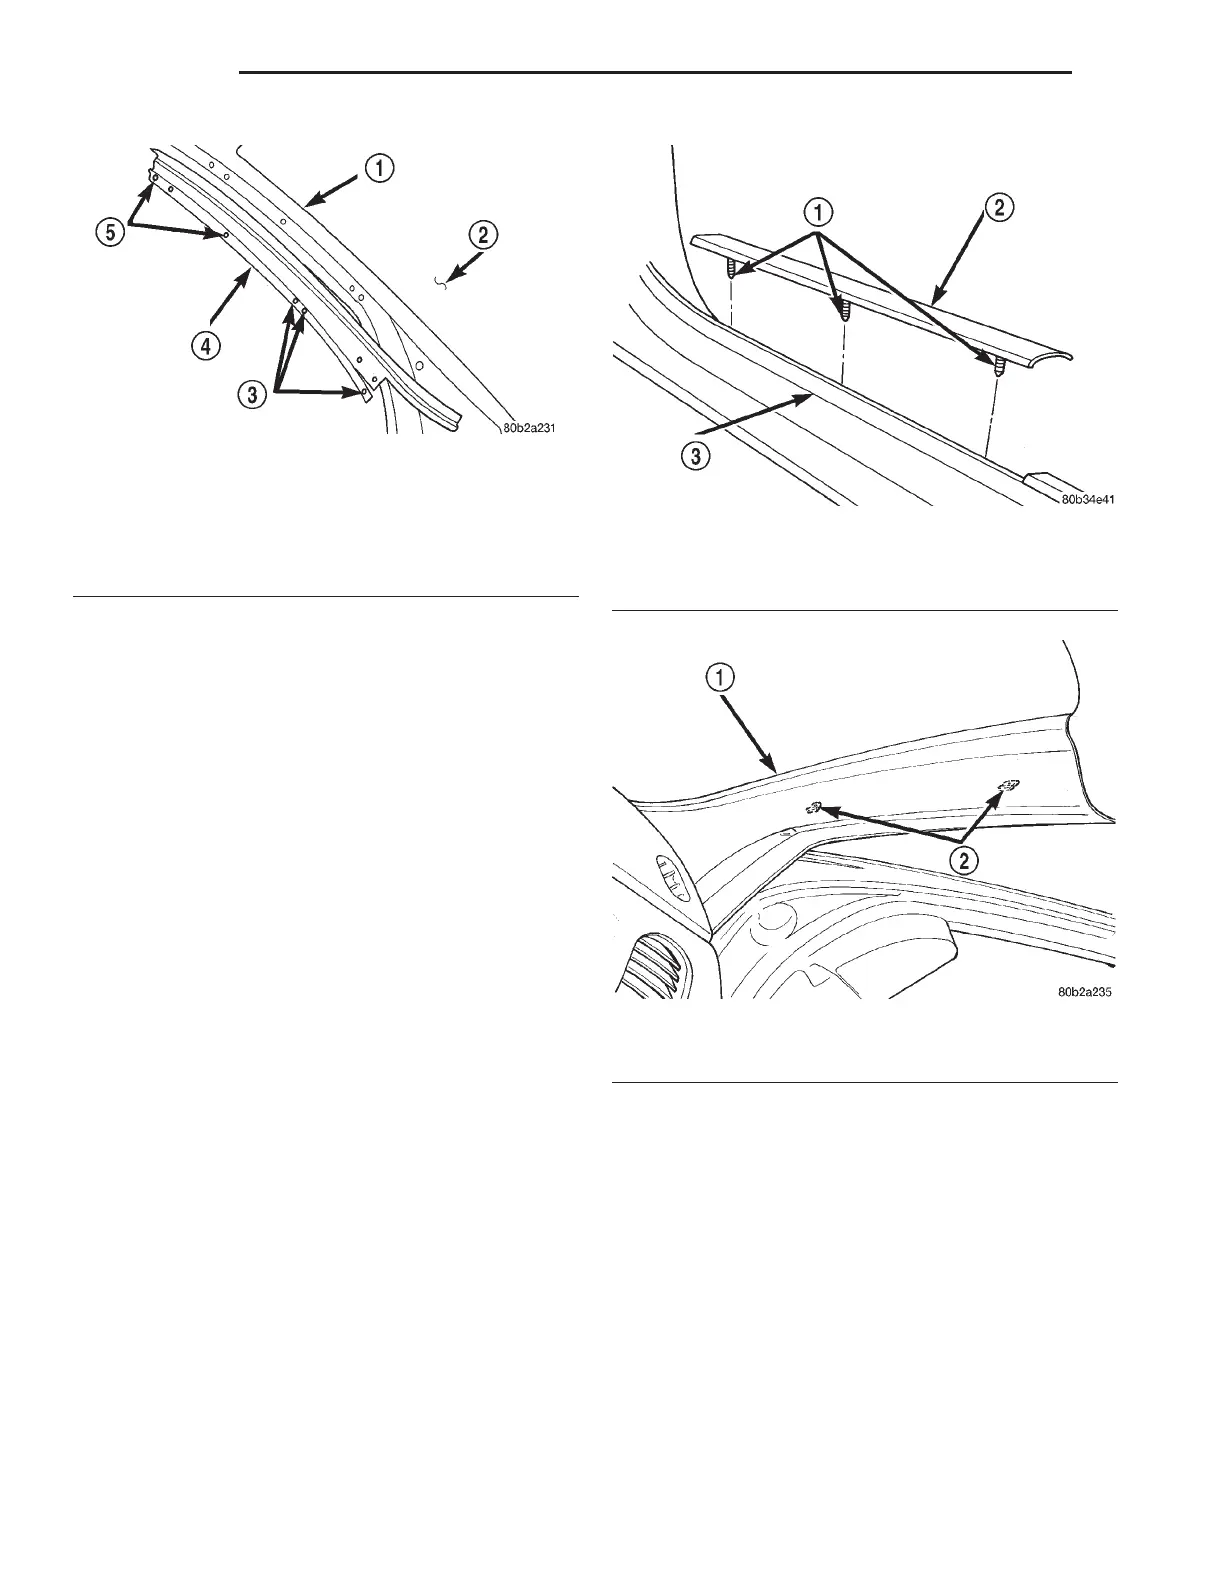
(1) Place drip rail weatherstrip in position on vehi-
cle.
(2) Start position clip at the fender tip.
(3) Press down till holes are align with fastener
holes in the body.
(4) Install fasteners to attach drip rail weather-
strip to roof rail.
(5) Close doors and verify fit.
DOOR SILL TRIM
REMOVAL
The door sills are attached with push in fasteners
(1) Remove fasteners attaching door sill trim to sill
panel (Fig. 70).
(2) Remove sill trim from vehicle.
INSTALLATION
(1) Place sill trim in position on vehicle.
(2) Install fasteners to attach door sill trim to sill
panel.
A-PILLAR TRIM
REMOVAL
(1) Remove instrument panel end cap.
(2) Disengage clips attaching trim to A-pillar by
pulling on trim (Fig. 71).
(3) Slide A-pillar trim rearward, to disengaging
from instrument panel top cover.
(4) Remove A-pillar trim from vehicle.
INSTALLATION
(1) Slide A-pillar trim forward ensuring that the
trim engages with the instrument panel top cover.
(2) Engage clips to attach trim to A-pillar.
(3) Install instrument panel end cap.
CROSS CAR BEAM
REMOVAL
(1) Remove steering column and instrument panel
from vehicle.
(2) Remove fasteners attaching cross car beam to
plenum in both locations (Fig. 72).
Fig. 69 Drip Rail Weatherstrip
1 – A-PILLAR
2 – WINDSHIELD
3 – FASTENERS
4 – DRIP RAIL WEATHER-STRIP
5 – FASTENERS
Fig. 70 Door Sill Trim
1 – FASTENERS
2 – DOOR SILL TRIM
3 – DOOR OPENING SILL
Fig. 71 A-Pillar Trim
1 – A-PILLAR TRIM
2 – CLIPS
23 - 62 BODY LH
REMOVAL AND INSTALLATION (Continued)
 Loading...


